

In this article, I will explain the creation of Web API using repository using Visual Studio 2013.
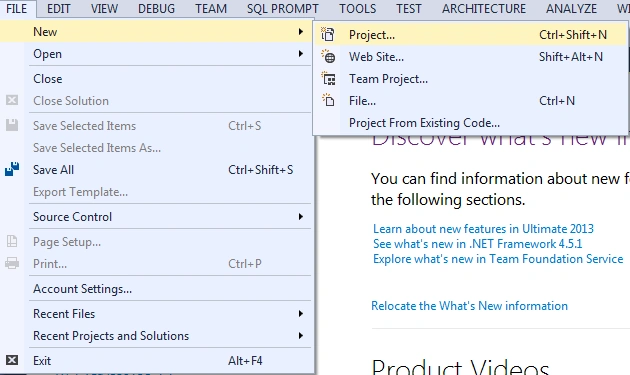
Step 1: Open Visual Studio 2013 then seelct "File" -> "New" -> "Project..." as in the following:
Step 2: The New Project dialog will display as in the following:
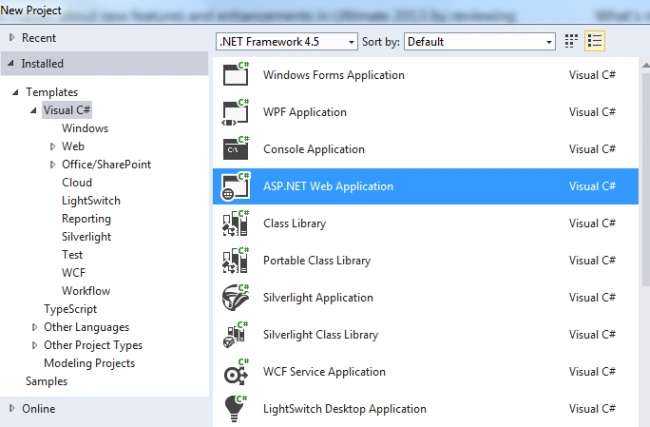
Step 3: Select the location and enter the project name. Click OK. Select WebAPI from the template.
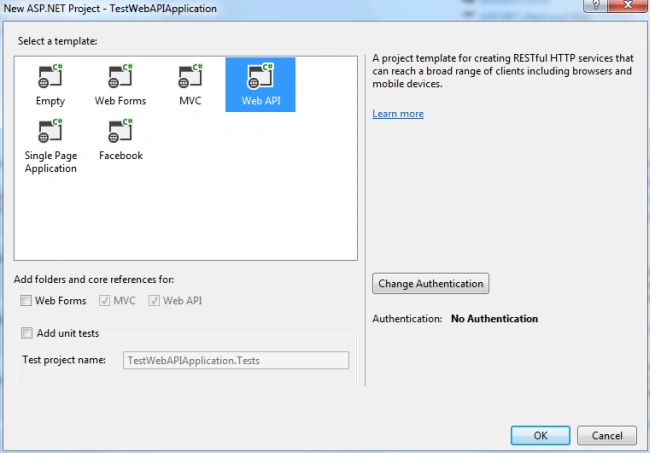
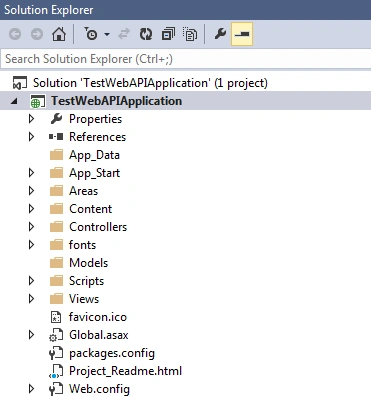
Step 4: Click Ok and the Web API project is created.
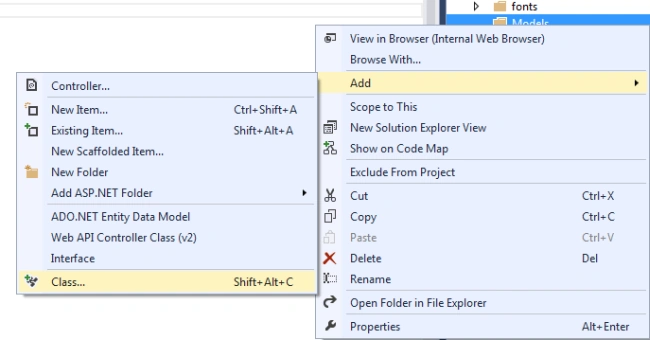
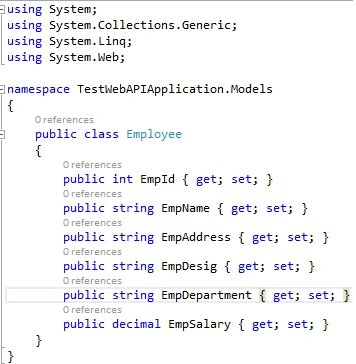
Step 5: Add a class called Employee to create a model.
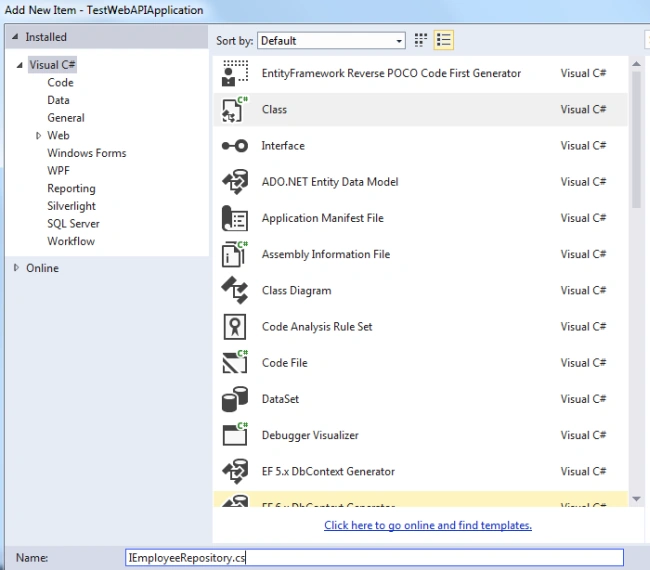
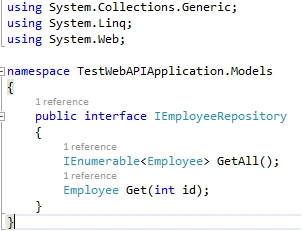
Step 6: Add an Interface as repository class IEmployeeRepository.
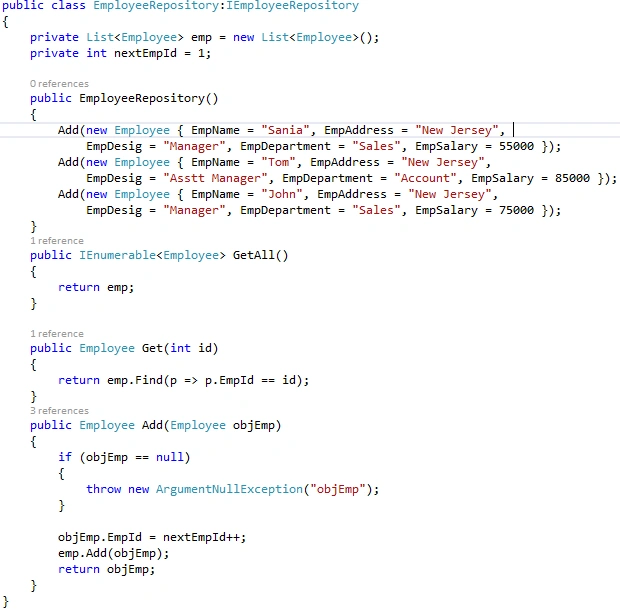
Step 7: Add the class EmployeeRepository to implement the methods defined in the interface.
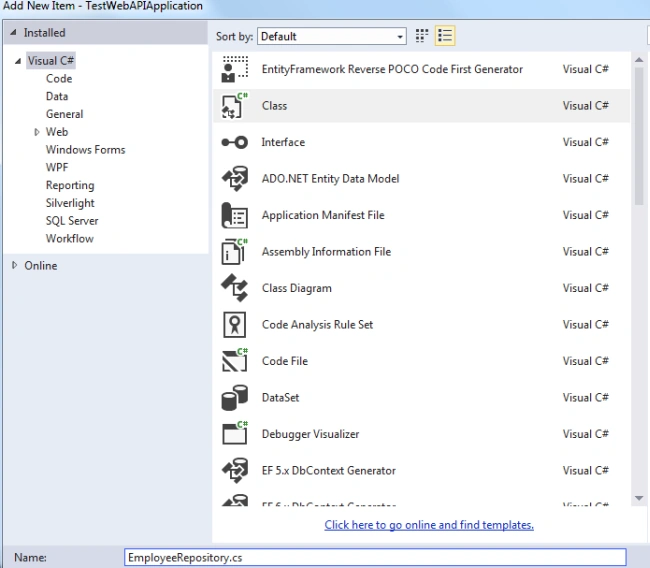
Step 8: Implement the methods defined in the repository interface.
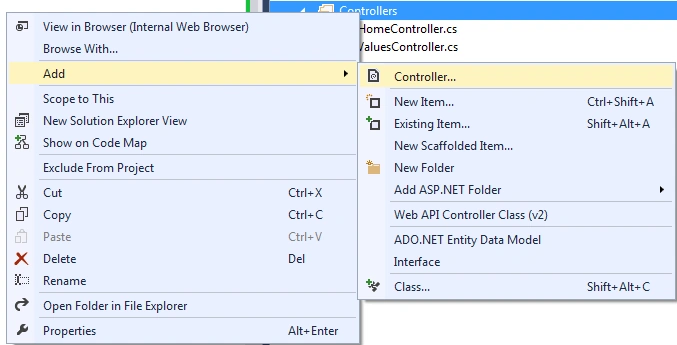
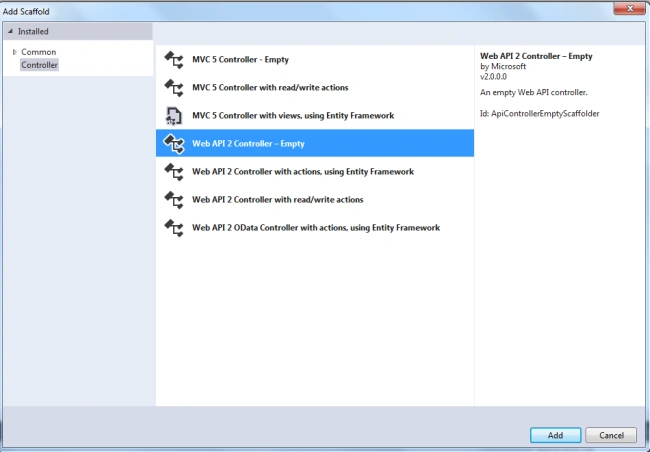
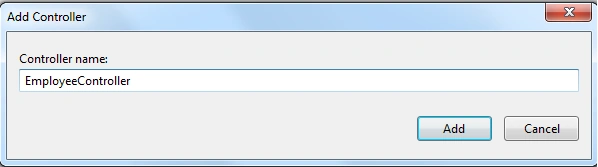
Step 9: Add a controller class EmployeeController.
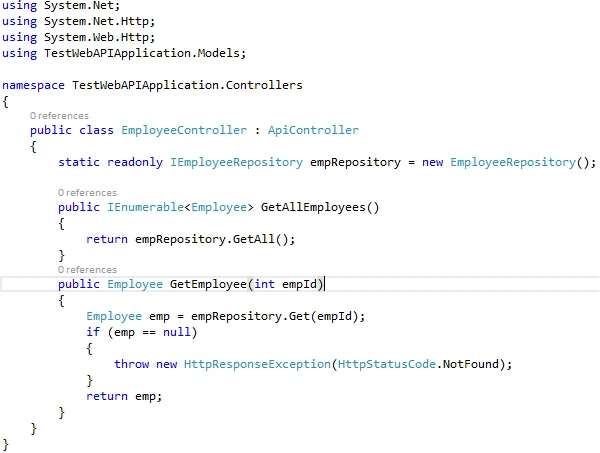
Step 10: In the controller add a reference of Models. Implement 2 methods as follows:
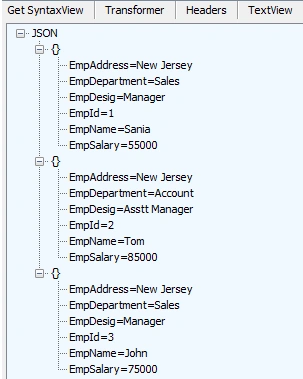
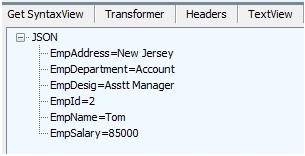
Step 11: Build the application. Open Fiddler to check the API call.
API Call: http://localhost:xxxx/api/employee/getallemployees/
Jeff McbridePosted Aug 20, 2018, 9:48 AM
Can this be returned as Json instead of xml?
Gowtham RajamanickamPosted Apr 14, 2016, 11:16 PM
Good info..
Atul RawatPosted Jul 3, 2015, 6:15 AM
nice article sir