

Introduction
We have been using third-party compression tools for ages. Since we have WinZip and WinRAR in the top-selling market. Still, it’s a great way to have your own Zip compression tool.
Then, we have a few questions that come to mind.
"Are You Serious?", "I can create my own compression Tool?". And, the answer is "Yes, you can".
So, in this demonstration we will make our stand-alone Zip tool.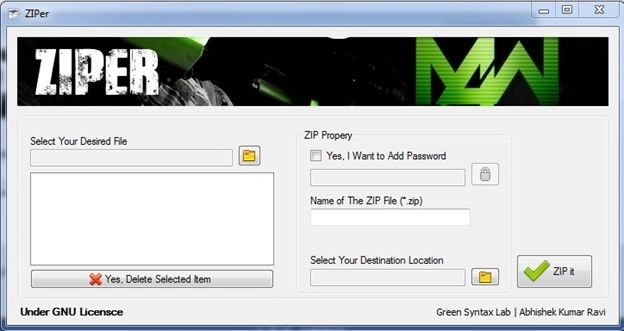
Background
In background, we actually need a third-party library file (DLL). You can get that DLL file from DotNetZip with its samples and documentation.
And you need basic knowledge of C# coding to make your application work.
Download Iconic.Zip.dll : Ionic.Zip.dll
(The only necessary DLL file in this project.)
Procedures
Step 1: Create a Windows Forms project with your own name.
I named it Zipper. :D.
Add a Label, Text Box and Button,
This is the Browse Your File step, so that we can select our desired file.
This is to be zipped in the near future.
So, for this we defiantly need an "Open File Dialog Control" from the Tool box.
For now, a Button (Folder Icon) will raise the Open Dialog window.
And after selecting all the files from the Open File Dialog we put them in a ListBox.
So, let’s do this by code.
// Browse Button
private void button1_Click(object sender, EventArgs e)
{
if (openFileDialog1.ShowDialog() == DialogResult.OK)
{
BrowserTextBox.Enabled = true;
BrowserTextBox.Text = openFileDialog1.FileName.ToString();
SelectedFileList.Items.Add(openFileDialog1.FileName);
}
}
Explanation
In the first if condition, we check if the "OK" Button of the OpenDialog1 window was pressed. If Yes, then go with the condition else you can move on.
If Yes then the only TextBox is enabled by assigning the true value.
By default we have: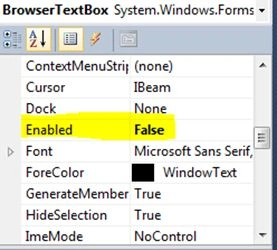
And then the Selected FileName with the TextBox is assigned.
Finally, we add this selected file to the ListBox using the Add() method.
Step 2: Next, we will code the Delete Button of the ListBox.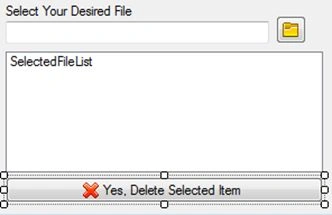
The only purpose of this Delete is to remove the selected List Item from the List Box.
So, do this via code as in the following:
//Delete Button
private void button1_Click_1(object sender, EventArgs e)
{
SelectedFileList.Items.RemoveAt(SelectedFileList.SelectedIndex);
}
Explanation
There is nothing complicated in this code.
We are calling the SelectedFileList.RemoveAt() method that takes an index number as the argument.
For that, we called a List Property SlectedFileList.SelectedIndex that returns the current selected List Item.
Here: SelectedFileList is the name of my ListBox.
Step 3: We will now use a Check Box, Text Box and a Button.
Where the Check Box activates the TextBox and Button that actually accepts the word.
So, let’s do this:
// word Check Box
private void Isword_CheckedChanged(object sender, EventArgs e)
{
if (Isword.Checked)
{
wordTextBox.Enabled = true;
AddwordButton.Enabled = true;
}
else
{
wordTextBox.Enabled = false;
AddwordButton.Enabled = false;
}
}
Here, Isword is the name of my Check Box Control.
Same with word TextBox and Add word Button.
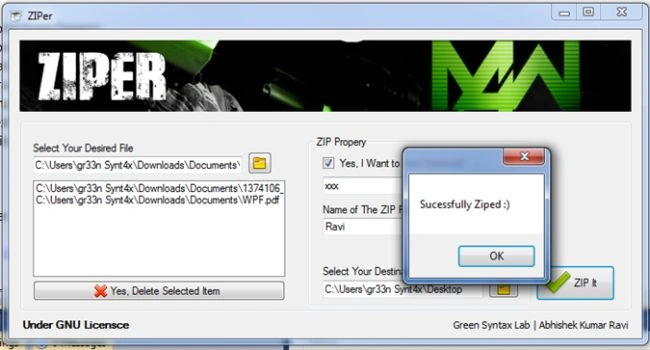
And, when we press the Add_word Button then,
//word Button
private void AddwordButton_Click(object sender, EventArgs e)





Sudhanshu ShekharPosted Aug 31, 2017, 2:49 AM
Hi Ravi, Thanks for sharing the post. But unfortunately "ZIPer.rar" download link is not working. Can you please help, correct the link. Thanks Sudhanshu