Sometimes its desirable to have access to a web control that is not available in the control panel shipped with Visual Studio. Luckily, Visual Studio gives you some capability to create your own web user controls if you need them. One of our C# Corner readers gave me the idea of converting my Add/Remove Control from a Windows Form control to a User Web Control, so we will use this control as an example for this tutorial.
The first step in demonstrating how to create a Web User Control is to create a new Web Application. Creating Web Apps is performed simply by going to the New-->Project menu item, and choosing a new ASP.NET Web Application. Once we've created the application that will be running our Web User Control, we can actually create our Web User control and drag it directly into our Web Application.
Figure 1 - Add/Remove Web User Control in Internet Explorer
Begin by choosing right clicking on the Solution Explorer and Choosing Add-->Add Web User Control as shown in Figure 2:
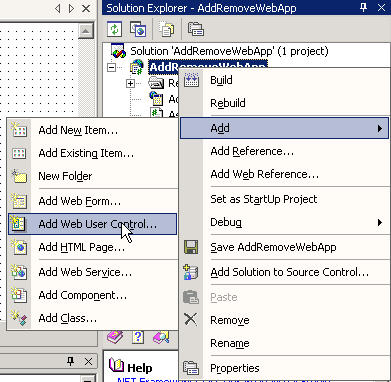
Figure 2 - Creating a Web User Control inside our Web App
This menu Item will bring up the Add New Item dialog with a default user control. Simply change the name of the control to the desired name of the control (in our case the AddRemoveControl). Note that all Web User controls contain the file extension ascx.
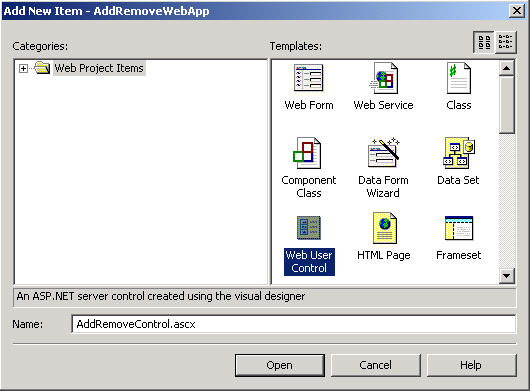
Figure 3 - Choosing the Web User Control Template
Once we've clicked the Open button, this places the Web User Control in our solution explorer where we can work with it:
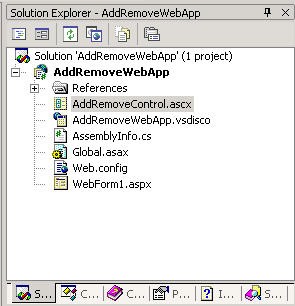
Figure 4 - The Web User Control File appearing in the Solution Explorer
Double clicking on the ascx file in the solution explorer gives us a design view in which we can put generic html and web form controls into our Web User Control simply by dragging them from the Control Panel. Below is the group of controls we placed from the control panel onto our Add/Remove Web User Control. You can't see it here, but the controls are placed in an html table consisting of a single row and three columns.
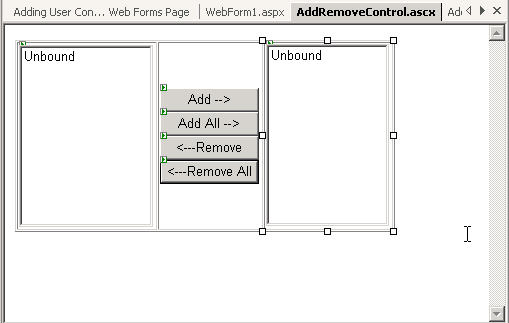
Figure 5 - Controls added to the Web User Control Design View
Now we need to place the web user control inside our web application. Placing the user control is again a trivial task made easy by the Design View. Simply drag the AddRemoveControl.ascx file from the solution explorer onto the WebForm we want to populate. Note The Web User Control appears with the ID of the control in a gray box on the design form.
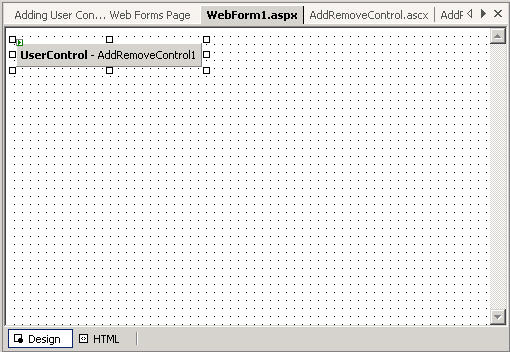
Figure 6 - User Control Appearing in the Web Form Page
Unfortunately the task is not completely automated. In order to use the User Control inside the Form we also need to add a declaration statement that matches the exact name of the user control class and the ID of the control. I'm not sure why Microsoft didn't automatically generate this line of code for us, but I suspect in the future they will. Below is the line of code placed in the WebForm1.aspx.cs code- behind of our web page:
Listing 1 - Declaration for the Add/Remove Web User Control in the Web Form Page public class WebForm1 :
System.Web.UI.Page
{