Introduction
This article describes how to create a list of values for any particular field using LightSwitch Visual Studio 2012.
Choice List in LightSwitch
We develop a "Choice List" so that users can easily choose a value from a given set instead of entering a value into a text box on its own.
Creating a Choice List
Step 1
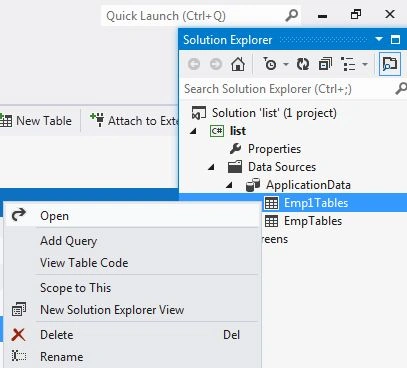
Open the Solution Explorer.
Image 1

Step 2
In the Solution Explorer, select the table and open it.
Image 2
Step 3
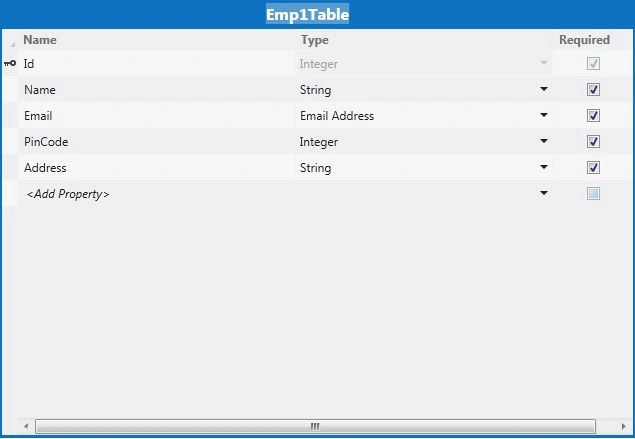
The table opens in the Data Designer.
Image 3
Step 4
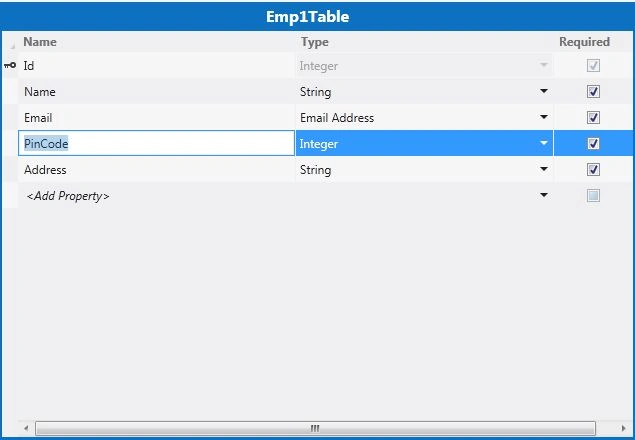
Select a field from the table. Suppose I choose the "PinCode" field from the table.
Image 4
Step 5
Open the properties window.
Image 5

Step 6
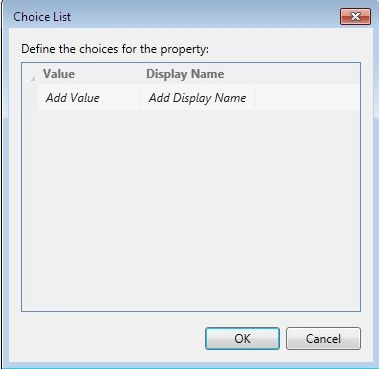
In the properties window, choose the "Choice List" link. A Choice List dialog box will shown that consists of "Add Value" and "Display Name" header.
Image 6
Step 7
In the Choice List table choose the "Add Value" option and enter the Value.
Image 7
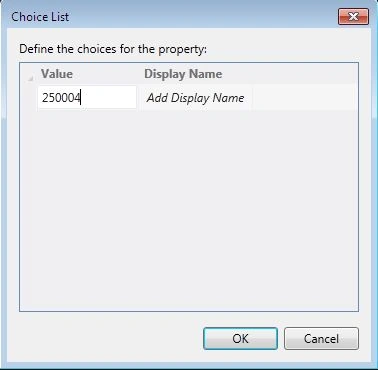
Step 8
Similarly from the table choose "Display Name", and then enter the Name.
Image 8
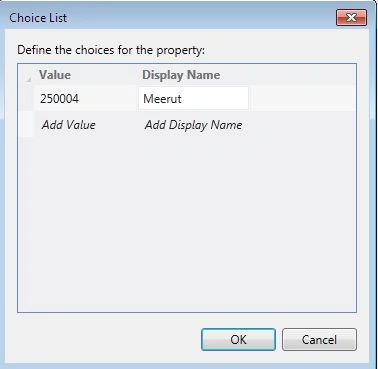
Step 9
We can add as many value as we want in the Choice List table.
Image 9
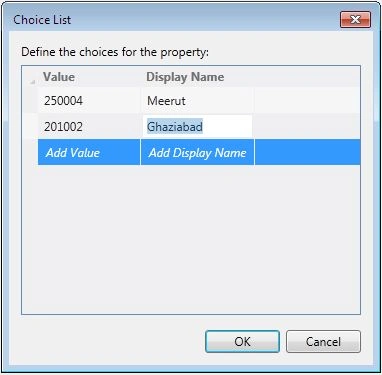
Step 10
Choose the "OK" button to close the Dialog Box. Now the Choice List is created successfully.
Removing a Choice List
First we will perform the following steps: Step 1, Step 2 and Step 3 in a similar manner as I have performed above to create the Choice List.
Step 1
As the table opens, select the field that uses a Choice List.
Image 1
Step 2
Open the "Property" window.
Image 2

Select the "X" option that is shown next to the Choice List link. As the user clicks on it a dialog box will appear.
Image 3

Choose the "Yes" option to remove the Choice List.


Gowtham RajamanickamPosted May 2, 2015, 4:50 AM
good