
In this article describes how to create a List and Detail Screen in a LightSwitch application using Visual Studio 2012.
In my previous article I described how to edit or delete a record using a Editable DataGrid Screen, see: http://www.c-sharpcorner.com/UploadFile/18ddf7/editing-and-deleting-records-using-editable-datagrid-screen/,
The following is the procedure for creating a List and Detail Screen.
Step 1
Open the Table (EmpTable) from the Solution Explorer.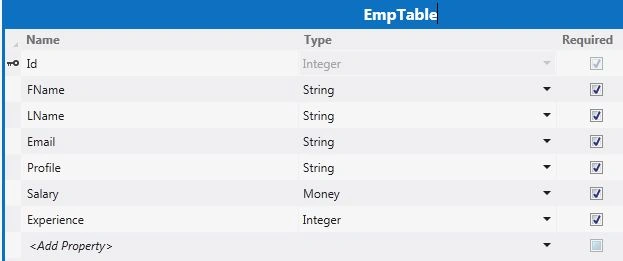
Step 2
Click on the Screen Button from the Menu bar to add the screen.
Step 3
Since we are to creating a List and Detail Screen, choose the "List and Detail Screen" template. Under Screen Information we provide the Screen Name and select any Screen Data and then click OK.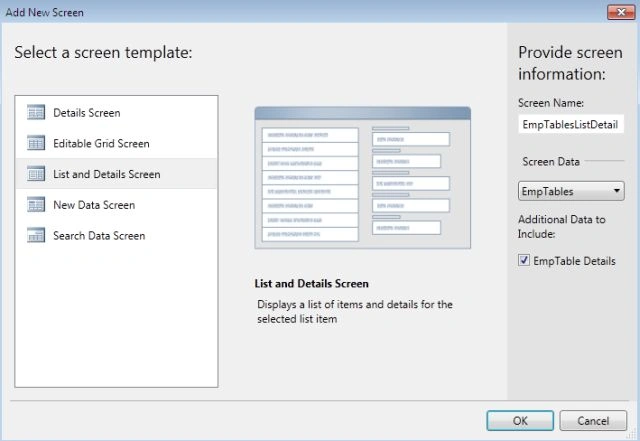
Step 4
Once you click the "OK" button, the screen designer appears inside Visual Studio IDE.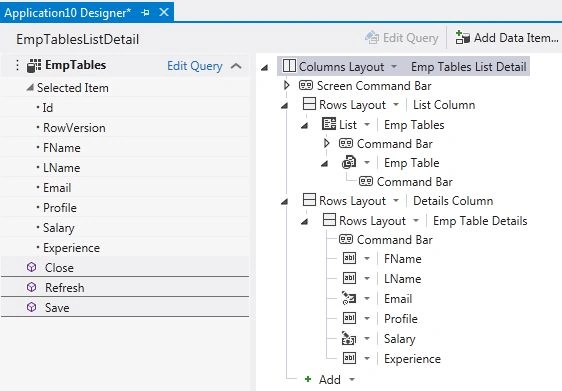
Step 5
Press F5 to run the application. 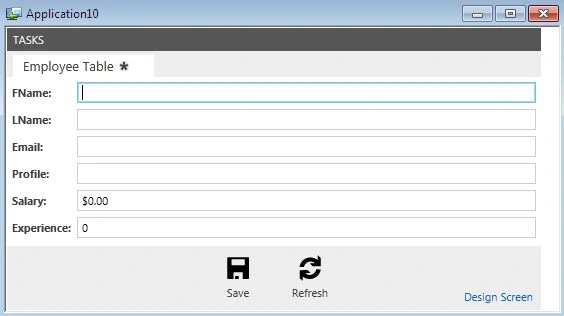
Step 6
Click on the Tasks option in the menu and choose the Emp Tables List Detail.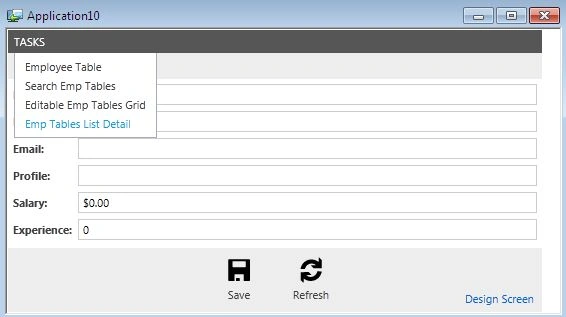
Step 7
This will open the "Emp Tables List Detail" screen as a new Tab. In the same screen you will see a "Save" and "Refresh" button, a "Search Panel" and a button called "Export to Excel". It also consists of "Add", "Edit" and "Delete" buttons. I have described all the functionalities of these buttons in my previous article.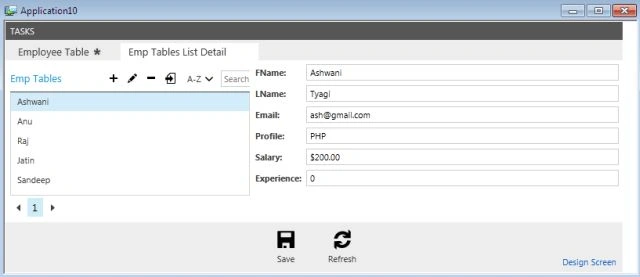
Step 8
We can choose any record from the left list. Note that the right panel automatically reflects the record details. This screen is called a List and Details screen. It means that the left panel shows the list and the right panel shows the detail of the selected record.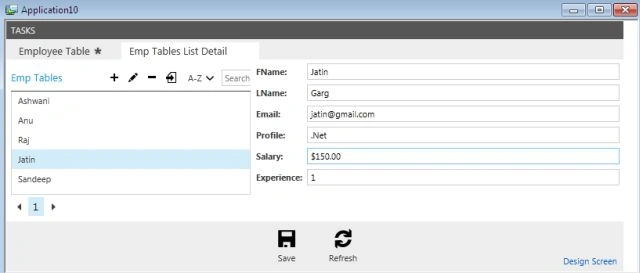
Step 9
One new feature or control has been added to the screen named Drop Down List (A-Z). Suppose you click on the drop down; you will see all the column names in the list as shown.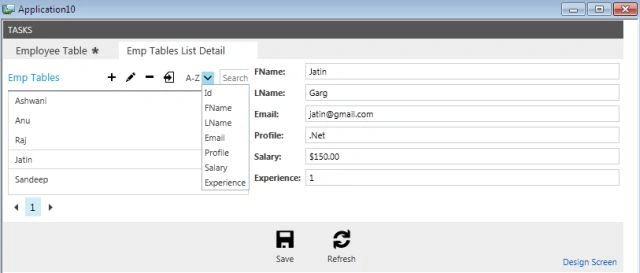
Step 10
By choosing any field from the drop down list, you can easily sort the records. Here you will see that the records have been sorted by Email in ascending order.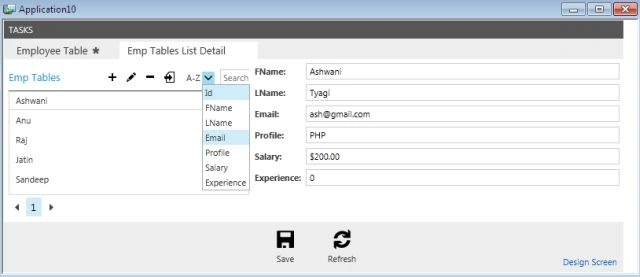
Sorting the records on the basis of Email we get: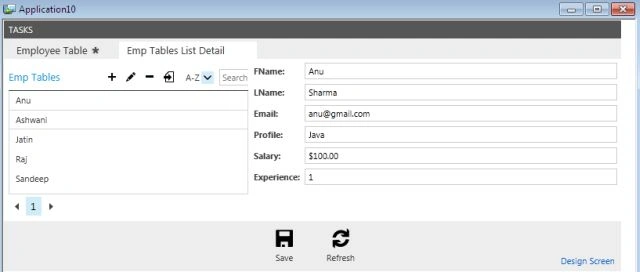

Join the conversation! Your thoughts help the community grow.