

Introduction
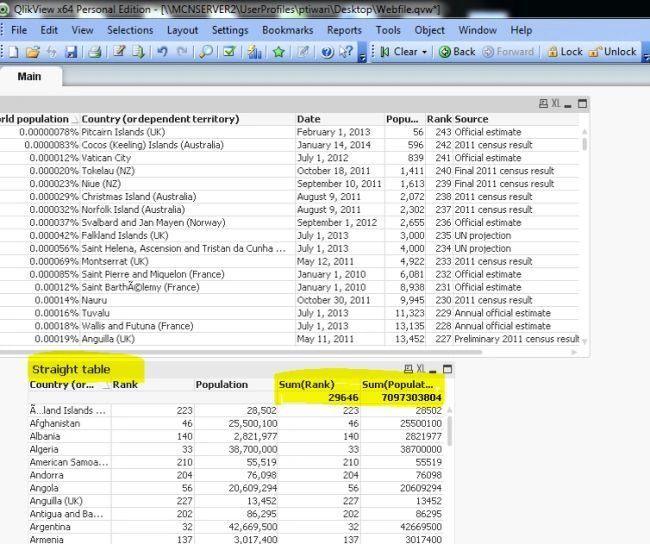
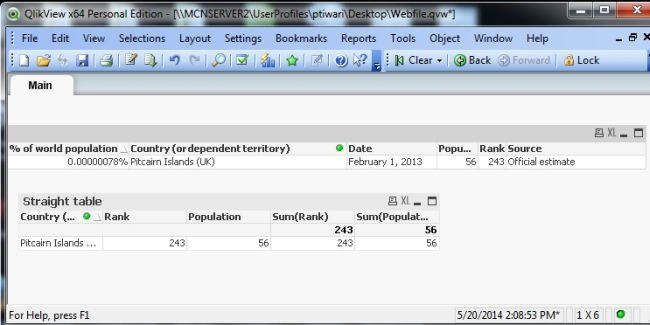
In a QlikView straight table, it is very useful for business users. A straight table is used to show the regular metrics to business users. In a QlikView application, a straight table hs different and interesting properties.
So let's start with the procedure to create a straight table in QlikView.
Step 1: Open the QlikView application
In the first step you need to open the QlikView application then go to, File-> New, then this window will be opened.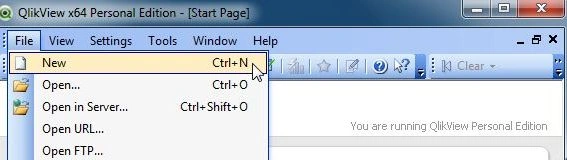
Step 2: Open Edit Script
The second step is to open the edit script window from, File-> Edit Script.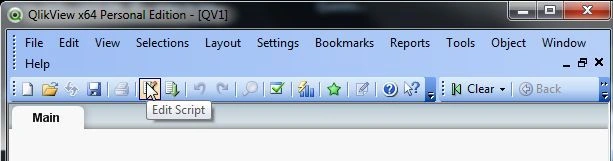
- Then this window will be opened.

Step 3: Click on table files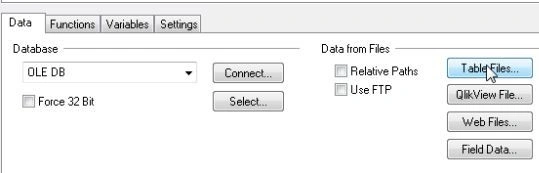
Now open the table file and click on the Open button.
Step 4: File wizard type
Then this window will be opened. Here you can see your table file table and click on the Finish button.
Step 5: Code of edit script
Now, in the edit script the web file was upload successfully and reload it.
Step 6: Save file
The next step is to save our QlikView file.
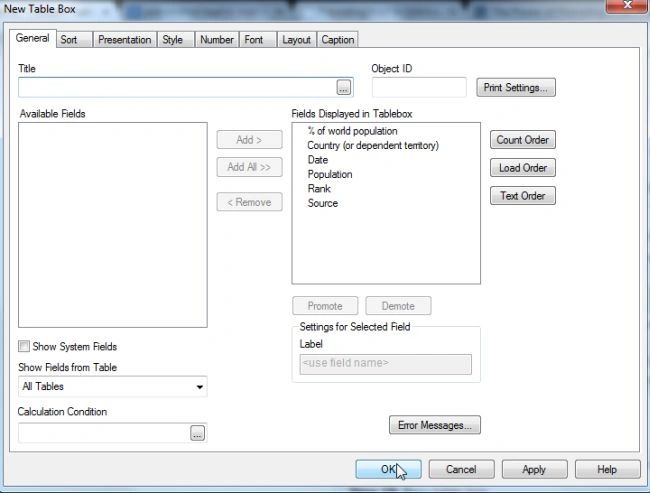
Step 7: Sheet property window
The sheet property window will be opened. In this window you add the fields that you want to display as a table and click on the OK button.
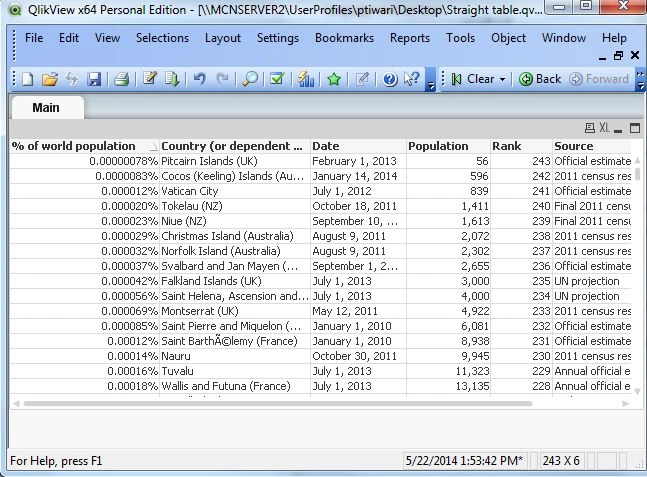
Step 8: Main window
Then you will see this window.
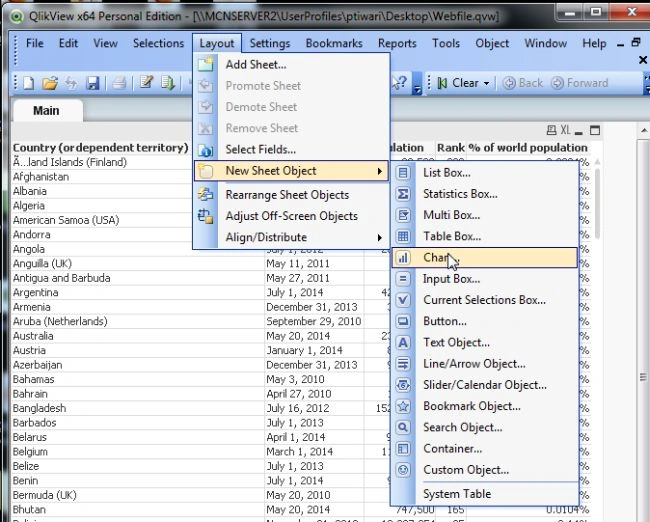
Step 9: Select table





Join the conversation! Your thoughts help the community grow.