

Introduction
In the earlier articles (Article 1 - Article 2 - Article 3), we learned about the usage and installation of Docker in a Windows application. Now let's start learning how to integrate Docker in a React Application.
Getting started…
Step 1
Launch docker-machine or Docker Desktop
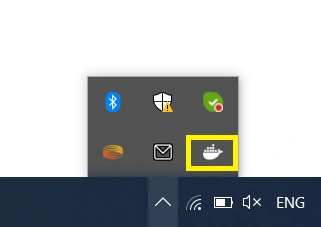
Step 2
React Project Setup - Create React application using the create-react-app command
Install Create React App globally:
- $ npm install -g [email protected]
- $ create-react-app dockeApp
- $ cd dockerApp
Step 3 - Docker Configuration in React Project
Add a Dockerfile to the project root name it 'Dockerfile' without any file extension, then write the following instructions of code in the Dockerfile and save it.
- # pull the official base image
- FROM node:13.12.0-alpine
- # set your working directory
- WORKDIR /app
- # add `/app/node_modules/.bin` to $PATH
- ENV PATH /app/node_modules/.bin:$PATH
- # install application dependencies
- COPY package.json ./
- COPY package-lock.json ./
- RUN npm install --silent
- RUN npm install [email protected] -g
- # add app
- COPY . ./
- # will start app
- CMD ["npm", "start"]
This code will copy the 'app' folder from the project and install all dependencies by referencing the package.json file and then create a production build of the React App using a Node image.
Step 4 - Now add a .dockerignore
This file is not mandatory, but it's a good practice to have this file which can help to boost the build process and make Docker Image to build unnecessary code and files.
- node_modules
- build
- .dockerignore
- .git
- .md
- .gitignore
Step 5
Create a Docker Image / Build Docker Image
Let's run the docker build command which will help us to create Docker Image with React App.
- $ docker build -t dockerizing:dev .
Here, dockerizing is my app name. Make sure the image name is followed by the dot which means that the path of the Docker build context and Dockerfile is the current folder.
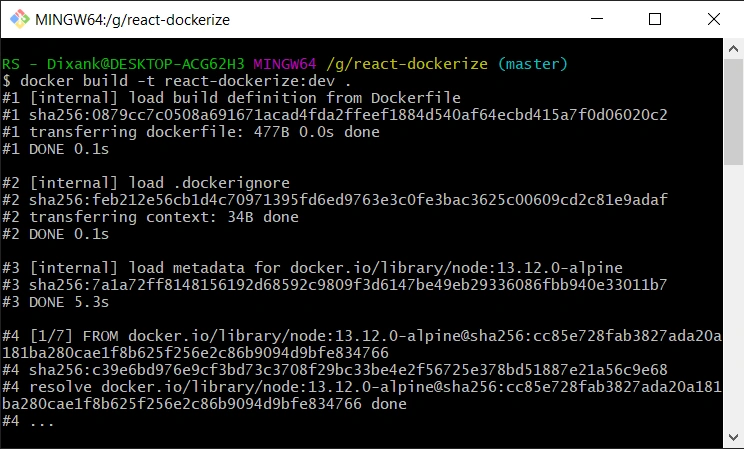
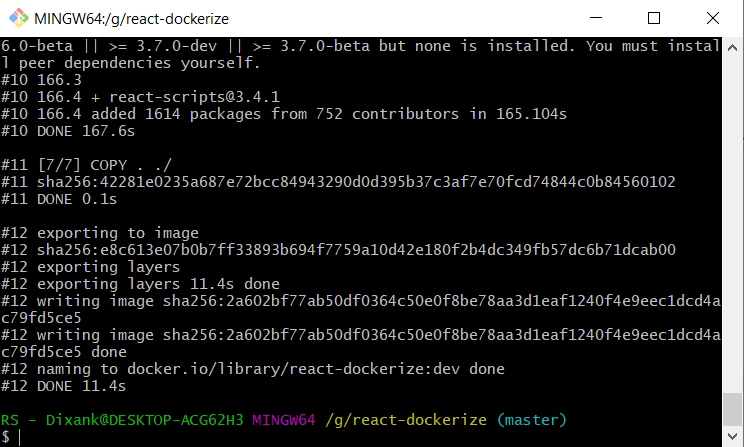
After a successful build, you can see the Docker images in Docker Containers using the below command in the console.
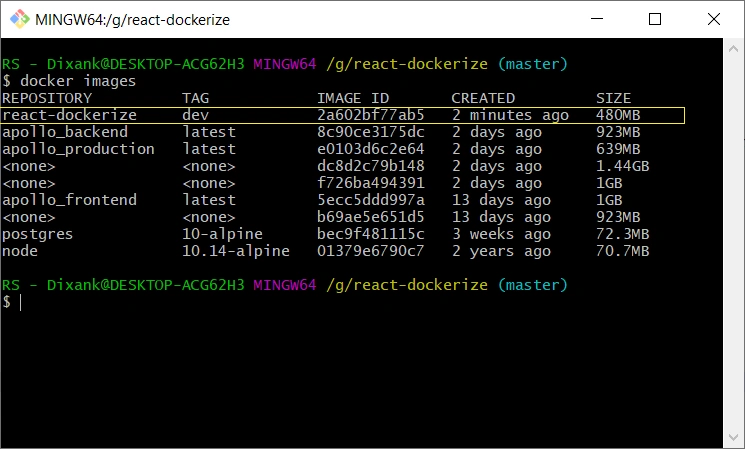
- $ docker images
In case you're using Docker Desktop, then you can see Docker Image in Docker Desktop. Just need to open Docker Desktop
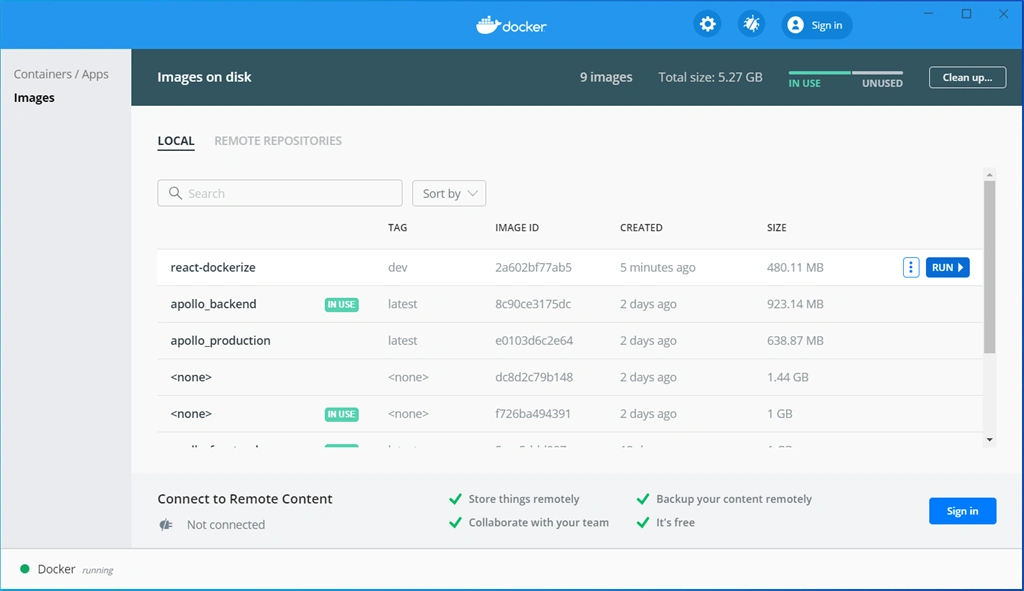
Step 6
Run the Docker Container
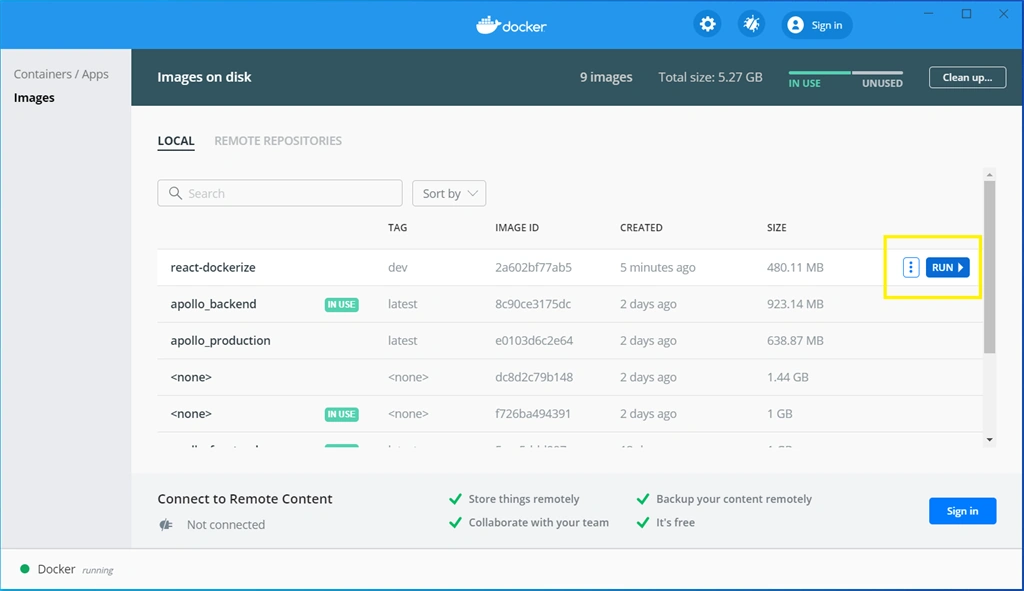
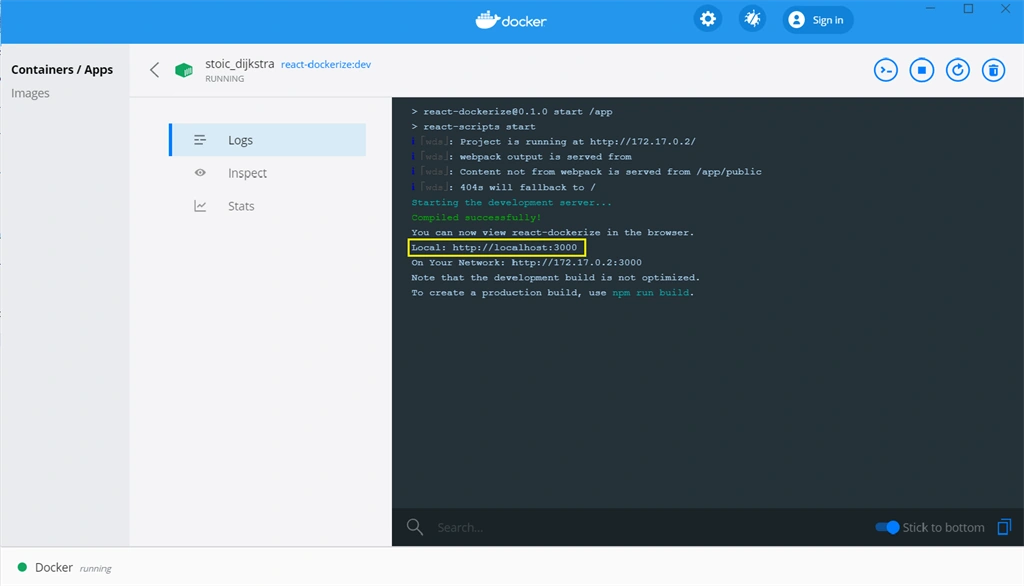
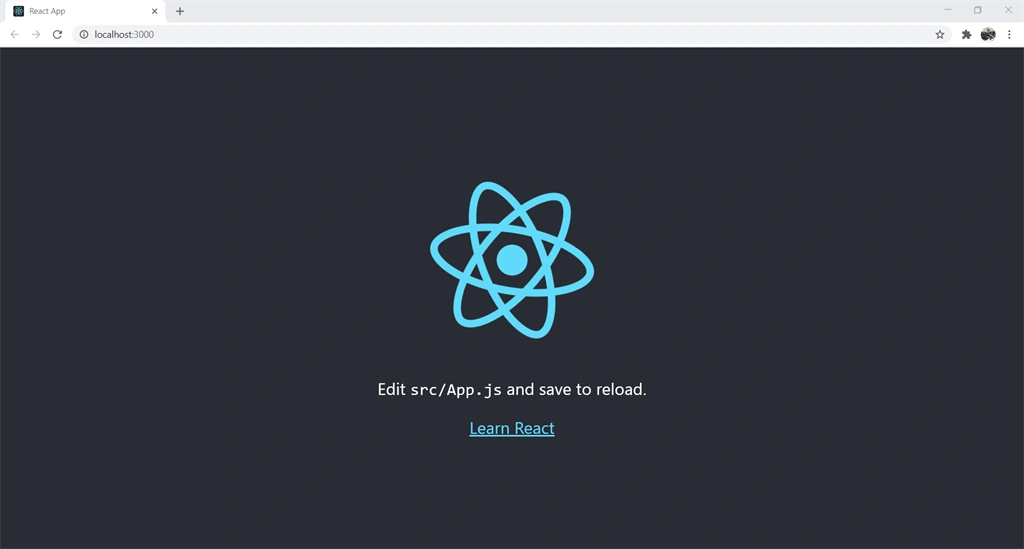
After successfully run Docker Container, Docker Desktop will provide the URL which can be run in browser, So let's open the browser and type URL HTTP://<docker machine url>:80 in the address bar.
From my Docker Desktop - it's http://localhost:3000 or http://172.17.0.2:3000
From my Docker Desktop - it's http://localhost:3000 or http://172.17.0.2:3000
Summary
In this article, We've learned Dockerize React application, This approach is on beginner level - Docker provides large enhancement with its best use, so after learned beginner level Dockerizing you should learn more in detail development and production environments configuration.
rahul dayalPosted May 10, 2021, 2:08 PM
I am facing issue getting error executor failed running [/bin/sh -c npm install --silent]: exit code: 1