

Introduction
Before reading this article, please go through the following articles:
After learning about HTML5 WebSockets from my previous article, which is an introduction article, here in this article we will proceed to test WebSockets. First, prepare the server-side
Now the question is, what platform do you use to test WebSockets since I am using Windows and as much I Googled around I learned that I need to use "node.js" and "socket.io" to test the WebSockets.
Step 1: First download node.js from here and install it.
 Now to install "socket.io".
Step 2: Run the command prompt as administrator, go to the "C:\Program Files\nodejs" location and run this command to install "socket.io" and you can clearly see how "socket.io" will be installed.
Now to install "socket.io".
Step 2: Run the command prompt as administrator, go to the "C:\Program Files\nodejs" location and run this command to install "socket.io" and you can clearly see how "socket.io" will be installed.


 Now for the server, you need to create a js file in the location "C:\Program Files\nodejs" (the same here, you install node.js or we can say you need to create this js file inside the node.js installation folder.)
Write the following code and save the file with whatever name you want with the .js extension, I used "serverfile.js" here:
Now for the server, you need to create a js file in the location "C:\Program Files\nodejs" (the same here, you install node.js or we can say you need to create this js file inside the node.js installation folder.)
Write the following code and save the file with whatever name you want with the .js extension, I used "serverfile.js" here:
- var http = require('http');
- var io = require('socket.io');
- var yourserver = http.createServer(function (request, response) {
- response.writeHead(250, { 'Content-Type': 'text/html' });
- response.end('Your WebSocket server is running');
- }).listen(22222);
- var yoursocket = io.listen(yourserver).set('log', 1);
- yoursocket.on('connection', function (client) {
- client.on('message', function (data) {
- console.log('Client Message: ', data);
- });
- var current = new Date().getTime();
- client.emit('YourMessageResponse', data + '->' + current);
- });
- client.on('disconnect', function () {
- console.log('Your Client disconnected');
- });
- });
Step 3: Now start the server by again going to the command prompt and run the following command:
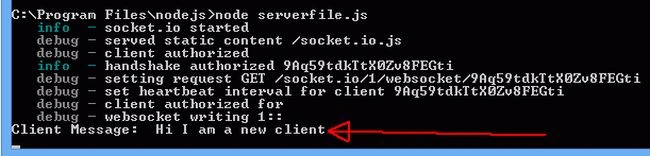
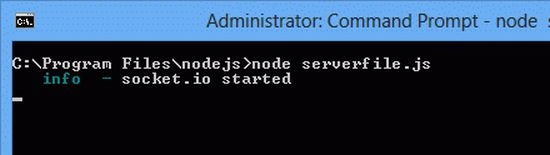 That's it; your server is started successfully, as shown in the command prompt.
Now to prepare the client-side.
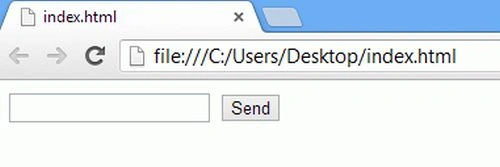
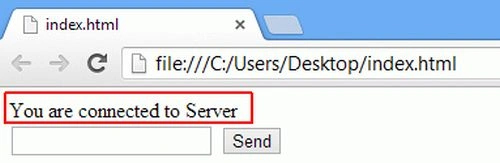
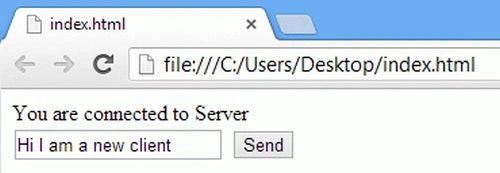
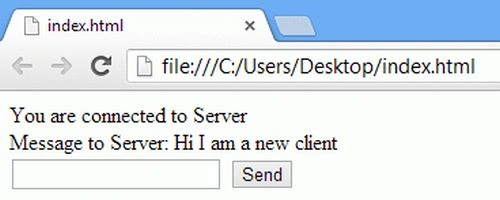
For client-side preparation, first, you need to create a .html file for providing an interface to the client and perform some action on the page. So, the HTML page looks as in the following:
That's it; your server is started successfully, as shown in the command prompt.
Now to prepare the client-side.
For client-side preparation, first, you need to create a .html file for providing an interface to the client and perform some action on the page. So, the HTML page looks as in the following:
Join the conversation! Your thoughts help the community grow.