

Version implementation in any service based application is very crucial. There are many reasons for new versions of software applications. Sometimes bugs are fixed and sometimes the service needs improvement depending on the client’s demands.
But after releasing a new version we should not stop the old version or service (Ha..Ha… If it is stopped, then there may be thousands of mail overflowing the support mailbox). So, the primary concept of a service based application (not only service, but any application), once it has been released, is that we cannot change anything in the released application. If necessary we need to implement the updated version and let users consume the updated and backdated version both.
The real example is the versions of the jQuery library. When a new version becomes available, CDN does not stop hosting the backdated one.
Fine, we have the fundamental idea behind versions, in this article we will learn to implement a version in a Web API application. There are the following three ways to implement versions in Web API applications:
- By adding new Controller
- By sending Query string
- By request header
And since it’s not possible to represent all of them in a single article, I have decided to represent them in three different articles. In this article, we will learn to implement multiple version of an existing application by adding a new controller class.
Before getting to the implementation, the truth must be told. This is not the best idea to implement versioning. We will explain the limitations at the end of the article.
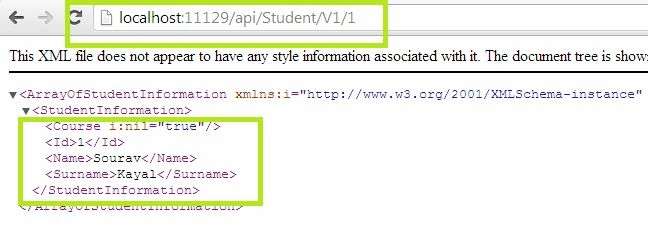
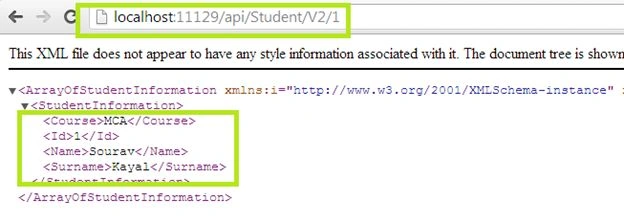
Let’s create a student information service with two versions. In the first version we will disclose the student name and surname along with her ID. But in the second version we will expose a little more data from the service. By consuming the second version we can get student’s course information.
That is quite simple to implement, let’s go step-by-step.
1. Implement Model class
There is nothing special here. We have implemented a StudentInformation Model class with two constructors. The two constructors will help to create an object of the StudentInformation class from a LINQ query. That we will see shortly.
using System;
using System.Collections.Generic;
using System.Linq;
using System.Web;
namespace TestWEB_API.Models
{
    [Serializable]
    public class StudentInformation
    {
        public int Id;
        public string Name;
        public string Surname;
        public string Course;
        public StudentInformation(int Id, string Name, string Surname)
        {
            this.Id = Id;
            this.Name = Name;
            this.Surname = Surname;
        }
        public StudentInformation(int Id, string Name, string Surname, String Course)
        {
            this.Id = Id;
            this.Name = Name;
            this.Surname = Surname;
            this.Course = Course;
        }
    }
}
The Serializable attribute was used to keep persistence of the Model object at the time of the request and response. Fine, nothing more in the Model implementation.
Step 2: Implement StudentV1 controller
As we said, we will a implement version with a different controller class. This is the first version of Student Information service application. We are populating some static data and returning a few information (except course) by querying a List using LINQ with a specific student ID.
Comments
Join the conversation! Your thoughts help the community grow.