

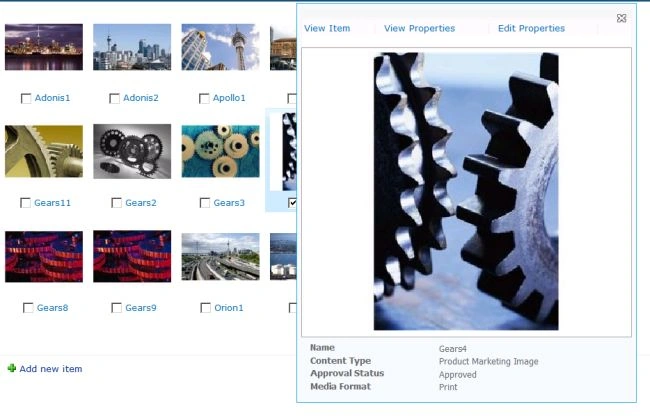
Here we can create a new image library. Viewers need to search and filter the images to find the best image for their needs. To accomplish this you create custom content types and implement Metadata navigation. Finally, you modify the preview pane to display appropriate column information for the viewers.
Create Custom Media Content Types
Here we will see two implementation-specific content types based on the existing image content type.
- Open your site.
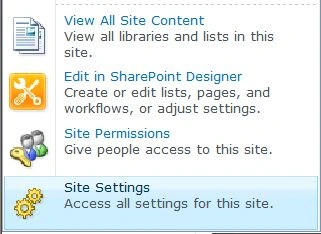
- Select Site Settings from the Site Actions control located in the upper-left corner of the page.

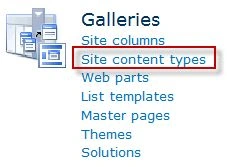
- In the Galleries section, click Site content types.
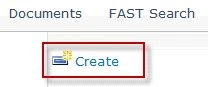
- Click the Create link to create a new Content Type.
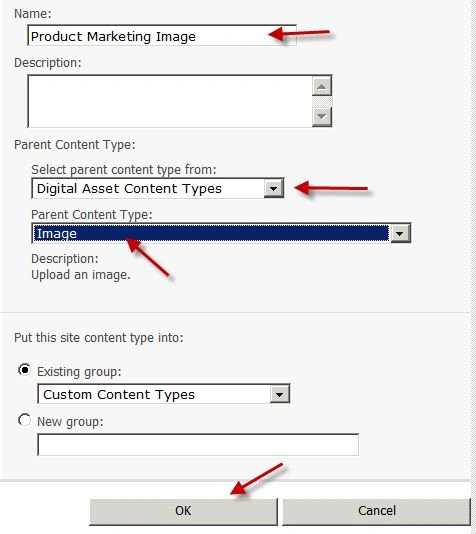
- Enter Product Marketing Image in the Name text box.
- Select Digital Asset Content Types in the Select parent content type from the drop-down.
- Select Image as the Parent Content Type.
- Click OK.
- Click the Add from New Site Column link.
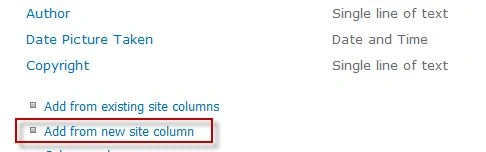
- Enter Media Format in the Column name text box.
- Select Choice for the type of field.
- Create two choices for the field: Web and Print.
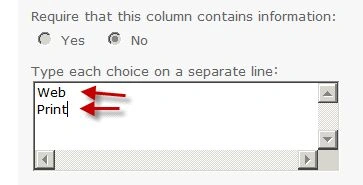
- Click OK.
- Click Add from Existing Site Columns link.

- Add Product Category from the Available columns list box to the Columns to add list box.
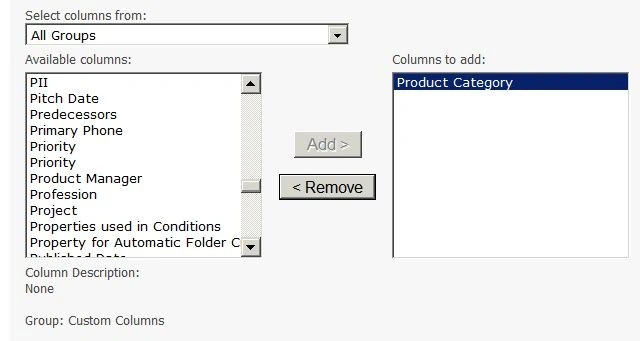
- Click OK.
- From the Site Actions control, select Site Settings.
- In the Galleries section, click Site content types links.
- Click the Create link to create a new Content Type.
- In the Name text box, enter Project Marketing Image.
- In the Select Parent Content Type drop-down, select Digital Asset Content Types.
- Select Image as the Parent content type.
- Click OK.
- Click the Add from Existing Site Columns link.
- Add Media Format from the Available columns list box to the Columns to add the list box.
- Add Project from the Available columns list box to the Columns to add the list box.
- Click OK.

Join the conversation! Your thoughts help the community grow.