

Introduction
Windows Admin Center is a free tool from Microsoft that helps IT administrators manage Windows Server from a web browser. It can also manage Windows 10, Windows 11, Hyper-V, and server clusters. With Windows Admin Center, you can monitor servers, manage storage, configure network settings, and fix problems from one place.
System Requirements
Before installing Windows Admin Center, make sure you have:
Windows Server 2019, Windows Server 2022, or a later version or Windows 10/11.
Administrator permissions.
A web browser such as Microsoft Edge or Google Chrome.
An internet connection to download the installer.
Network access to the servers you want to manage.
Benefits of Windows Admin Center
Easy to use with a web browser.
Secure remote management.
Manage servers from one place.
Free from Microsoft.
Saves time by using one tool instead of many.
Supports Windows Server and Microsoft Azure.
Steps to Install Windows Admin Center
Step 1: Download Windows Admin Center
Open Microsoft Edge or Google Chrome.
Go to the Microsoft Windows Admin Center download page. https://www.microsoft.com/en-us/evalcenter/download-windows-admin-center
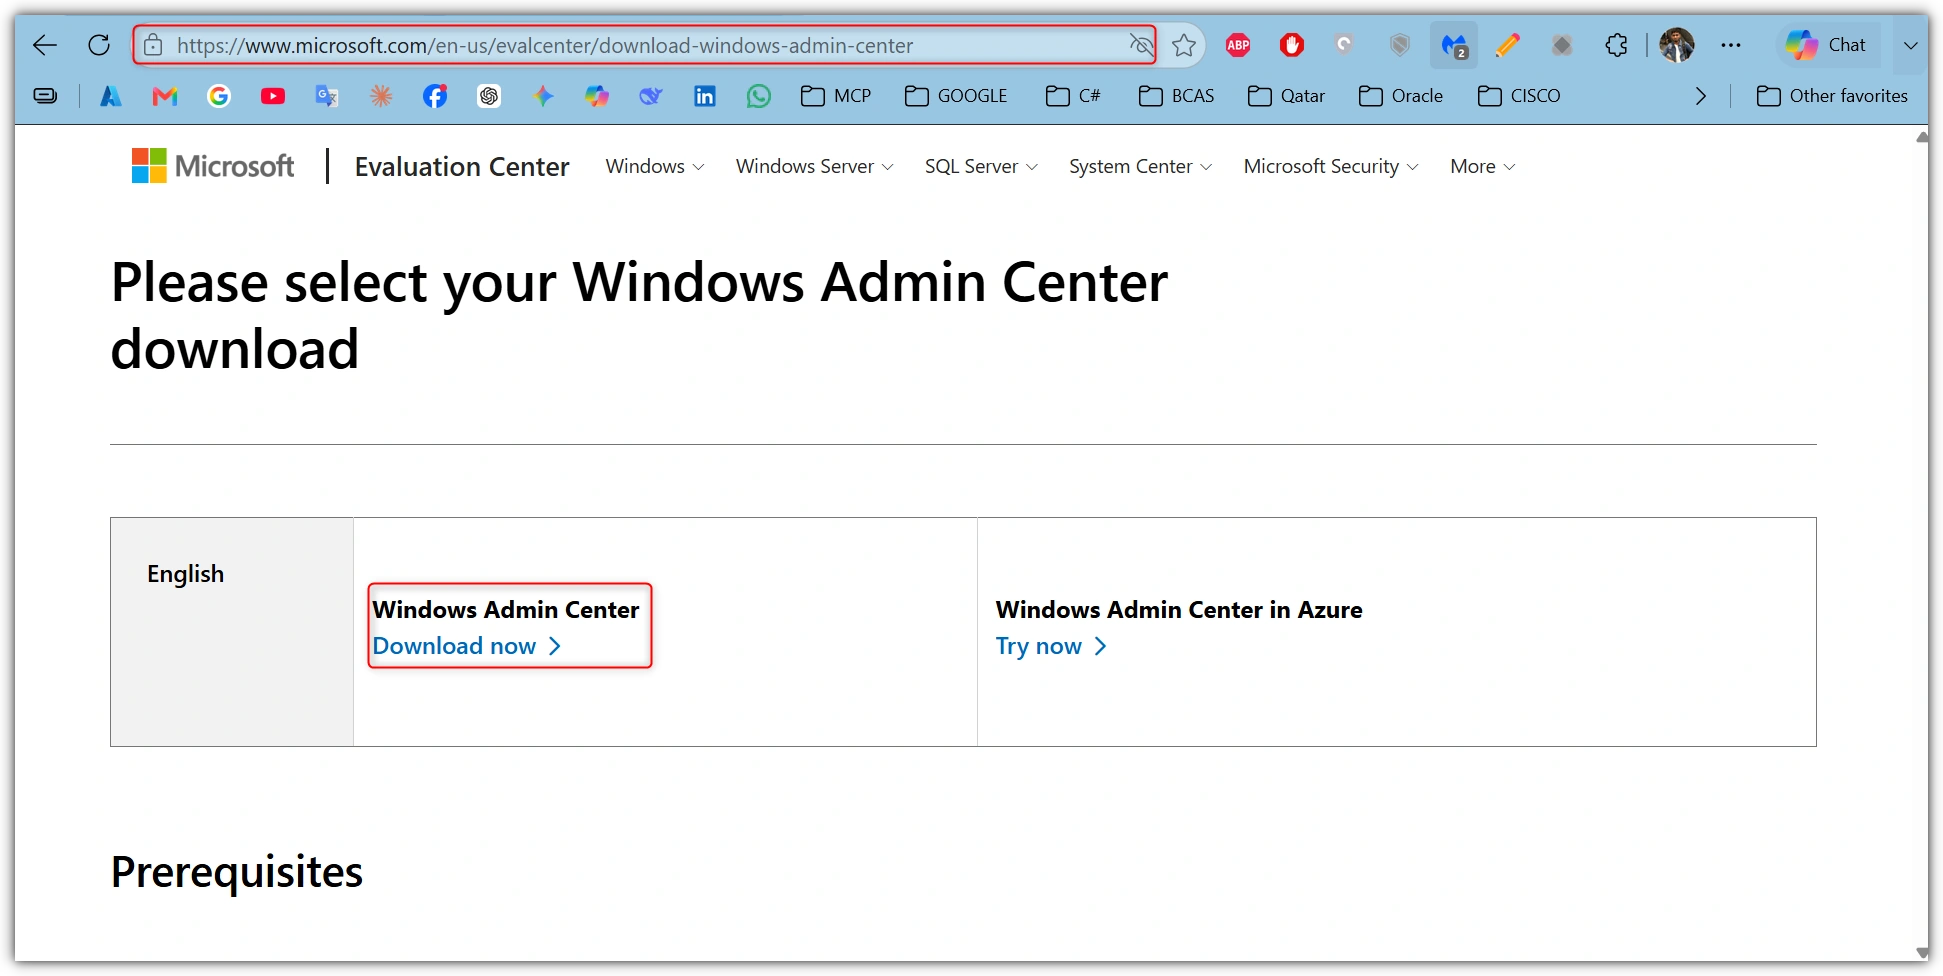
Download the latest Windows Admin Center (.msi) installer.
Step 2: Start the Installation
Find the downloaded installer.
Double-click the WindowsAdminCenter.msi file.
Click Next Installation Wizard

Step 3: Accept the License Agreement
Read the license agreement.
Select I accept the terms.
Click Next.

Step 4: Choose the Installation Mode
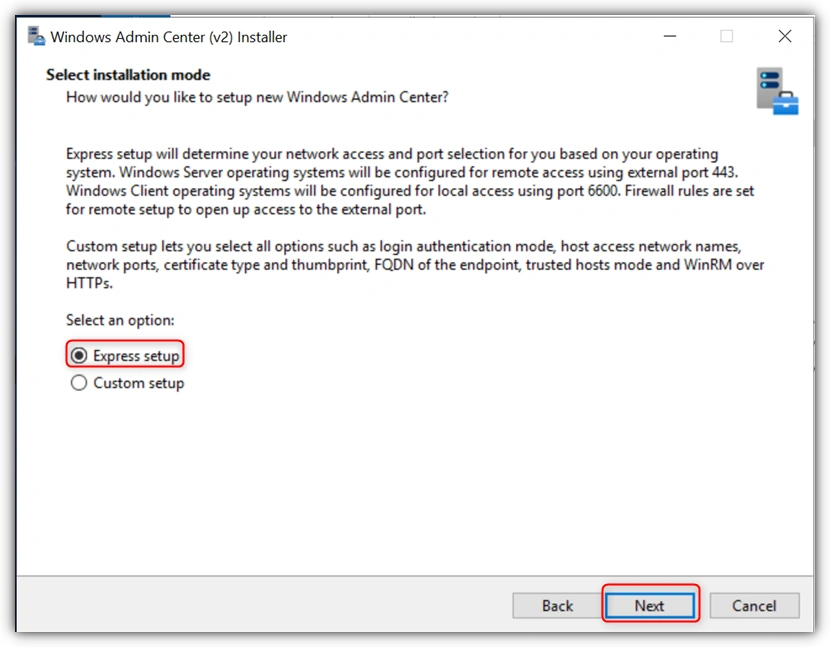
Select Gateway Service. (This option lets multiple administrators manage servers through a web browser.)
Select Express Setup
then Click Next.
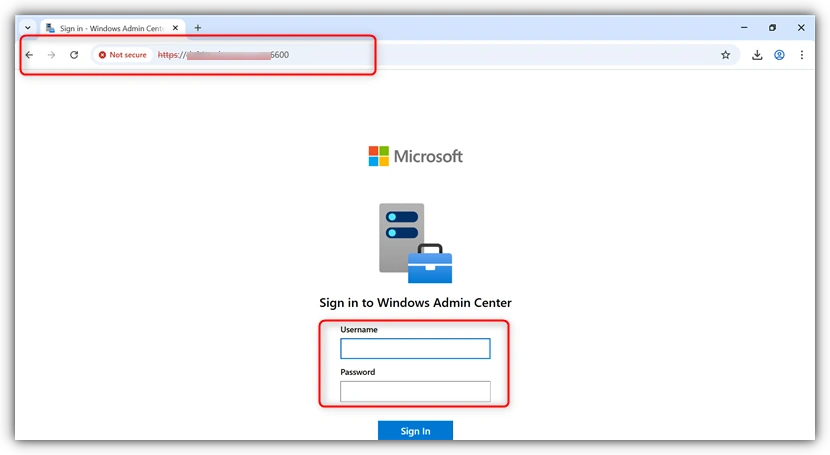
Step 5: Configure HTTPS
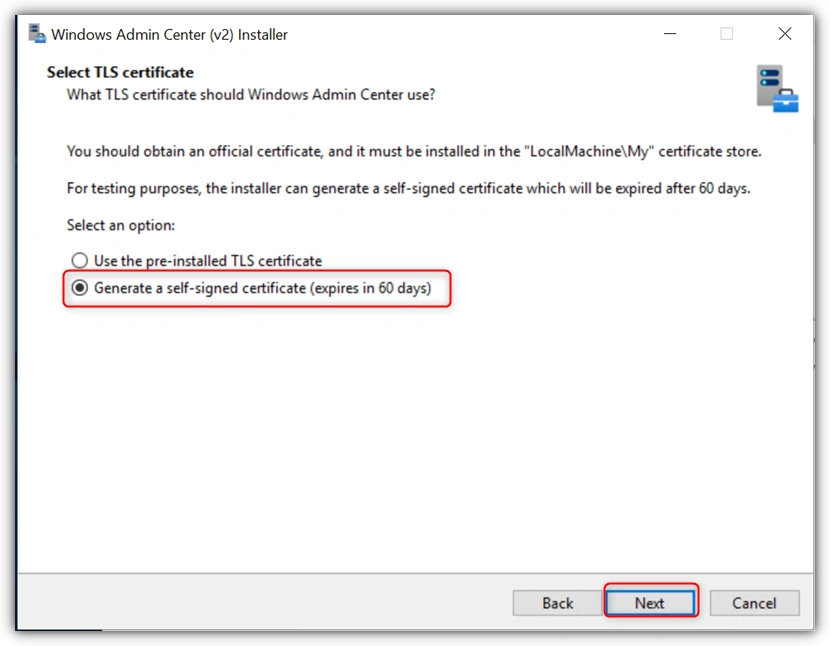
Choose a self-signed certificate or an existing SSL certificate.
Keep the default HTTPS port (443) unless you need a different one.
Click Next.
Step 6: Finish the Installation
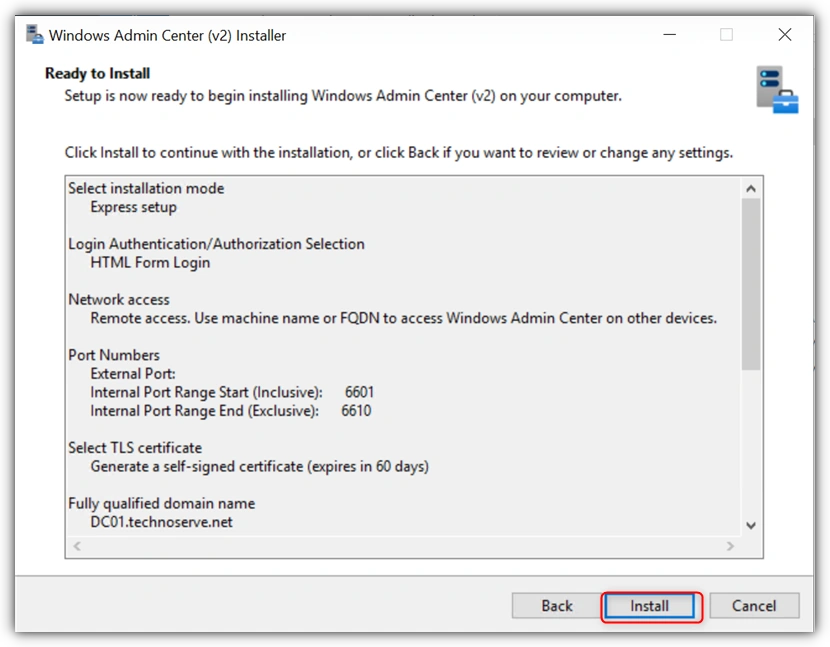
Click Install.
Wait until the installation is complete.
Click Finish.



Join the conversation! Your thoughts help the community grow.