

Here are the steps:
Step 1: Open Git Bash
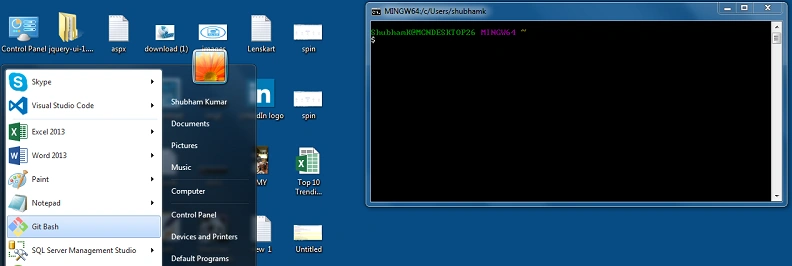
Now create your project, here we are creating our project with the name Test. The default directory where it will save is C:\Users\shubhamk\Test
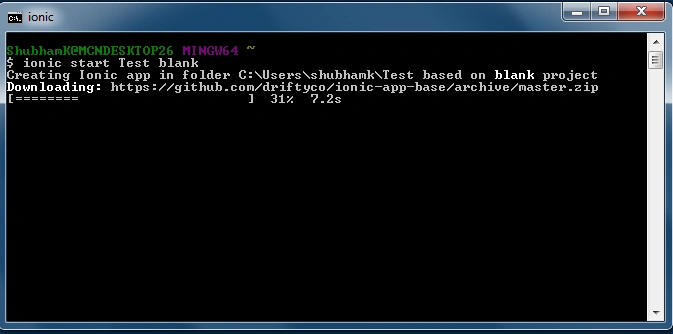
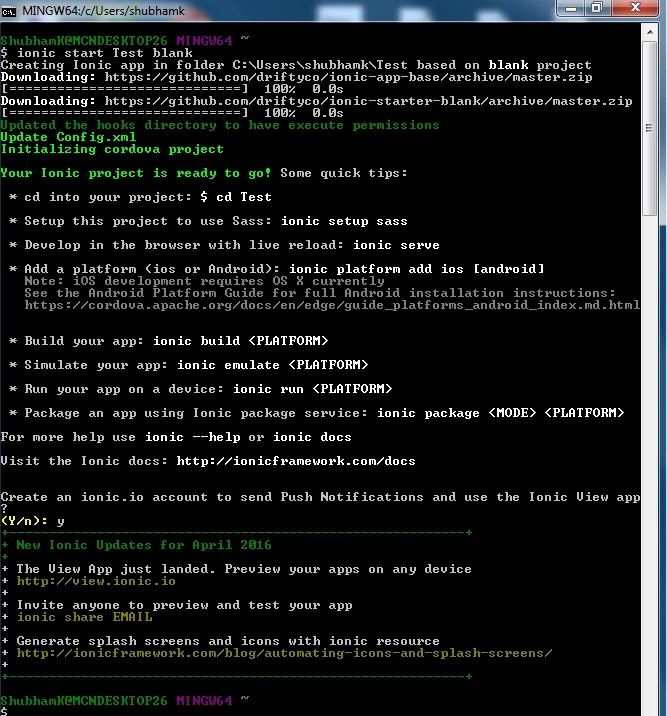
After completion we can check if our project is in its default directory.
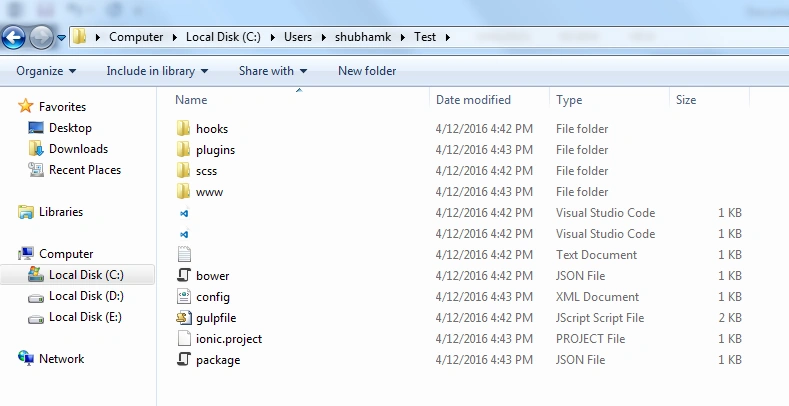
Now open your project to code in Visual Studio Code,
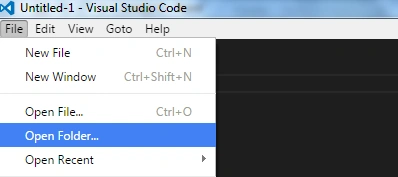
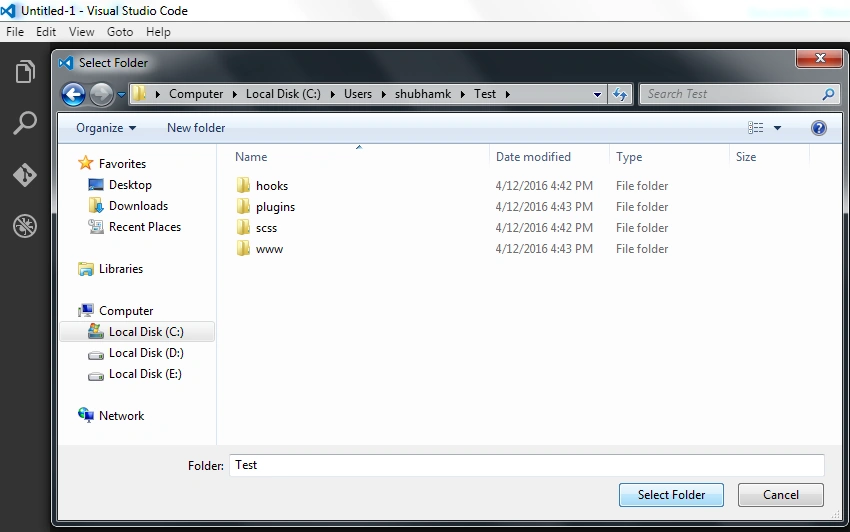
Now open index.html placed inside the www directory. It will be the default page of our application. Now run the project but first go to the directory Test using command,
$ cd Test
And then run
Now create your project, here we are creating our project with the name Test. The default directory where it will save is C:\Users\shubhamk\Test
After completion we can check if our project is in its default directory.
Now open your project to code in Visual Studio Code,
Now open index.html placed inside the www directory. It will be the default page of our application. Now run the project but first go to the directory Test using command,
$ cd Test
And then run
$ ionic serve
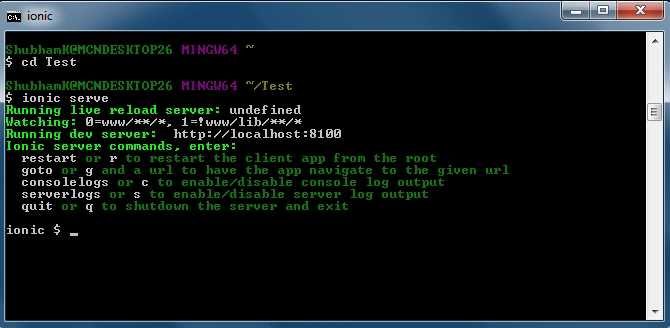
To stop the running ionic app use ionic $ q - it will stop the project.
Now we are going to use CSS components in our project which “Ionic Framework official website" states are as follows.
CSS Component - Header
Header is the region at the top of a screen that can contain various types of content. In Ionic we can create headers with a different look & feel, below we are going to discuss most of them are available. Here we are going to change in code of index.html and for every change we only need to change <ion-header-bar> classes.
Index.html
- <body ng-app="starter">
- <ion-pane>
- <ion-header-bar class="bar-light">
- <h1 class="title">Ionic Header With bar-light</h1>
- </ion-header-bar>
- <ion-content>
- </ion-content>
- </ion-pane>
- </body>
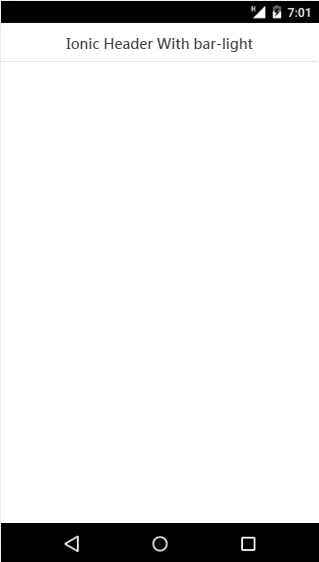
In above code we created a Header bar by using a class in its bar-light. This class will apply a light color theme on the Header. For different color theme we only need to change in class as given below:
bar-stable
- <ion-header-bar class="bar-stable">
- <h1 class="title">Ionic Header With bar-stable</h1>
- </ion-header-bar>

bar-positive

Bar-calm

Bar-balanced

bar-energized

bar-assertive

bar-royal

bar-dark

Sub Header
This bar can be placed below the original header bar. Like Header bar here also we can change the class to change the color theme specifying the type of bar.
- <body ng-app="starter">
- <ion-pane>
- <ion-header-bar class="bar-positive">
- <h1 class="title">Ionic Header With bar-dark</h1>
- </ion-header-bar>
- <ion-header-bar class="bar bar-subheader bar-calm">
- <h2 class="title">Sub Header</h2>
- </ion-header-bar>
- <ion-content>
- </ion-content>
- </ion-pane>
- </body>
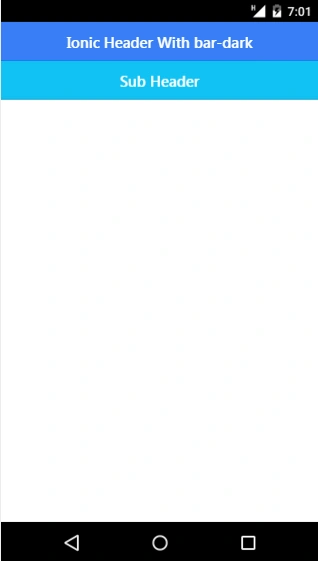
In above code inside the <ion-header-bar> we provided three different class, there 1st class is bar which is to create a bar only, after that we used 2nd class bar-subheader which is placing this bar to the below of Original Header bar and after that 3rd class is applied for color theme.
CSS- Component- Footer
As Headers, Footers are regions at the bottom of a screen that can contain various types of content. Footers have the same color options like Header.
- <body ng-app="starter">
- <ion-pane>
- <ion-header-bar class="bar-positive">
- <h1 class="title">Ionic Header</h1>
- </ion-header-bar>
- <ion-header-bar class="bar bar-subheader bar-calm">
- <h2 class="title">Sub Header</h2>
- </ion-header-bar>
- <ion-content>
- </ion-content>
- <ion-footer-bar class="bar-assertive">
- <button class="button button-clear">Left</button>
- <h1 class="title">Ionic Footer</h1>
- <button class="button button-clear">Right</button>
- </ion-footer-bar>
- </ion-pane>
- </body>
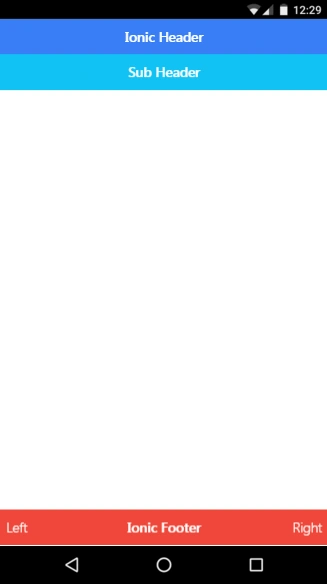
In above code we created a footer with <ion-footer-bar>, in this we also applied a class for its color & here inside this tag we also used 2 buttons and 1 heading, described inside the footer tag here that will display only inside the footer.
CSS Component- Button
In Ionic, since button also has lots of different properties like its type, size, color, outline, icons etc. in code below we are going to use all the classes of color for button.
Button colors
- <body ng-app="starter">
- <ion-pane>
- <ion-header-bar class="bar-positive">
- <h1 class="title">Ionic Header</h1>
- </ion-header-bar>
- <ion-header-bar class="bar bar-subheader bar-calm">
- <h2 class="title">Sub Header</h2>
- </ion-header-bar>
- <ion-content>
- <button class="button">Default</button><br/>
- <button class="button button-light">button-light</button><br/>
- <button class="button button-stable">button-stable</button><br/>
- <button class="button button-positive">button-positive</button><br/>
- <button class="button button-calm">button-calm</button><br/>
- <button class="button button-balanced">button-balanced</button><br/>
- <button class="button button-energized">button-energized</button><br/>
- <button class="button button-assertive">button-assertive</button><br/>
- <button class="button button-royal">button-royal</button><br/>
- <button class="button button-dark">button-dark</button>
- </ion-content>
- <ion-footer-bar class="bar-assertive">
- <h1 class="title">Ionic Footer</h1>
- </ion-footer-bar>
- </ion-pane>
- </body>
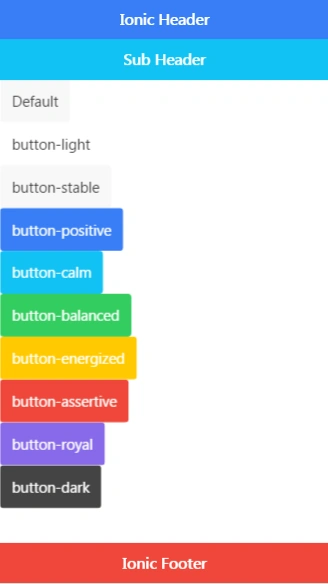
Button Types
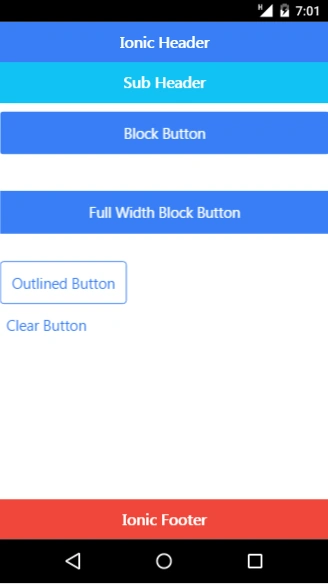
There are different types of buttons available, in below code we will use,
- Block Button
- Full-width Block Button
- Outlined Button
- Clear Button
- <button class="button button-block button-positive">Block Button</button><br/>
- <button class="button button-full button-positive">Full Width Block Button</button><br/>
- <button class="button button-outline button-positive">Outlined Button</button><br/>
- <button class="button button-clear button-positive">Clear Button</button>
- </ion-content>
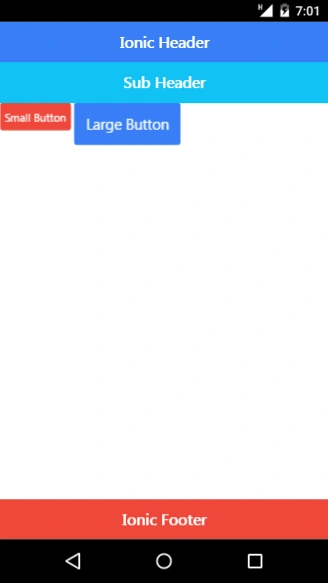
Button Sizes
Here in the below code we used small and large size for buttons.
- <button class="button button-small button-assertive">
- Small Button
- </button>
- <button class="button button-large button-positive">
- Large Button
- </button>
Button with Icons
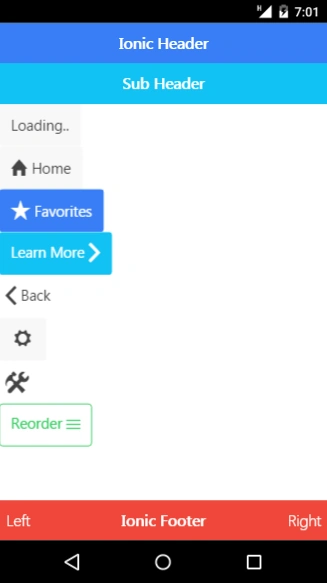
In Ionic we can add Icons to buttons using icon class. We can place icon on one side of the button by using icon-left or icon-right.
- <button class="button"><i class="icon ion-loading-c"></i> Loading..</button><br/>
- <button class="button icon-left ion-home">Home</button><br/>
- <button class="button icon-left ion-star button-positive">Favorites</button><br/>
- <a class="button icon-right ion-chevron-right button-calm">Learn More</a><br/>
- <a class="button icon-left ion-chevron-left button-clear button-dark">Back</a><br/>
- <button class="button icon ion-gear-a"></button><br/>
- <a class="button button-icon icon ion-settings"></a><br/>
- <a class="button button-outline icon-right ion-navicon button-balanced">Reorder</a><br/>
Buttons in Headers
- <ion-header-bar class="bar-positive">
- <button class="button icon ion-navicon"></button>
- <h1 class="title">Ionic Header</h1>
- <button class="button">Edit</button>
- </ion-header-bar>

Clear Buttons
- <ion-header-bar class="bar-positive">
- <button class="button button-icon icon ion-navicon"></button>
- <h1 class="title">Ionic Header</h1>
- <button class="button button-clear button-energized">Edit</button>
- </ion-header-bar>

In this article we tried to work with some of CSS Components available in Ionic Framework. Working with the Ionic framework you can easily realize this is really time saving to make any UI in ionic.
Read more articles on Ionic:
Kuppurasu NagarajPosted Apr 25, 2016, 11:55 AM
Nice Sharing
Vignesh ManiPosted Apr 25, 2016, 8:17 AM
Nice