Introduction
You can access services in Azure Storage via a secure account called an Azure Storage Account. A storage account can hold a variety of services, including disks, queues, blobs, files, tables, and so on. It functions similarly to an administrative container. Additionally, we will receive a distinct namespace for our storage resources when we create an Azure storage account. The URL is made up of that specific namespace. Every storage account name that already exists in Azure should have a unique name.
Azure Storage Account has four supported services, these are followings:
Blob Storage
File Storage
Queue Storage
Table Storage
Prerequisites
We need to require the Azure account and, in the portal, create the storage account for use in our application.
Storage Account endpoints
We will receive an endpoint to access the data in the storage account whenever we create one. As a result, every item we save in Azure Storage has an address that consists of both your specific account name and the service endpoint that serves as the storage account's endpoint.
For instance, if your general-purpose account is called jaiminstorageaccount, the default endpoints for various services would typically look something like this:
Create Azure Storage Account
Let's look at how to set up a storage account in the Azure portal and talk about some crucial storage account settings:
Step 1: Login to the Azure portal. On the portal home screen, you will click on “Create a resource”.

Step 2: In the search box, enter the storage account, select the storage account option in the suggestion box, and click on the storage account.

Step 3: Click on the create button.

Step 4: Please enter the required field information for the basic details of the storage account.
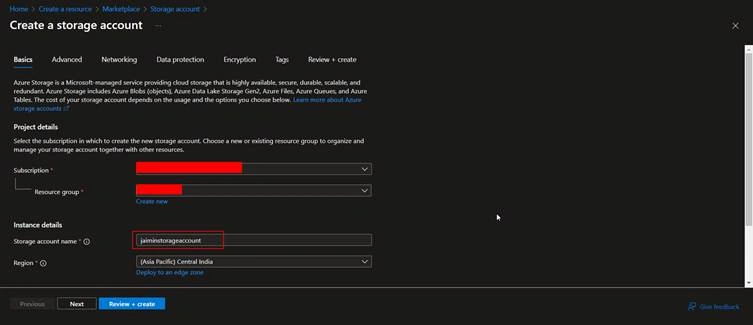
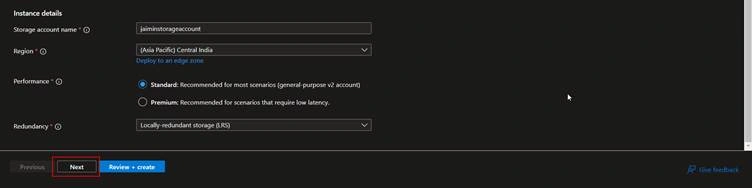
Once you have entered all the required fields, you need to click on the “Next” button.
Step 5: You need to configure the Advanced Storage account details based on your requirements.
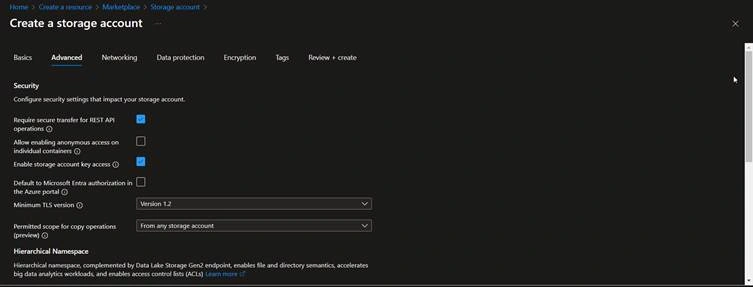
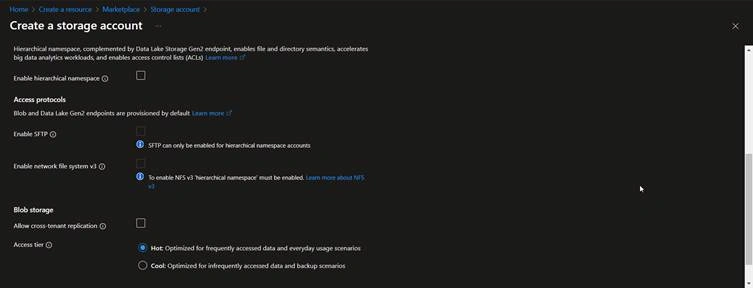
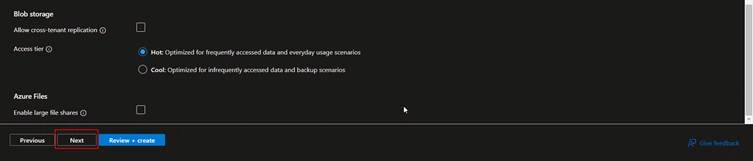
Once the Advanced Storage account details are filled in, you need to click on the “Next” button, or if you want to make some modifications to the “Basic” details, you need to click on the “Previous” button.
Step 6: You will be redirected to the networking tab.

Once the Networking tab details are filled in, you need to click on the “Next” button, or if you want to make some modifications on the “Advanced” tab, you need to click on the “Previous” button.
Step 7: You will be redirected to the data protection tab.
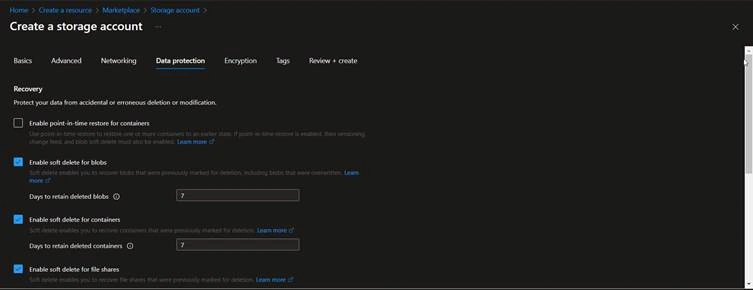
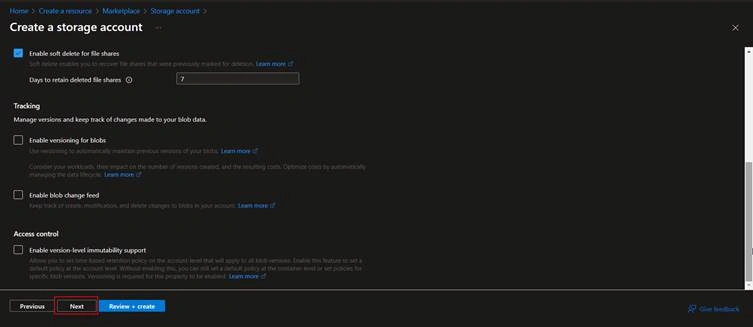
Once the Data Protection tab details are filled in, you need to click on the “Next” button, or if you want to make some modifications to the “Networking” tab, you need to click on the “Previous” button.
Step 8: You will be redirected to the encryption tab.
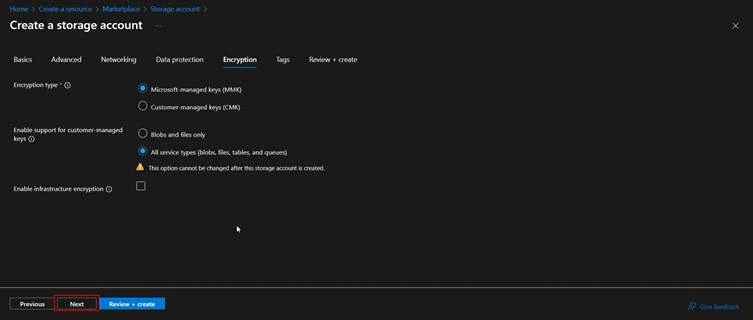
Once you have filled in the encryption tab details, click on the “Next” button, or if you want to make some modifications to the “Data Protection” tab, then you need to click on the “Previous” button.
Step 9: You will be redirected to the tags tab.
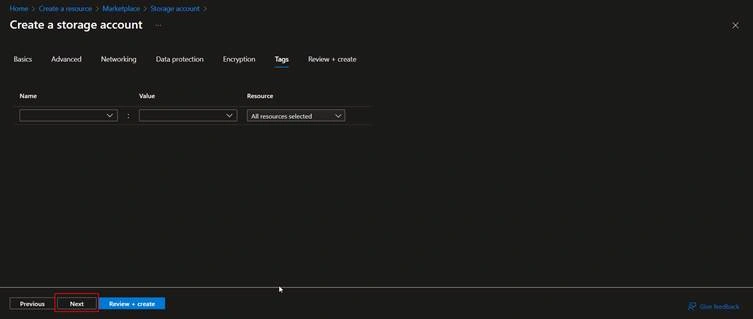
Once you have filled in the Tags tab details, click on the “Next” button, or if you want to make some modifications to the “Encryption” tab, you need to click on the “Previous” button.
Step 10: Once you click on “Next” or the “Review + create” button, the storage account will check the validation.
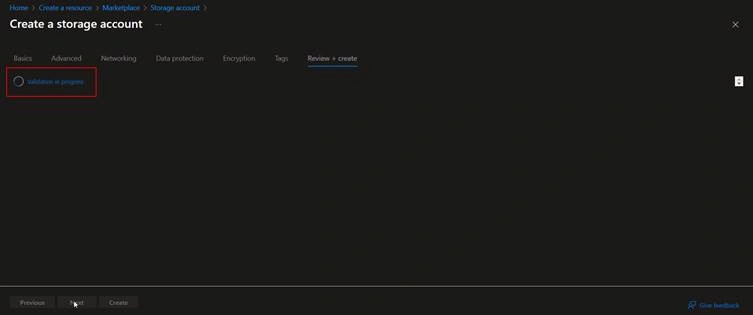
Step 11: Once all validation is checked, aftera few looks, you will see the below screen.
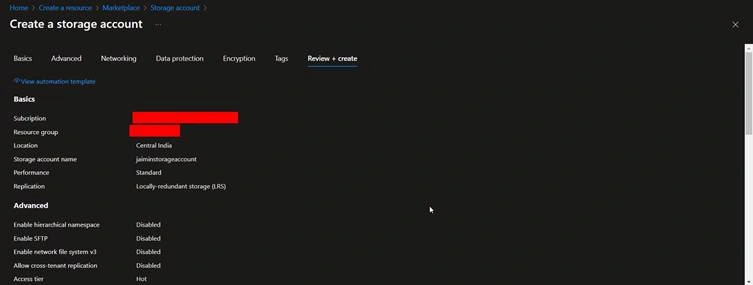
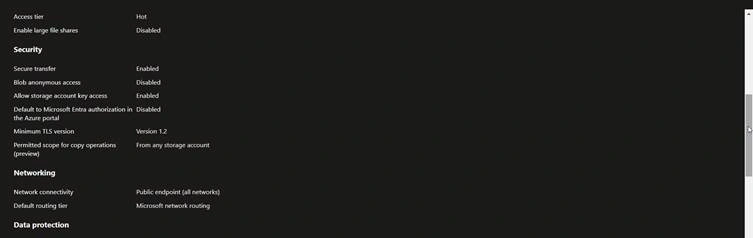
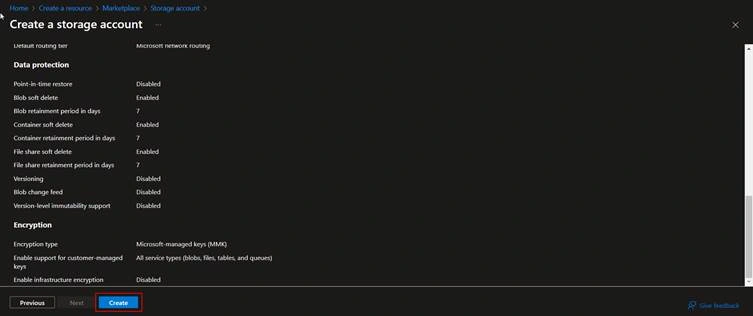
Once you have reviewed the whole configuration of the storage account, you need to click on the “Create” button, or if you want to make some modifications to the “Tags” tab, you need to click on the “Previous” button.
Once you click on the “Create” button, our resource is created on the Azure side.
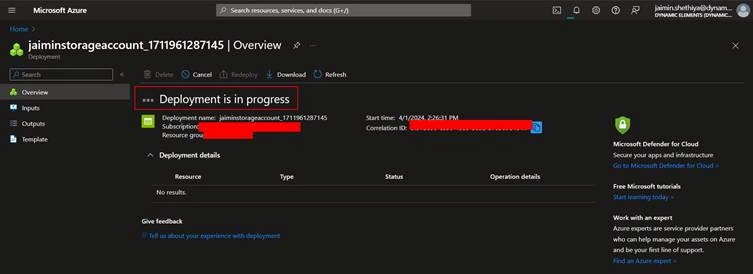
Once everything has been created related to the Azure Storage Account, you will be able to see the below screen in your Azure account, or you will be notified as well.
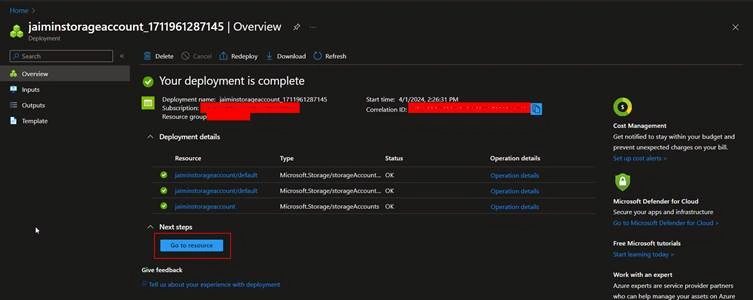
Click on the “Go to resource” button, and you will be redirected to your storage account.
Here are the details of your storage account created in Azure.
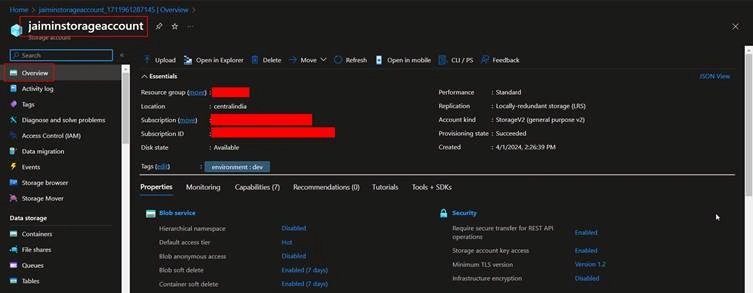
Let's review some of the storage account's important configuration parameters and features.
Activity Log: Every Azure resource has an activity log available for viewing. It offers a history of all the actions taken with respect to that specific resource. It applies to all of Azure's resources.
Access Control: We can assign various individuals access to the storage account here.
Tags: This is where we add new tags or change the ones that already exist. In the event that we encounter issues, we are also capable of diagnosing and resolving them.
Events: This storage account has events that we may subscribe to. These events can be logic apps or functions. A blob is made, for instance, in a storage account. A logic app containing some of the blob's metadata will be launched by that event.
Storage explorer: The storage explorer allows you to view and manipulate the blobs, files, queues, and tables that are stored in your storage account. Although this is primarily a web version, you can download and use the desktop version of this storage Explorer as well.
Access Keys: These can be used to create programs that will allow us to access the data in the storage account. We might not want to explicitly grant access to this access key, though. We might want to make SAS keys. Here, we have restricted access for a set amount of time to produce particular SAS keys. Then provide our engineers that SAS signature. The access keys are another method. Blanket access is granted via the access key. Therefore, we advise against giving the access keys to anybody but the person who set up the storage account.
Cross-Origin Resource Sharing, or CORS: The domain name and permitted operations can be mentioned here.
Encryption: If we wish to encrypt the data in the storage account, we can specify our own key here. To pick the key vault URI where the key is located, we must click the check box.
(SAS) Shared Access Signature: In this case, we can create SAS keys with restricted access for a finite amount of time and give that data to developers creating apps that use the storage account. SAS is used to retrieve data from the storage account.
Firewalls and virtual networks: In this case, we can set up the network so that access to this storage account is permitted from specific virtual networks or IP address ranges.
Furthermore, we are able to set up comprehensive threat prevention and enable the storage account to store static websites.
Properties: The storage account's properties are displayed here.
Locks: We are able to implement locks on the services here.
These are the many configuration options available to us; the remaining options are associated with various storage account services, such as blob, file, table, and queue.
We learned the new technique and evolved together.
Happy coding!!!


Join the conversation! Your thoughts help the community grow.