

This article shows how to create an item in another list using a NINTEX workflow in SharePoint. I have created two custom lists named “Source” and Destination”.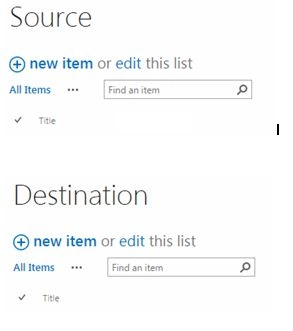
I have created a NINTEX workflow in the source list and when I run the workflow for an item, an item will be created in the destination list.
Workflow Design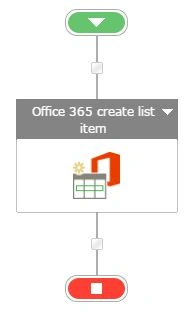
Create a list item workflow:
- Navigate to the SharePoint site.
- Click on the Source List in the quick launch bar.
- Click on the list tab and then click on the NINTEX Workflow button in the ribbon interface.

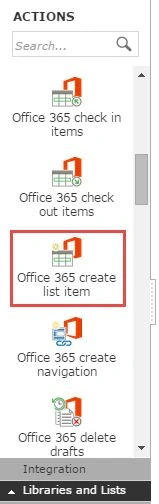
- Drag and drop an Office 365 create list item action from the Libraries and Lists section.
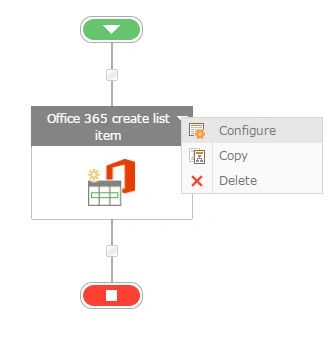
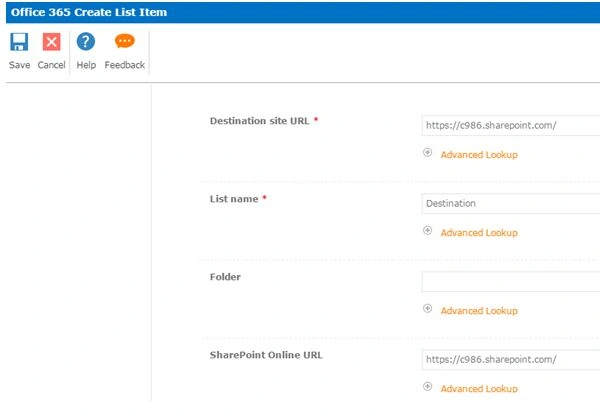
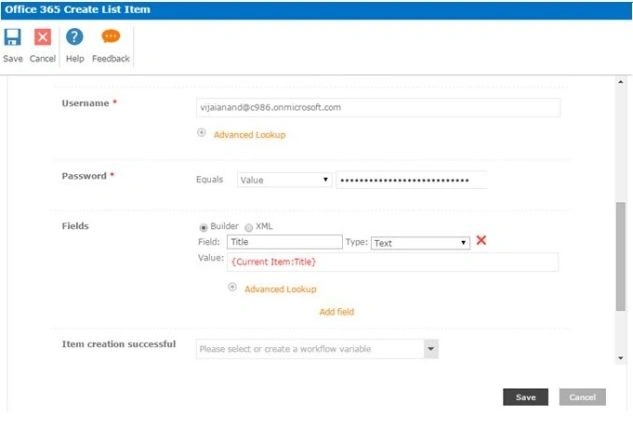
- Click on the down arrow and then click on Configure.
- Set all the following fields as shown below and then click on the Save button.
Publish the workflow
- Click on the Publish button in the ribbon interface.
- Make sure the Title is set. Optionally you can set the values for Description. Select the Task List, History List and Start options.
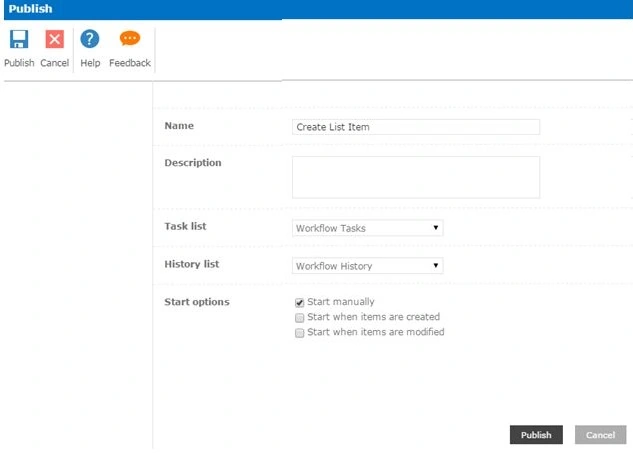
- Click on the Publish button. The Workflow will be validated.
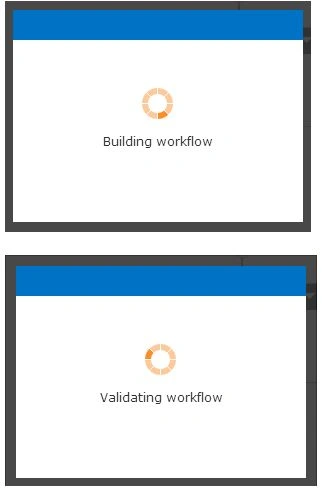
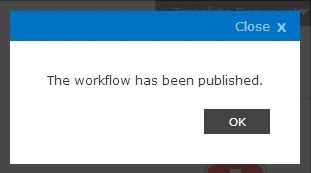
- The workflow is published successfully.
Test the workflow
- Navigate to the Source list.
- Create a new item.

- Select the item and then click on workflows in the ribbon interface.
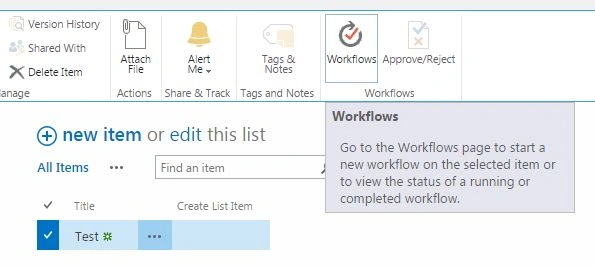
- Click on Create List Item Workflow and then click on the Start button.
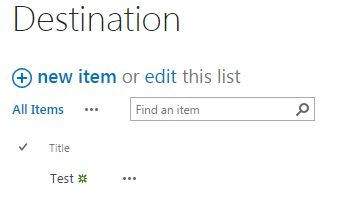
- After a few minutes a new item will be created in the destination list.
Summary
Thus in this article you saw how to create an item in another list using NINTEX workflow in SharePoint 2013 Online.
Jacob RobinsonPosted Jul 2, 2015, 8:02 AM
Nice One..
SriramPosted Jul 2, 2015, 7:16 AM
Good..........