
This article explains how to Create, Update and Delete a List Item using a builtin activity available in the workflow toolbox for SharePoint 2013 in Visual Studio 2013.
Implementation Procedure
- Create a new Empty SharePoint 2013 Project named CreateUpdateDeletListItem
- Choose Deploy as sandboxed solution in the next screen and click Finish
- Add New Item as Workflow and provide the name as WFCRUDOperation
- In the next window provide the name of the Workflow as “WF CRUD Operation” and select the List Workflow option and click Next.
- In the next window select List, History List and Task List as shown below and click Next.
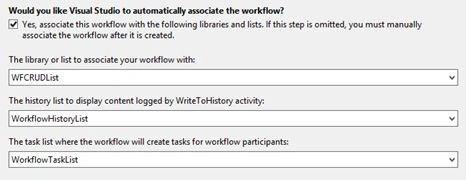
- Leave the default selection (A user manually starts…) and click Finish
- Drag and drop the History Activity and change the display name to “Log WF Started”
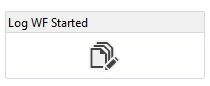
- Provide the input Message as “WF Started” in the Expression Editor Window.

- Drag and drop the CreateListItem activity and Set the ListId property to the List you want to insert the new item in.

- Click the (…) button next to the ListItemPropertiesDynamic as shown below and provide the value as in the left side window (ListItemPropertiesDynamicValue).

- Repeat Step 7 and 8. Provide the Display Name as “Log List Item Creation” and provide the input message as “List Item Created”.
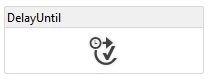
- Drag and drop the Delay Until activity as below.
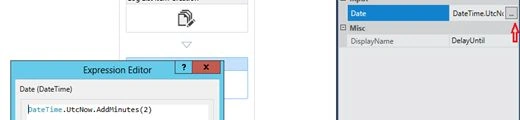
- Click on the (…) button next to the Date properties and provide the value as shown below.
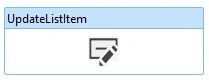
- Drag and drop the UpdateListItem activity to the designer as below.
- Click on the (…) button to open the ItemId window and type 1 and click OK.
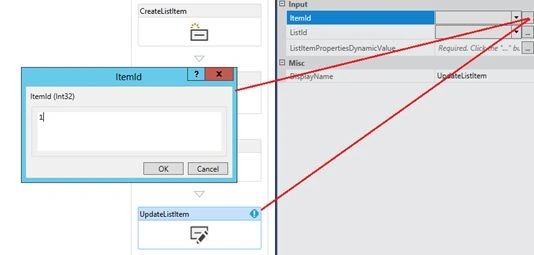
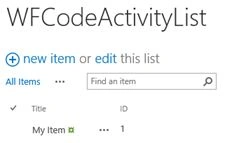
- Set the ListId property as WFCodeActivityList and check that the WFCodeActivityList contains the ID 1 as below.
- Click on the (…) button next to the ListItemPropertiesDynamicValue and provide the value as shown below.


- Drag and drop the WriteToHistory activity and provide the display name as “Log Update Item” and set the message to “Item Updated”.
- Drag and drop the Delay activity and set the date properties to DateTime.UtcNow.AddMinutes(1).
- Drag and drop the DeleteListItem and set the properties as below.
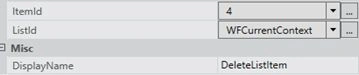
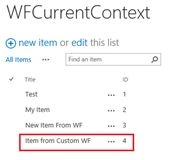
- Ensure that the WFCurrentContext list has the item ID 4 as shown below.
- Drag and drop the WriteToHistory activity and provide the display name as “Log Delete Item” and set the message as “Item Deleted”.
- Drag and drop the WriteToHistory activity and provide the display name as “Log WF Completed” and set the message as “WF Completed”.
- Build and deploy the application.
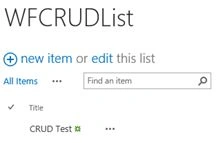
- Add the new Item into the List that the workflow is associated as shown below.
- Click on the (…) and select Workflows from the menu list.

- Click on the link.

- Repeat Step 26 and click on started.

- Refresh the page and you will see the List Item Created Message will be displayed in the Workflow History.

- Go to the WFSPLIstObjects List and see that the new item is created.

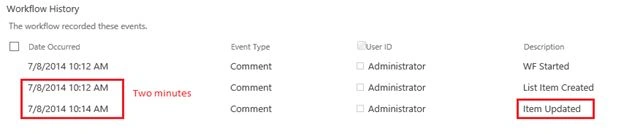
- Then wait for 2 minutes. In this time Delay the activity will execute.
- Again go the History list page and see the Item Updated Message as below and see the time.
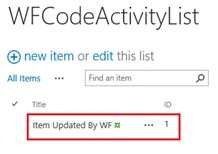
- Let go to the WFCodeActivityList and see the Item has been updated by WF.
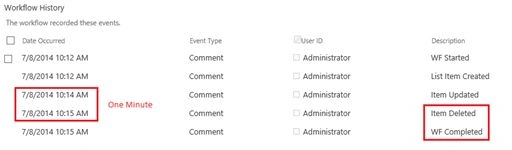
- Then wait for 1 minute. In this time Delay the activity will execute.
- Go to the history page and see the result as shown below.
- Then go to the WFCurrentContext list and see the output as below.

Join the conversation! Your thoughts help the community grow.