

This article will show how to show an image preview when uploading images in ASP.NET using jQuery.
The following is my jQuery script and aspx code:
- <%@ Page Language="C#" AutoEventWireup="true" CodeFile="Default.aspx.cs" Inherits="_Default" %>
- <!DOCTYPE html PUBLIC "-//W3C//DTD XHTML 1.0 Transitional//EN" "http://www.w3.org/TR/xhtml1/DTD/xhtml1-transitional.dtd">
- <html xmlns="http://www.w3.org/1999/xhtml">
- <head runat="server">
- <title>Preview Image While Upload</title>
- <script src="jquery-1.8.2.js" type="text/javascript"></script>
- <script type="text/javascript">
- function ShowPreview(input) {
- if (input.files && input.files[0]) {
- var ImageDir = new FileReader();
- ImageDir.onload = function(e) {
- $('#impPrev').attr('src', e.target.result);
- }
- ImageDir.readAsDataURL(input.files[0]);
- }
- }
- </script>
- </head>
- <body>
- <form id="form1" runat="server">
- <table cellpadding="10" cellspacing="4" width="70%" align="center" style="border: Solid 10px Green;
- font-weight: bold; font-size: 16pt; background-color: Skyblue; color: Blue;">
- <tr>
- <td align="center">
- Upload Images
- </td>
- </tr>
- <tr>
- <td>
- Select Your File To Upload #:
- <input type="file" name="ImageUpload" id="ImageUpload" onchange="ShowPreview(this)" />
- <asp:Button ID="btnUpload" runat="server" Text="Upload" />
- </td>
- </tr>
- <tr>
- <td>
- <asp:Image ID="impPrev" runat="server" Height="200px" />
- </td>
- </tr>
- </table>
- </form>
- </body>
- </html>
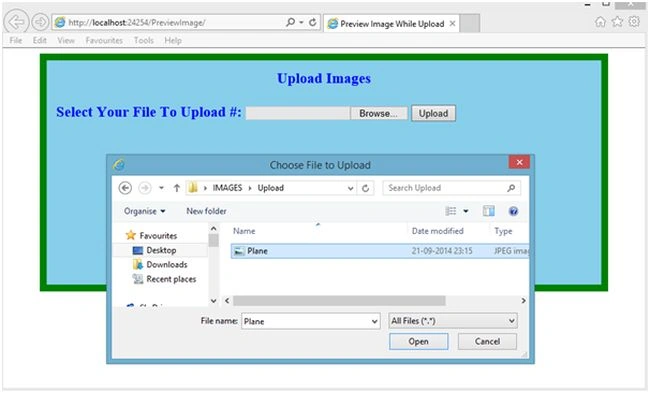
Image 1
After selecting an image you can see your image.
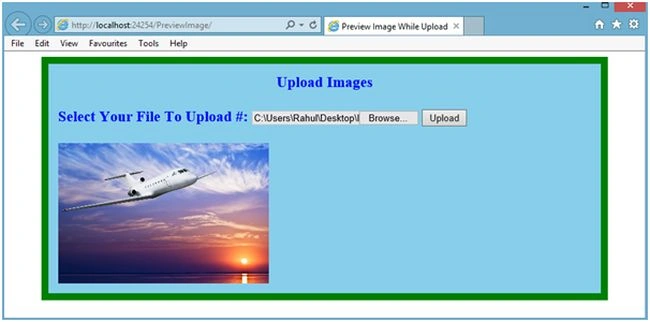
Image 2
Siva RonalloPosted Jun 10, 2020, 8:43 AM
I am using VisualStudio 2019 it dosent work
vikas jainPosted Apr 3, 2019, 12:17 AM
Dear Sir, I used that code in asp.net child page, it select file but don't display preview of that image
Agbele TimothyPosted Aug 9, 2017, 4:50 AM
Simple and amazing. thank you Rahul Saxena
Guest UserPosted Jul 6, 2015, 5:28 AM
it does not work for me. am using vb 2008
Vishal SaiPosted May 15, 2015, 6:07 AM
will it work in child page
Rahul Kumar SaxenaPosted Feb 26, 2015, 1:01 PM
Thanks 2 all...
Rahul Kumar SaxenaPosted Feb 26, 2015, 1:01 PM
please check your jQuery reference Path...