

This article describes an alternative way to load the image into a WriteableBitmap using FileOpenPicker in Windows Store Apps using XAML.
Introduction
Here I will show you how to load an image using PixelBuffer. The Pixel buffer or pBuffer is an extension to OpenGL which allows off-screen rendering. It expands upon Vertex Buffer Objects (VBO) in order to store not only vertex data but also pixel data into the buffer objects.
In my previous article I will show you how to load an image using File Stream in Windows Store Apps. You can see it from here:
http://www.c-sharpcorner.com/UploadFile/99bb20/loading-image-from-file-stream-in-windows-store-apps/
Now let's start to load an image using a PixelBuffer object.
Step 1
Create a Blank Windows Store Apps using XAML.
Step 2
Here is code of XAML markup for UI.
<Grid x:Name="LayoutRoot" Background="White">
<Grid.RowDefinitions>
<RowDefinition Height="Auto"/>
<RowDefinition Height="*"/>
</Grid.RowDefinitions>
<Button x:Name="Button1" Content="Select image..." Margin="0,0,10,0" Grid.Row="2"Grid.Column="0" />
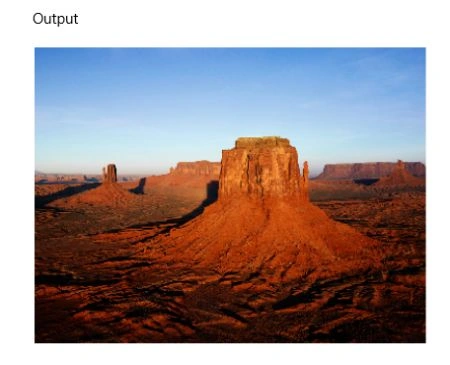
<Grid x:Name="Output" HorizontalAlignment="Left" VerticalAlignment="Top" Grid.Row="1">
<Image x:Name="Image1" Stretch="None" />
</Grid>
</Grid>
Step 3
Add some namespace to use the libraries.
using System.Threading.Tasks;
using Windows.Graphics.Imaging;
using Windows.Storage.Pickers;
using Windows.Storage;
using Windows.Storage.Streams;
using Windows.UI.Xaml.Media.Imaging;
Step 4
Now, create an object of FileOpenPicker to pick the file from the system, also add the filter type for the file.
FileOpenPicker picker = new FileOpenPicker();
picker.SuggestedStartLocation = PickerLocationId.PicturesLibrary;
picker.FileTypeFilter.Add(".png");
picker.FileTypeFilter.Add(".jpeg");
picker.FileTypeFilter.Add(".jpg");
picker.FileTypeFilter.Add(".bmp");
Step 5
Pick the file using the PickSingleFileAsync() method, as in:
StorageFile file = await picker.PickSingleFileAsync();
Step 6
Check if the file is null. If not then open the file in stream.
if (file != null)
{
using (IRandomAccessStream fileStream = await file.OpenAsync(Windows.Storage.FileAccessMode.Read))
}
Now Scale the image to the appropriate size.
BitmapDecoder decoder = await BitmapDecoder.CreateAsync(fileStream);
BitmapTransform transform = new BitmapTransform()
{
ScaledWidth = Convert.ToUInt32(WriteableBitmap.PixelWidth),
ScaledHeight = Convert.ToUInt32(WriteableBitmap.PixelHeight)
};
Load an image into WriteableBitmap by decoding it into a byte stream.
PixelDataProvider pixelData = await decoder.GetPixelDataAsync
(
BitmapPixelFormat.Bgra8,BitmapAlphaMode.Straight,transform,ExifOrientationMode.IgnoreExifOrientation,
ColorManagementMode.DoNotColorManage
);
byte[] sourcePixels = pixelData.DetachPixelData();
Open a stream to copy the image contents to the WriteableBitmap's pixel buffer.
using (Stream stream = WriteableBitmap.PixelBuffer.AsStream())

Join the conversation! Your thoughts help the community grow.