

Introduction
In today’s article, we will look at Serverless functions. We will look at what they are, what are the advantages of serverless functions, how we can create them in C# using Visual Studio 2019, and how to deploy them in the cloud in Azure. We will create a simple function for this process. However, the same principle will apply for more complex functions.
What are Serverless Functions and their advantages?
In the Azure cloud, we have the PAAS infrastructure defined as Platform as a Service. Here we are just concerned with the application and the complete infrastructure is handled by Azure. We are not concerned with the machine maintenance, patching, software upgrades etc. We can also turn on automatic scale out options based on the usage of our application. We only specify the platform properties (Number of CPUs, RAM, Operating system etc.) and the rest is all taken care of by the platform. However, we need to pay for the platform on a time basis. This is irrespective of how much the application is used on the platform. Taking this setup even further, we have the option of Serverless functions deployed in function apps, which allow us to deploy code in the form of functions to carry out various tasks and for this we are only billed on the times this function is used and not on a time basis. This is useful for functions not used too often. The complete infrastructure of scaling these functions is handled by the Azure platform.
Creating a Serverless Function
We will create a Serverless function using C# in Visual Studio 2019 Community Edition. We will use the default skeleton function created by Visual Studio and go through the main concepts. After getting a good understanding of the basic concepts of triggers and binding, building any type of function will be simple. So, let us begin.
We first start Visual Studio 2019 Community Edition. Also, ensure the Azure workload is added to our installation in order to use the Azure templates.
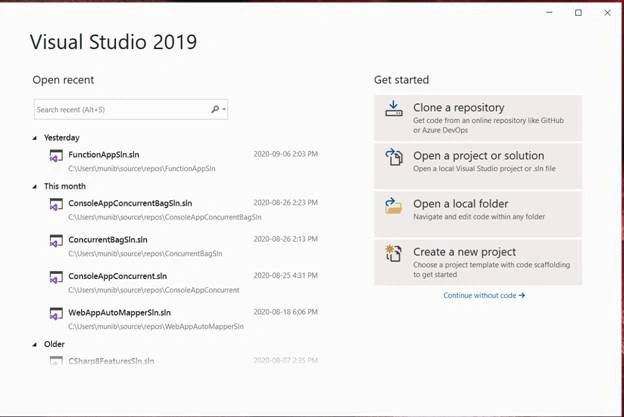
Next, select to “Create a new project”,
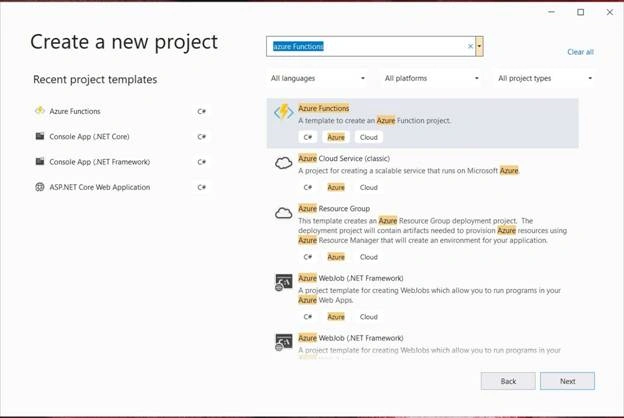
Search for Azure functions and select the template as above,
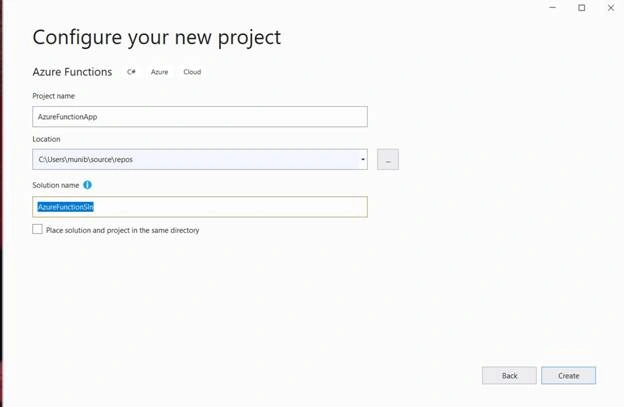
Enter a project and solution name.
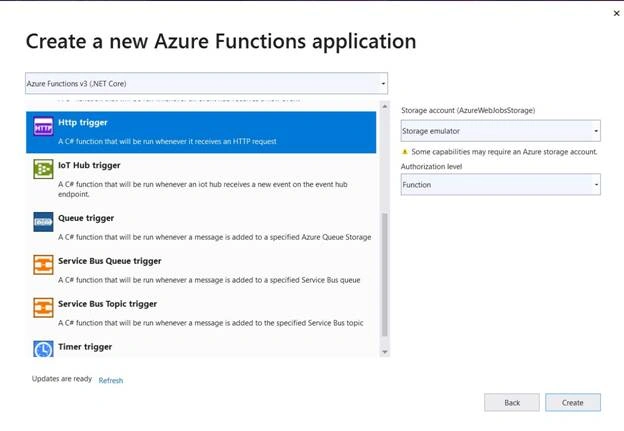
The next step is to select the “Trigger type”. This is the action that will execute this function. For this article, we will select “Http trigger”. This trigger will execute via a Http call.
We can select from several triggers including Queue trigger which will run every time an item is added to an Azure Queue or a Timer trigger which will run the function on specific times. I would recommend you go through the list of triggers to see what possible triggers could be used. Once, selected the function is created as below:
- using System.IO;
- using System.Threading.Tasks;
- using Microsoft.AspNetCore.Mvc;
- using Microsoft.Azure.WebJobs;
- using Microsoft.Azure.WebJobs.Extensions.Http;
- using Microsoft.AspNetCore.Http;
- using Microsoft.Extensions.Logging;
- using Newtonsoft.Json;
- namespace AzureFunctionApp {
- public static class Function1 {
- [FunctionName("Function1")]
- public static async Task < IActionResult > Run(
- [HttpTrigger(AuthorizationLevel.Function, "get", "post", Route = null)] HttpRequest req, ILogger log) {
- log.LogInformation("C# HTTP trigger function processed a request.");
- string name = req.Query["name"];
- string requestBody = await new StreamReader(req.Body).ReadToEndAsync();
- dynamic data = JsonConvert.DeserializeObject(requestBody);
- name = name ?? data?.name;
- string response Message = string.IsNullOrEmpty(name) ? "This HTTP triggered function executed successfully. Pass a name in the query string or in the request body for a personalized response." : $ "Hello, {name}. This HTTP triggered function executed successfully.";
- return new OkObjectResult(responseMessage);
- }
- }
- }


ankitPosted Nov 3, 2020, 1:53 PM
Thanks for the article. Its very useful but the images are not clear