
In today's section, we will see, how to setup VM with Visual Studio 2015 image in Azure. Azure provides number of options while setting up the VM. You just need to select the ideal one which suits you as shown in the following screenshot.
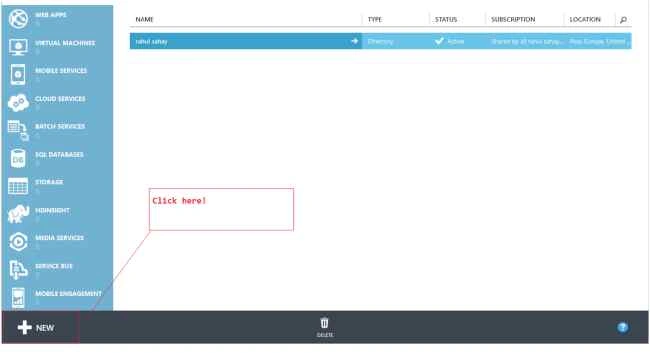

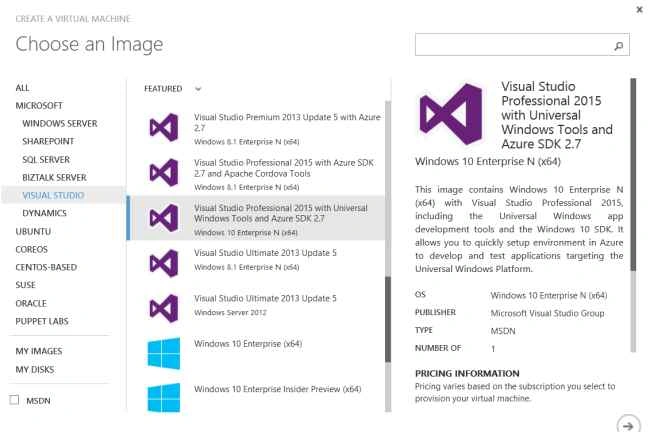


Above shown steps are just VM steps creation. Once, these steps are done, then you will land on your dashboard page, wherein you will see that your VM is getting provisioned like shown below.
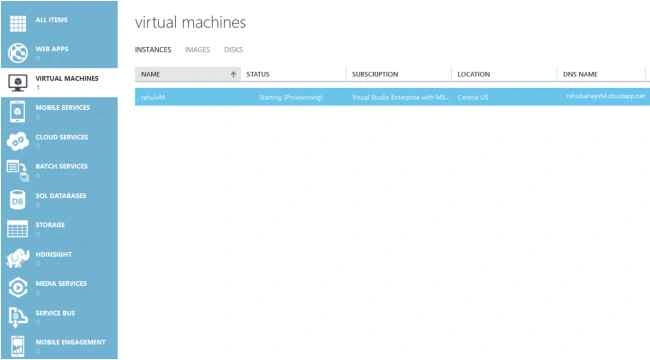

However, provisioning process will take couple of minutes. Once it is done it will display the options to connect to VM.
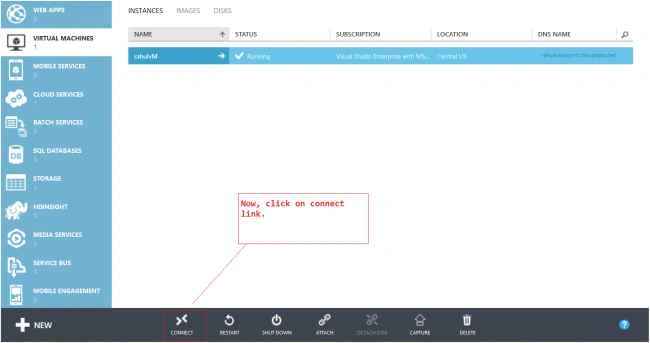
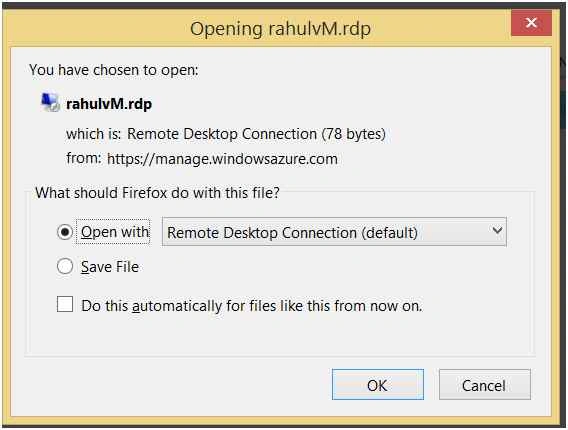
This will also pop-up one window to download the .rdp file.
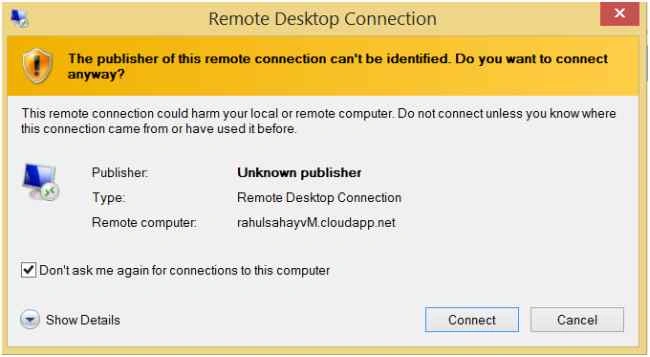
Then, with the credentials which you provided while setting up the same, you can login to your VM as in the following screenshot:
Hence, once you logged in successfully, you will see the following windows 10 environment with Visual Studio 2015 installed on it.

I hope, you would have liked today's discussion. We will delve further on this in coming modules. Till then stay tuned and Happy Coding.

Setting Up Virtual Machine In Azure
7 Comments
Join the conversation! Your thoughts help the community grow.
Sign in to leave a comment.
Harshad PansuriyaPosted Oct 20, 2015, 3:21 AM
Nice one
Sibeesh VenuPosted Oct 20, 2015, 3:07 AM
Nice Share
Nilesh JadavPosted Oct 20, 2015, 1:13 AM
Great Work sir !!
Ramchand RepallePosted Oct 20, 2015, 12:43 AM
Nice..
Humayun Kabir MamunPosted Oct 20, 2015, 12:22 AM
Thanks Rahul...
Mukesh KumarPosted Oct 19, 2015, 11:31 PM
Good one
Mohammed IbrahimPosted Oct 19, 2015, 9:58 PM
nice