

Sending email is one of the most common functionalities that needs to be developed in almost every project irrespective of the nature of the project.
Based on the new development paradigms introduced by Microsoft, the recommended development approach prefers to make use of Client Side Object Model and REST API for developing functionalities for SharePoint 2013.
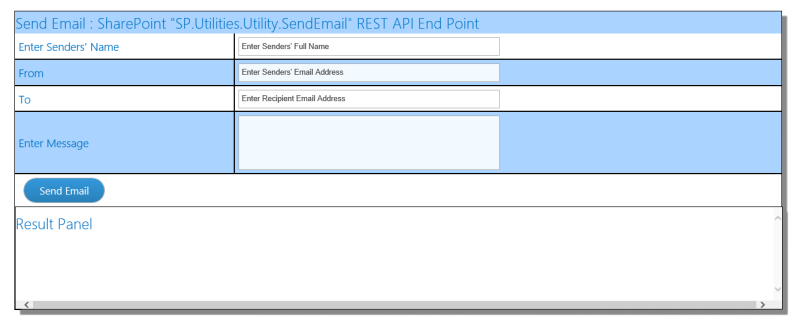
In this article, by moving along the same lines, we will discuss how to develop a mail client for SharePoint Online/2013, using REST API end point exposed by SharePoint 2013.
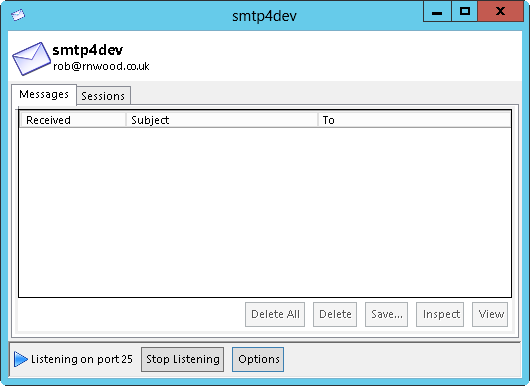
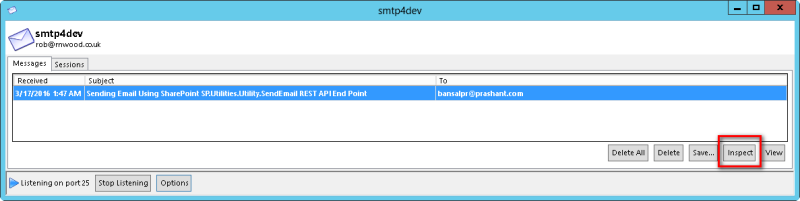
In this demo, I will make use of OOB content editor Web part to executing JavaScript code and a virtual mail Utility “smtp4dev”, which is available on CodePlex for the free download. “smtp4dev” allows you to test the mail functionality by intercepting incoming mails, using a thin mail client by configuring a local SMTP Server in your development VM.
I have mentioned quite a number of such useful tools in one of my earlier blog posts, SharePoint Developer Tools – Get Your Gears and recommend you visit it for the details on the tools, which can be very helpful in enhancing the developer productivity, while working in SharePoint Environment.
Let’s start by writing JavaScript code and since we are making use of content editor Web part, we need to perform some additional tasks
- Open SharePoint Designer.
- Visit Site Assets Library.
- Add a new Text file and give it a proper name of your choice.
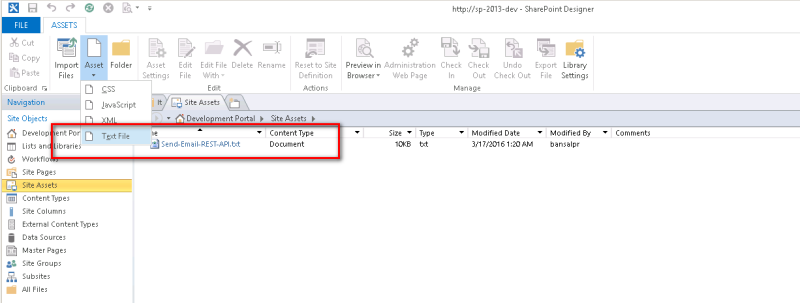
In the text file, add the code, as shown in the steps given below.
Step 1
CSS of your choice is to build the UI, as desired. In my case, I put some CSS classes for the UI of the mail client.
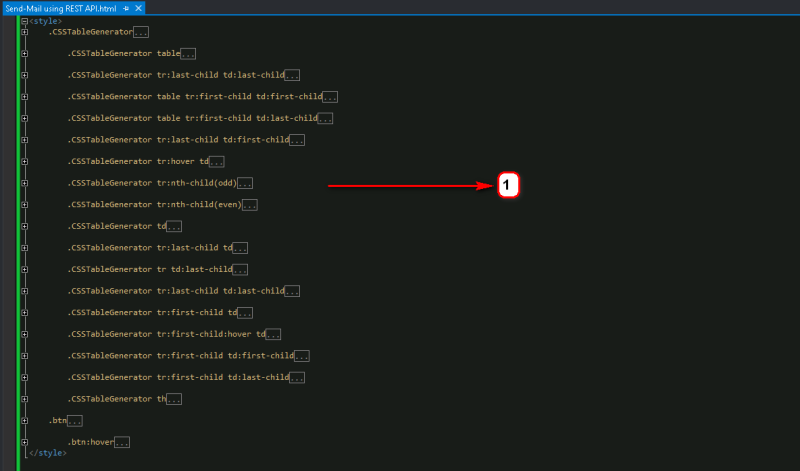
Step 2
Add some HTML elements, which designs the UI for the mail client and apply CSS classes appropriately.
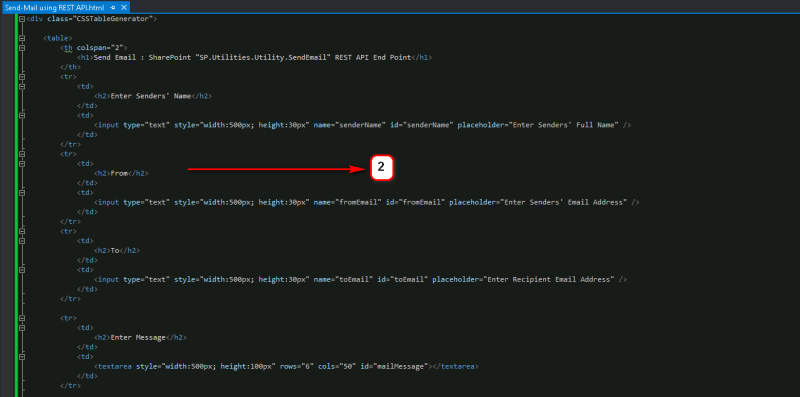
Step 3
Add the reference to “jquery.js”, “sp.runtime.js” and “sp.js” files.

Step 4
Add “document.ready” function to bind the click even of the button with the appropriate event handler.

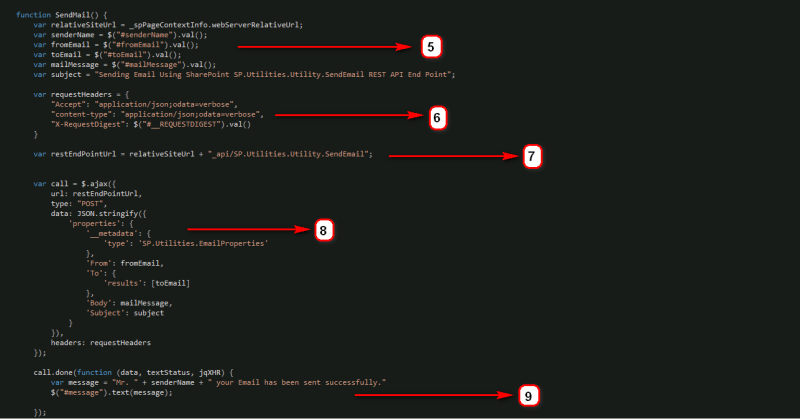
Inside Event Handler function “SendMail ()”, we will proceed with the code, as shown below.
Step 5
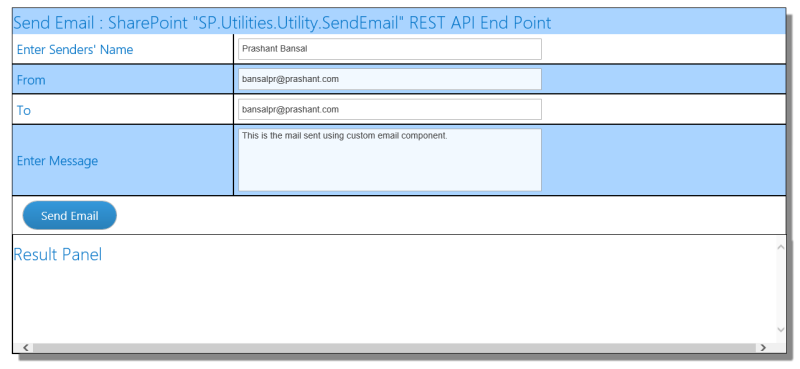
Read the values from UI control to prepare the E-mail content to be sent.
Step 6
Prepare the Request Header object to be sent along with REST API call to SharePoint. This object is necessary to provide the execution details to be authenticated by SharePoint
Step 7
Prepare REST API URL to pass into the subsequent call by making use of the page context variable.
Step 8
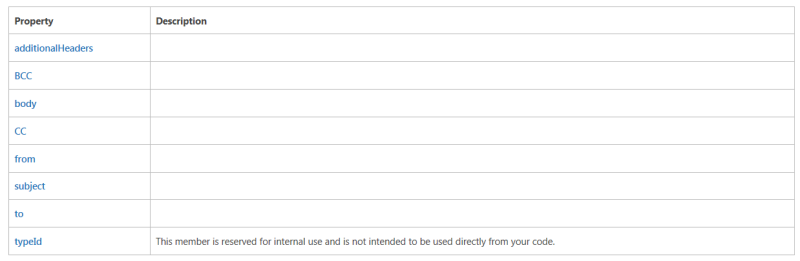
Prepare API call by configuring the metadata object of type “SP.Utilities.EmailProperties”. It is worth spending time reviewing this object for a while to notice what all properties are exposed by this object. We can specify From Email, To Email, CC Email, and subject & body of the mail within this object
Step 9
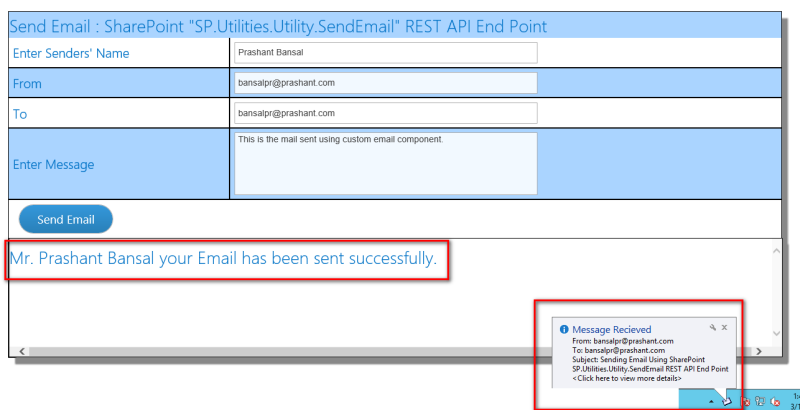
In the success call back, we can perform the desired action. In this demo, we are just writing down a success message to the Result Panel.
With this, we are all done with the coding and now it is the time to create a new page and add content editor Web part to the page
- Go to the site page library.
- Add a new Web part page.
- On the Web part page, click Add Web part link.
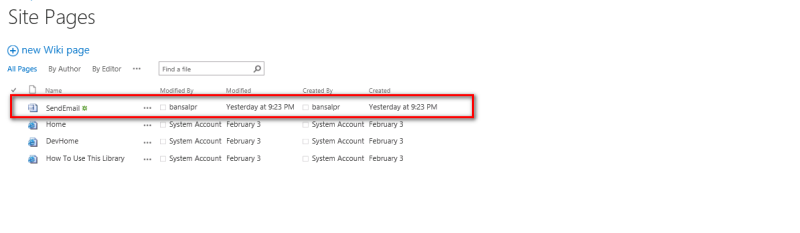
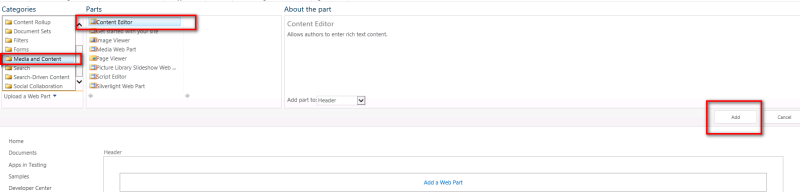
- From the Web part Picker, choose “Content Editor” WebPart that falls under “Media and Content” category.
- Click add to add the Web part to the page.
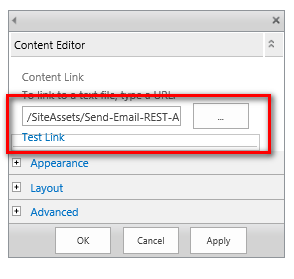
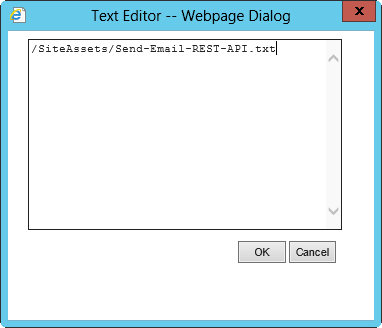
Next thing is to add the reference to the JavaScript code file, which we have created in the steps above.


Daniel KPosted Apr 15, 2017, 3:35 PM
I'm a SharePoint Administrator...Please suggest me How to learn SharePoint Online Administration
Daniel KPosted Apr 15, 2017, 3:34 PM
Thank you Prashanth :)
Vishal PrajapatiPosted Feb 7, 2017, 11:02 PM
Thanks for sharing.......