

In this article, we are going to create a single page application in Angular 4. In this application, we can add different items from the text box and remove the items from the list, as shown below.
Output
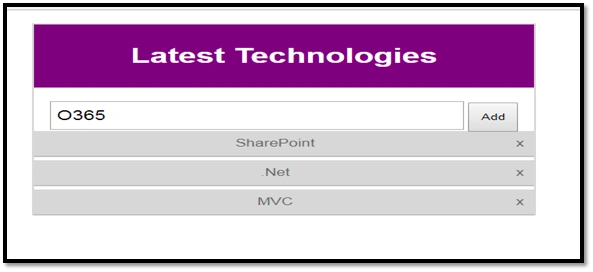
This is what we are going to develop in this article using Angular 4.
Create a new project and open the below files in your Visual Studio Code.
- Component.ts
- Component.css
- Component.html
Open HTML file and paste the below code.
- <<div class="main">
- <h1>Latest Technologies </h1>
- <div class="addItem"> <input [(ngModel)]="newItem" placeholder="Add item" class="addText"> <button (click)="pushItem()">Add</button> </div>
- <ul>
- <li *ngFor="let i of items; let ind = index"> {{i}} <span (click)="removeItem(ind)">x</span> </li>
- </ul>
- </div>
Output
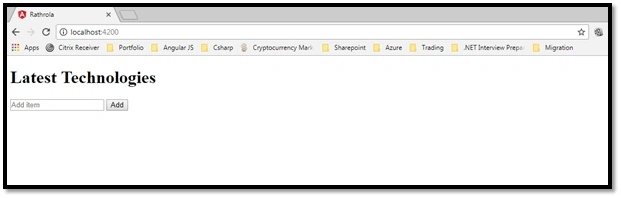
Now, we need to write style components in CSS file. Open app.component.css and paste the below code.
Code
- .main {
- width: 500 px;
- text - align: center;
- margin: 0 auto;
- border: 2 px solid# d7d7d7;
- border - bottom: 0 px;
- margin - top: 20 px;
- font - family: sans - serif;
- }
- /*//Second Frame*/
- h1 {
- text - align: center;
- background - color: purple;
- margin - top: 0 px;
- color: white;
- padding: 30 px 0 px;
- }
- /*//Third Frame*/
- .addItem {
- position: relative;
- padding - bottom: 0 px;
- height: 30 px;
- }.addText {
- width: 80 % ;
- height: 30 px;
- padding: 5 px;
- font - size: 20 px;
- }.addItem button {
- height: 45 px;
- width: 50 px;
- padding: 5 px;
- }
- ul {
- list - style: none;
- font - style: 20 px;
- color: #686868;
- margin-left: -40px;
- margin-bottom: 0px;
- }
- li{
- border-bottom: 2px solid # bfbfbf;
- background - color: #d7d7d7;
- padding: 10 px 0 px;
- margin - bottom: 5 px
- }
- span {
- cursor: pointer;
- position: relative;
- float: right;
- margin - right: 10 px
- }
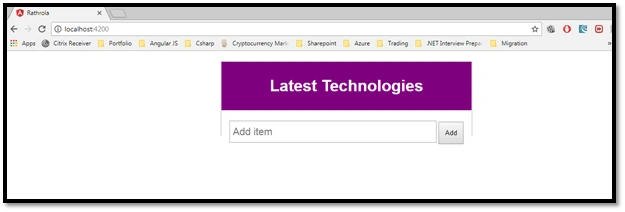
Once we decorate the CSS file, the output will be as above. Now, our task is to add a new item, and it should add and display in the below textbox.
First, open app.components.ts file and remove the text from the export class AppComponent.
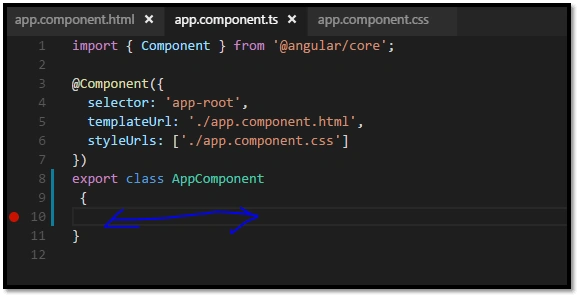
Add the array list in the export class as below.
- Item=[“ASP.NET”,”MVC.NET”,”SharePoint”,”O365”];
Now, bind this item list to the ul element in HTML, as shown below.
- <ul>
- <li *ngFor="let i of items"> {{i}} <span>x</span> </li>
- </ul>
Output
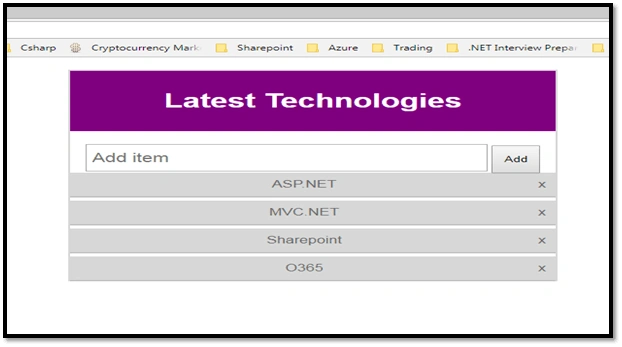
Let’s write our code for adding a new item from the input text. Come back to app.component.ts file and add another variable that’s going to contain a new value to be written in the input text box.
So now, add a new item to the export class as an empty string.
- newItem= “”;
After that, we are going to define a function PushItem as shown below.
It’s going to have a function instance and first of all, we need to check if this.newitem is not equal to empty, then add a new item.
The code is given below.
- export class AppComponent {
- items = ["ASP.NET", "MVC.NET", "Sharepoint", "O365"];
- newItem = "";
- pushItem = function() {
- if (this.newItem != "") items.pushItem(this.newItem);
- }
- newItem=””;
Go back to the HTML page and bind newItem variable in the Input element, because if we write anything in the input element, it should reflect the change in the newItem variable. This is called two-way binding.
Code
- <div class="addItem">
- <input [(ngModel)]= "newItem" placeholder="Add item" class="addText">
- <button (click) = "pushItem()">Add</button>
- </div>
Let add removeItem function below pushItem function, as shown below.
- removeItem = function(index) {
- items.splice(index - 1);
- }
Code
- <li *ngFor="let i of items; let ind = index" >
- {{i}}
- <span (click)= "remove Item(ind)">x</span>
- </li>
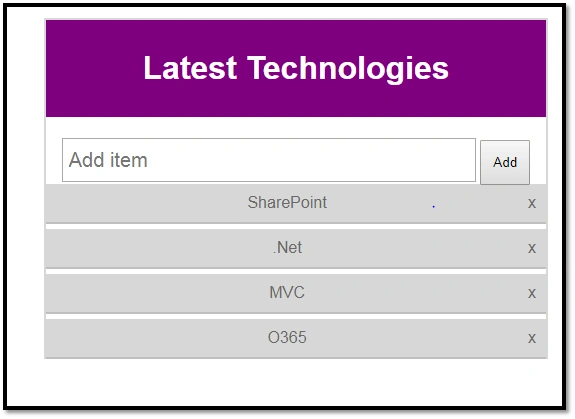
Before
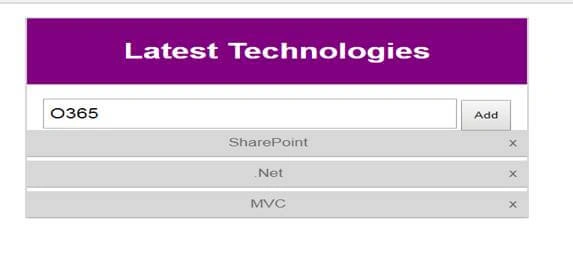
After we click "Add"
Naresh SinghalPosted Jan 8, 2018, 11:49 PM
Simple and Deep explained ...................Keep it on !!