

Introduction
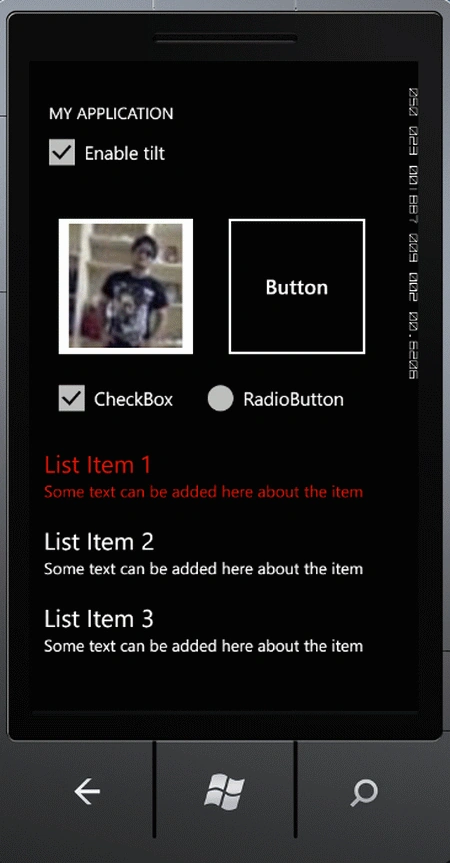
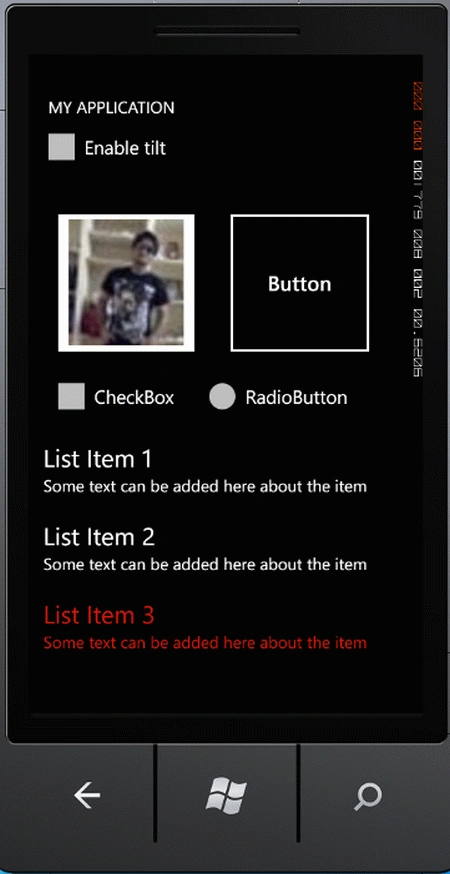
Windows Phone provides a visual effect called Tilt Effect which has the ability to add additional visual feedback for control interaction. Controls with the tilt effect provides motion during interaction. We can add the tilt effect to controls like Button with the property called IsTiltEnabled. This is a custom dependency property and defined in a Custom class file called TiltEffect.cs. You will get the file in the project source code. The tilt effect can also be global, so that all controls in the application has the tilt effect. We can set the tilt effect to a single control also. The tilt effect is a custom dependency property (IsTiltEnabled) that you can add to controls such as a Button. This dependency property is defined in a custom class file called TiltEffect.cs. The file also provides the code necessary to create the visual tilt effect on the controls. When an item is tapped, this TiltEffect class will search for specified controls that have the property enabled and apply the effect. You can apply the dependency property globally so that all controls in the visual tree inherit the tilt effect, or you can apply the dependency property to only a single control if desired.
The TiltEffect.cs file also defines a second dependency property (SuppressTilt) that can suppress the tilt effect on a control. A scenario for which you might want to use this property is when you want to apply the tilt effect globally on a page, but want to exclude a specific control on the page from using the tilt effect. This topic will show you how to apply the tilt effect to controls within an application.
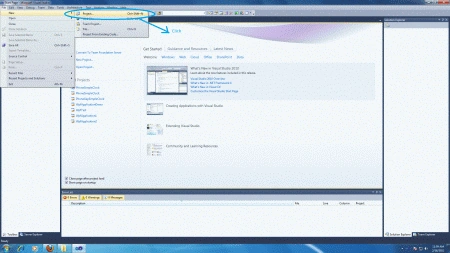
Step 1 : Open Visual Studio.- Select new -> project
- Select your preferred language
- Select Silverlight for Windows Phone application
- Name the project
- Now name of project is "WindowsPhoneApplication"

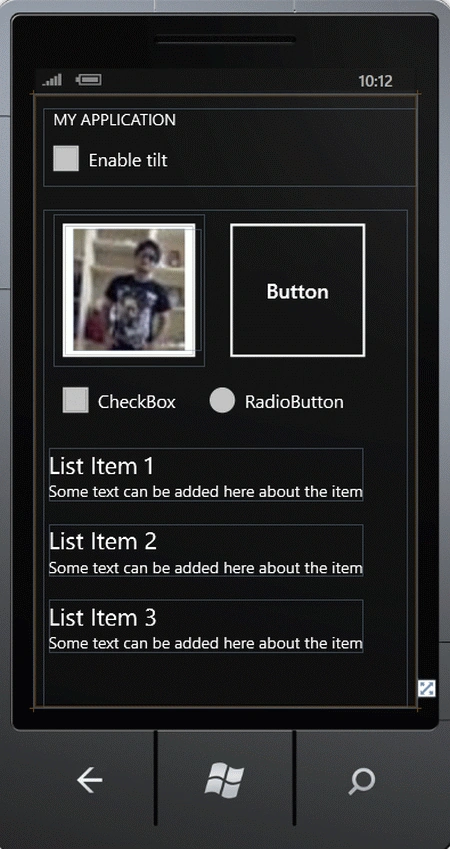
Step 2 : We will create a basic application with a few controls and add an option to enable and disable tilt effect in the application. Here we will use the tilt effect globally.
Once the project is being created, lets add a few controls on the screen like Button, CheckBox, RadioButton, ListBox, and Image over Button in MainPage.xaml file.
Step 3 : The whole code of the MainPage.xaml page is:
Code
<phone:PhoneApplicationPage
x:Class="TiltEffect.MainPage"
xmlns="http://schemas.microsoft.com/winfx/2006/xaml/presentation"
xmlns:x="http://schemas.microsoft.com/winfx/2006/xaml"
xmlns:phone="clr-namespace:Microsoft.Phone.Controls;assembly=Microsoft.Phone"
xmlns:shell="clr-namespace:Microsoft.Phone.Shell;assembly=Microsoft.Phone"
xmlns:d="http://schemas.microsoft.com/expression/blend/2008"
xmlns:mc="http://schemas.openxmlformats.org/markup-compatibility/2006"
mc:Ignorable="d" d:DesignWidth="480" d:DesignHeight="768"
FontFamily="{StaticResource PhoneFontFamilyNormal}"
FontSize="{StaticResource PhoneFontSizeNormal}"
Foreground="{StaticResource PhoneForegroundBrush}"
SupportedOrientations="Portrait" Orientation="Portrait"
shell:SystemTray.IsVisible="True">
<!--LayoutRoot is the root grid where all page content is placed-->
<Grid x:Name="LayoutRoot" Background="Transparent">
<Grid.RowDefinitions>
<RowDefinition Height="Auto"/>
<RowDefinition Height="*"/>
</Grid.RowDefinitions>
<!--TitlePanel contains the name of the application and page title-->
<StackPanel x:Name="TitlePanel" Grid.Row="0" Margin="12,17,0,28">
<TextBlock x:Name="ApplicationTitle" Text="MY APPLICATION" Style="{StaticResource PhoneTextNormalStyle}"/>
<CheckBox Content="Enable tilt" x:Name="tiltCheck" Checked="CheckBox_Checked" Unchecked="CheckBox_Unchecked"/>
</StackPanel>
<!--ContentPanel - place additional content here-->
<Grid x:Name="ContentPanel" Grid.Row="1" Margin="12,0,12,0">
<Button Width="193" Height="191" Content="Button" HorizontalAlignment="Left" VerticalAlignment="Top" Margin="222,6,0,0" >
</Button>
<CheckBox Content="CheckBox" Height="72" HorizontalAlignment="Left" Margin="12,203,0,0" Name="checkBox1" VerticalAlignment="Top" />
<RadioButton Content="RadioButton" Height="72" HorizontalAlignment="Right" Margin="0,203,67,0" Name="radioButton1" VerticalAlignment="Top" />
<ListBox Height="279" HorizontalAlignment="Left" Margin="6,299,0,0" Name="listBox1" VerticalAlignment="Top" Width="444" ItemsSource="{Binding}" >
<ListBoxItem MinHeight="95">
<StackPanel Orientation="Vertical">
<TextBlock FontSize="30">List Item 1</TextBlock>
<TextBlock FontSize="20">Some text can be added here about the item</TextBlock>
</StackPanel>
</ListBoxItem>
<ListBoxItem MinHeight="95">
<StackPanel Orientation="Vertical">
Join the conversation! Your thoughts help the community grow.