

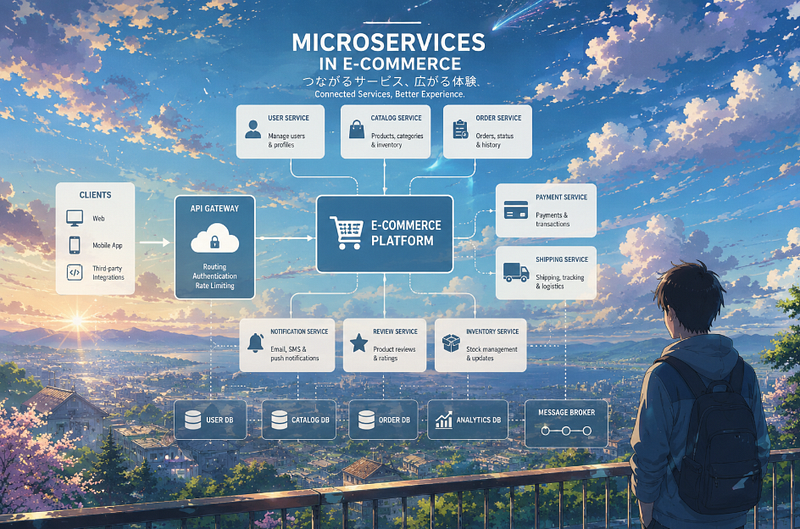
Imagine you have an e-commerce website built with .NET. A small bug is found in the customer browsing feature, so you deploy a fix. The next day, you need to update the product page with another minor change.
In a traditional monolithic application, even small updates often require redeploying the entire application. As your system grows and releases become more frequent, deployments can become slower and riskier.
Microservices address this by splitting the application into independent services that can be developed, deployed, and scaled separately. In this article, I’ll show how to design a microservices architecture using .NET.
A conventional monolithic .Net website will look like this:
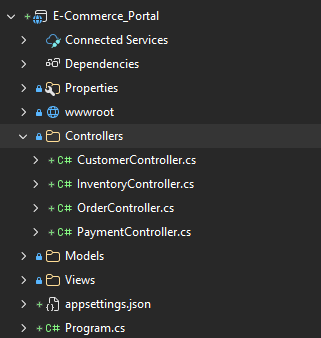
A conventional monolithic .NET application might organize the Customer, Inventory, Order, and Payment modules within a single solution and deploy them as one application. Although the code is separated into different controllers and layers, they are still part of the same deployable unit.
However, in a microservices architecture, each business domain is implemented as an independent service. Each service typically has its own project and its own database, allowing it to be developed, deployed, and scaled independently.
In Visual Studio, the solution may contain separate projects for Customer, Inventory, Order, and Payment services. During deployment, each API is published as its own service (for example, to IIS, Azure App Service, or containers).
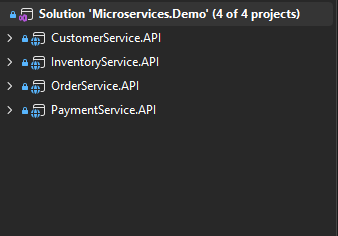
The biggest advantage is independent deployment. If you need to modify the Customer service, you only redeploy that service instead of redeploying the entire application. This reduces deployment risk and allows different teams to work and release features independently.
In this article, I’ll demonstrate how services in a microservices architecture communicate with one another using REST APIs through HttpClient to implement common business workflows.
Our sample e-commerce application consists of four services:
Customer Service — Manages customer registration and information. It has its own database.
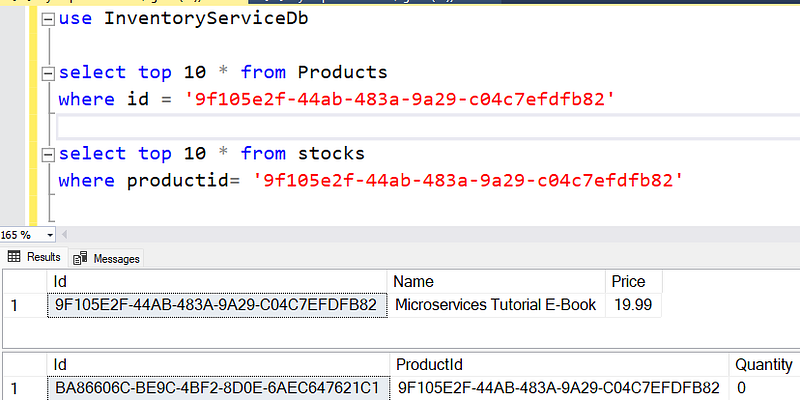
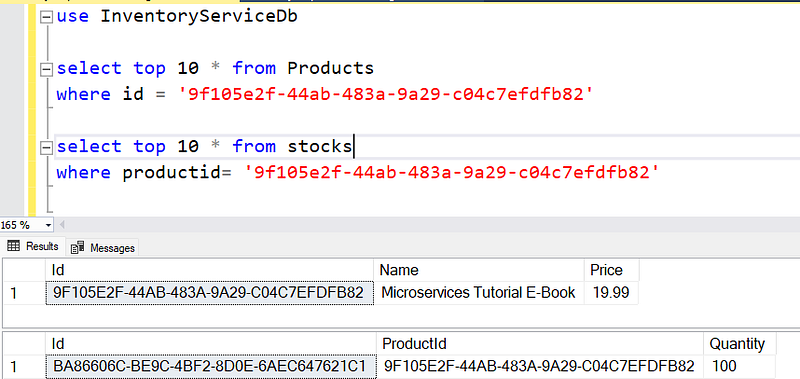
Inventory Service — Manages product information and stock levels. It has its own database, which stores product and inventory data.
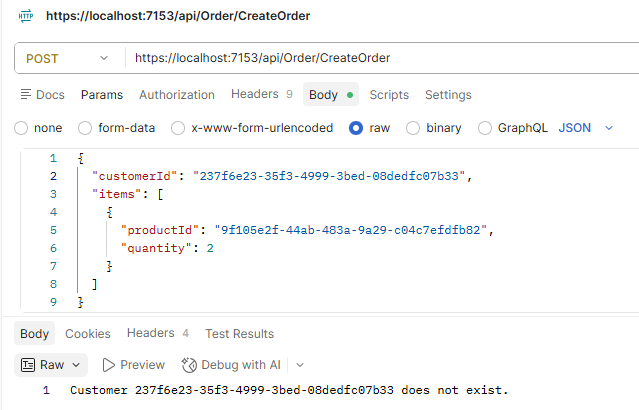
Order Service — Handles order creation when a customer checks out. Before saving an order, it calls the Customer Service to verify that the customer exists and the Inventory Service to retrieve product information and calculate the order total.
Payment Service — Simulates payment processing. Before processing a payment, it calls the Order Service to validate the order, then forwards the request to a mock payment gateway.
The interaction among services are look like this:
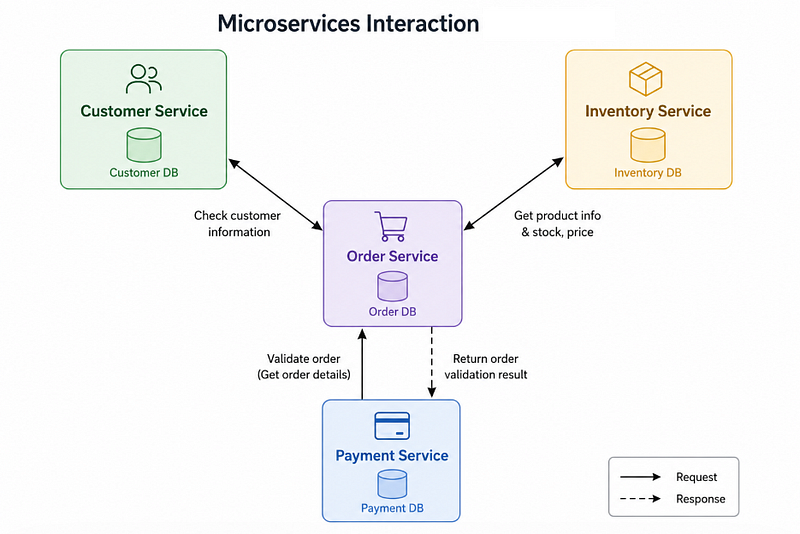
Or more detailed flow.
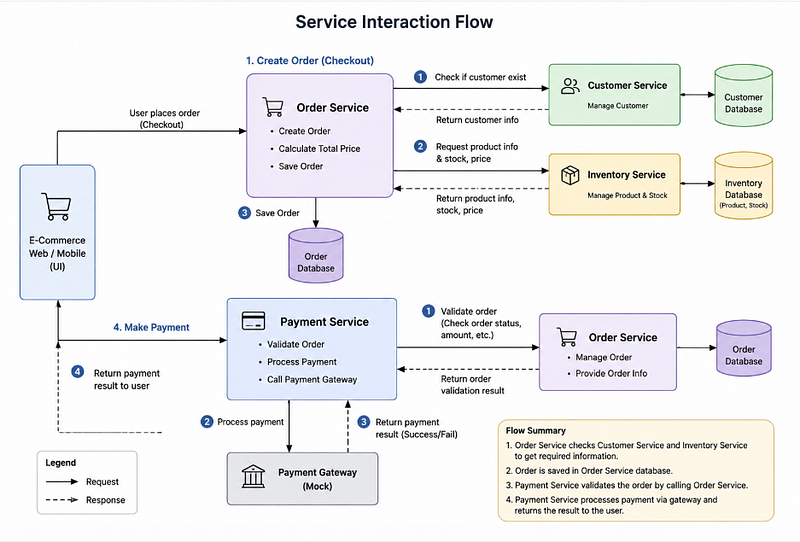
By the end of this article, you’ll understand how these independent services communicate with each other to complete a typical e-commerce workflow while keeping each service loosely coupled and independently deployable.
Let’s walkthrough the code.
The Customer Service and Inventory Service are relatively straightforward. They expose standard REST APIs that perform basic CRUD operations on customers and products.
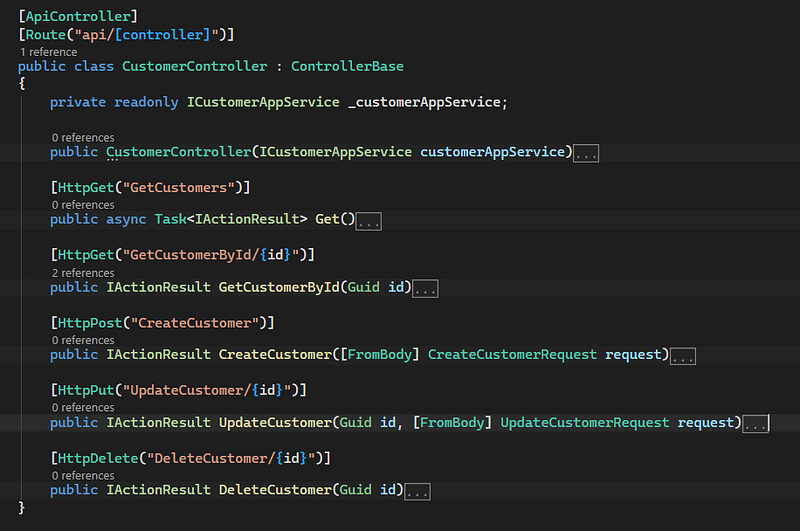
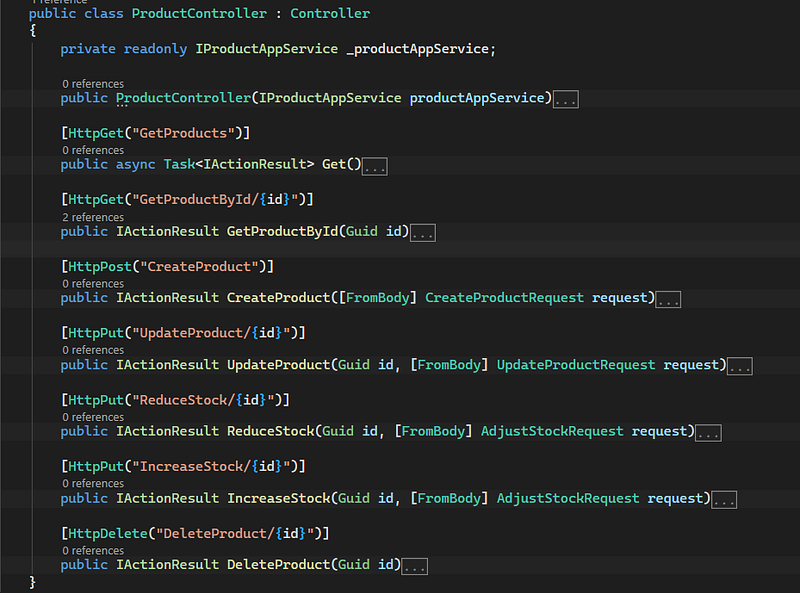
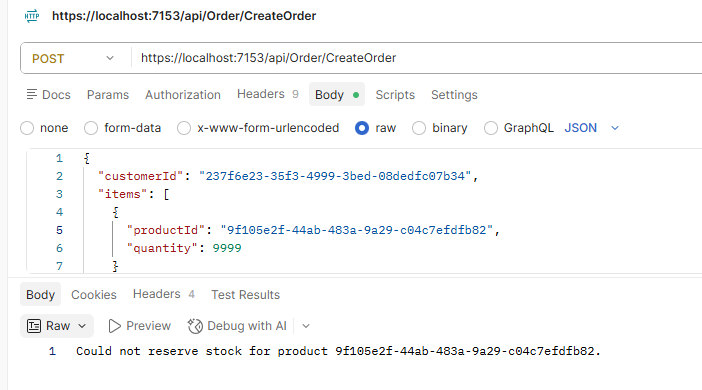
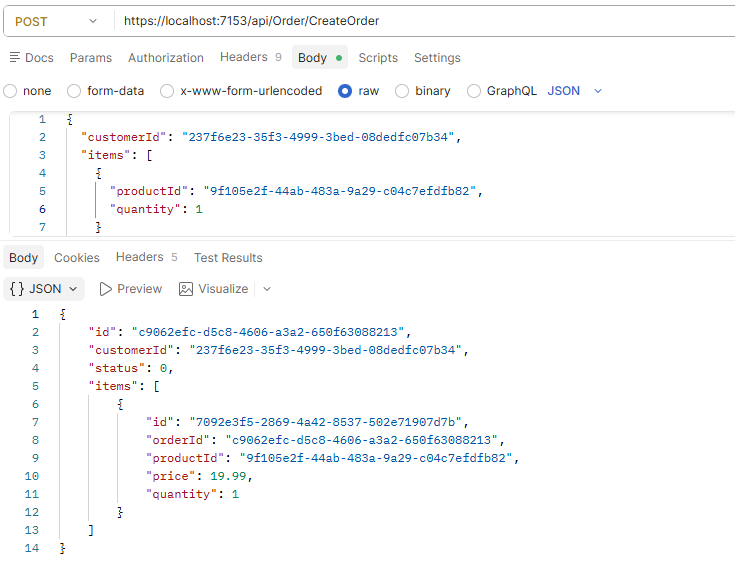
The Order Service is more interesting because it depends on information from other services. Before an order can be created, it needs to verify that the customer exists and that each product is a valid SKU with sufficient stock available.
   public async Task<CreateOrderResult> CreateOrder(CreateOrderRequest request)
   {
       //...code omitted

        //call customer service to get customer details
       var customer = await _customerClient.GetCustomerByIdAsync(request.CustomerId);
       if (customer == null)
       {
           return CreateOrderResult.NoCustomer($"Customer {request.CustomerId} does not exist.");
       }

       //...

       foreach (var item in request.Items)
       {
          //call inventory service to get product details
           var product = await _inventoryClient.GetProductAsync(item.ProductId);
           if (product == null)
          //...
Since the Order Service is isolated from the Customer and Inventory services, it cannot access their databases directly. Instead, it communicates with them through HTTP REST APIs.
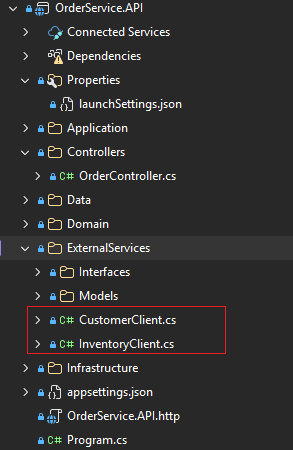
To keep the code organized, the OrderService.API project contains an ExternalServices folder, which encapsulates all communication with external services. In this folder, we create dedicated CustomerClient and InventoryClient classes that wrap the HTTP requests using HttpClient. This approach keeps the business logic clean and makes it easier to maintain or replace external integrations in the future.
Next, configure the endpoints of the Customer and Inventory services in appsettings.json.
 "Services": {
   "CustomerService": "http://localhost:5108",
   "InventoryService": "http://localhost:5155"
 }
Using IHttpClientFactory is the recommended approach in ASP.NET Core because it manages the lifetime of HttpClient instances, avoids socket exhaustion, and centralizes the configuration of external service endpoints.
builder.Services.AddHttpClient("CustomerService", client =>
{
    client.BaseAddress = new Uri(builder.Configuration["Services:CustomerService"]!);
});

builder.Services.AddHttpClient("InventoryService", client =>
{
    client.BaseAddress = new Uri(builder.Configuration["Services:InventoryService"]!);
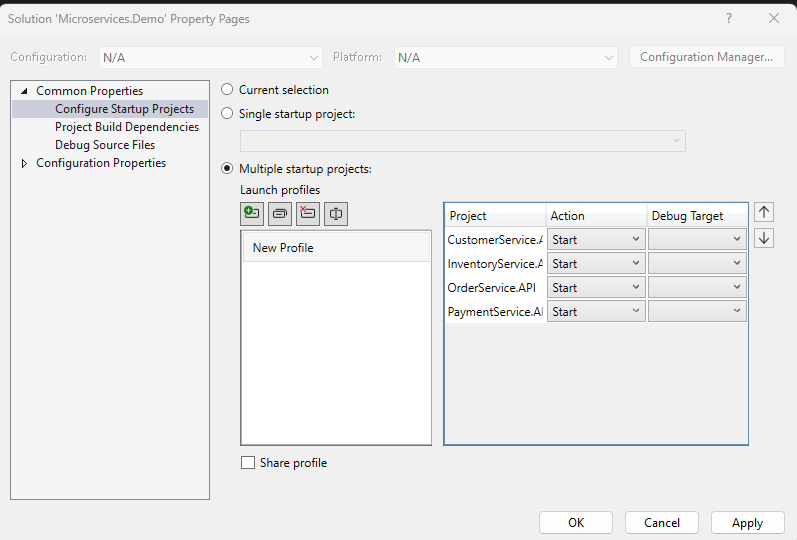
});
Join the conversation! Your thoughts help the community grow.