

Look at the following points.
- As I have created something in an earlier list you will create the same thing in a list in SharePoint 2013.
- Here I have already created one list and set the workflow on that list.
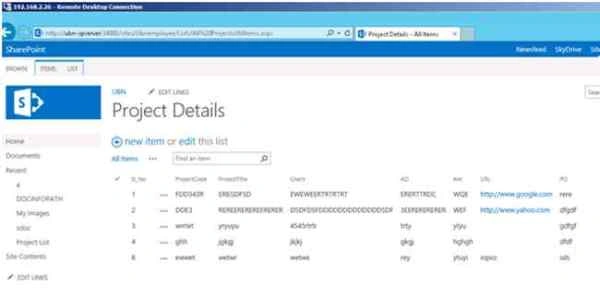
- Then go to Workflows Settings on top of the ribbon bar.
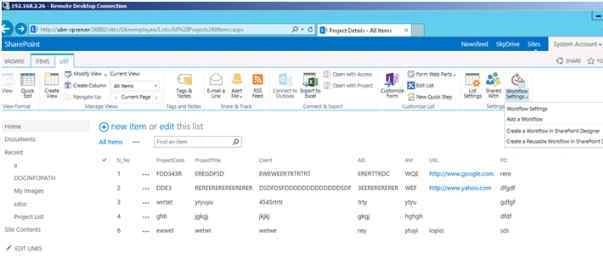
- Then click Add Workflows in the sub-menu.
- Then you have a page. Here you must choose the Workflows that you want to work with.
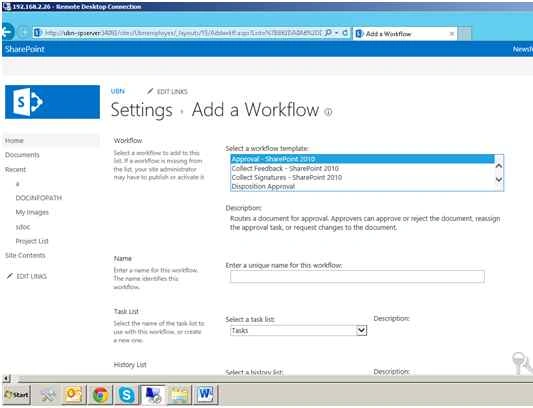
- Then enter a unique name for this workflow.
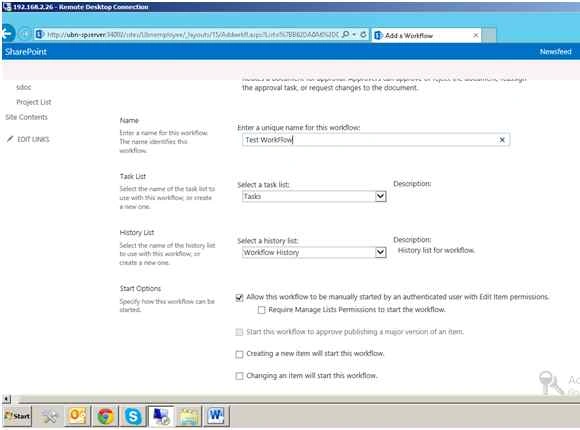
- Then choose select a task list and Select a history list.
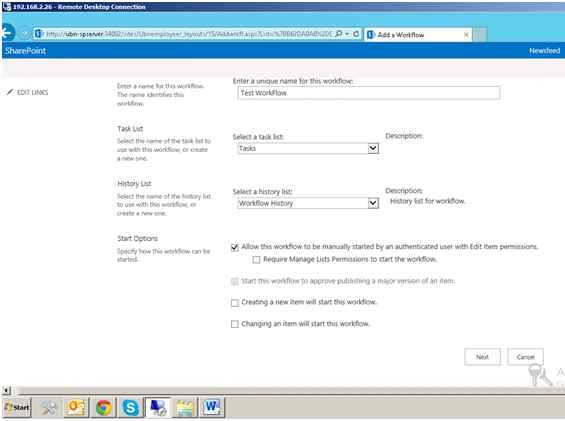
- Then you must choose Workflow when it will be started.
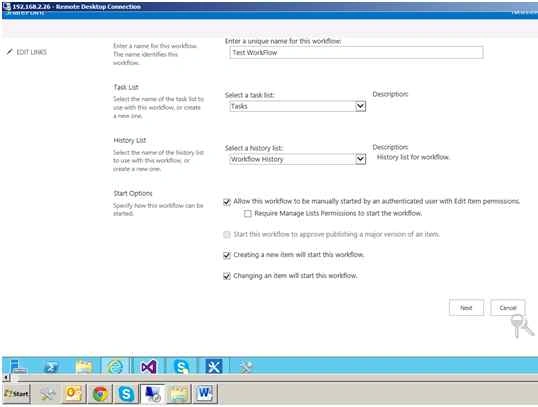
- Then choose both checkboxes or choose depending on your requirements.
- Then click Next.
- Then one new page is created.
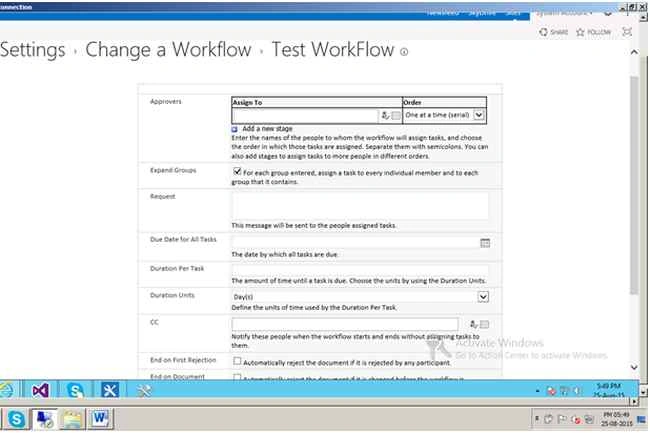
- Enter the names of the people to whom the workflow will assign tasks, and choose the order in which those tasks are assigned. Separate them with semicolons. You can also add stages to assign tasks to more people in various orders.
- After completion of this form you click the Save Button.
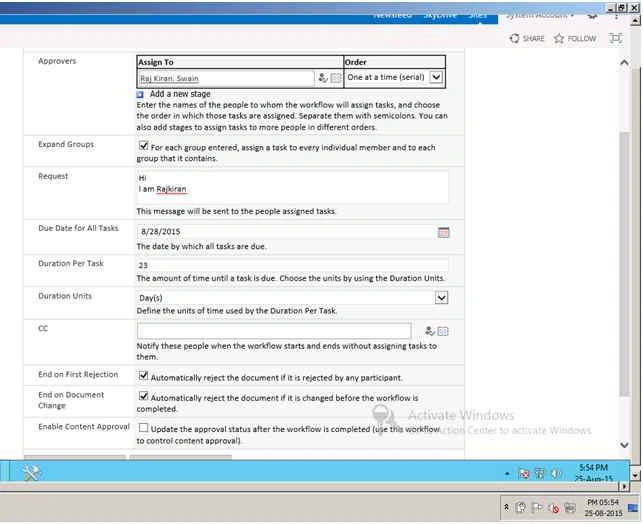
- Then a new page is created.
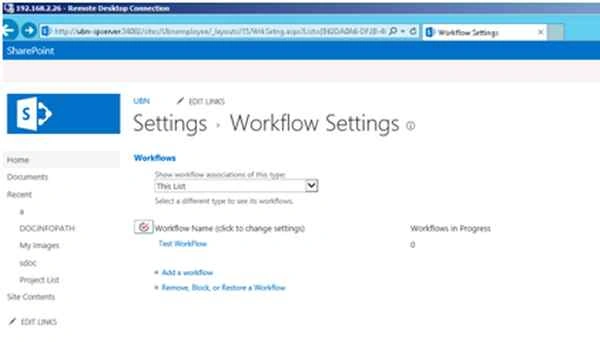
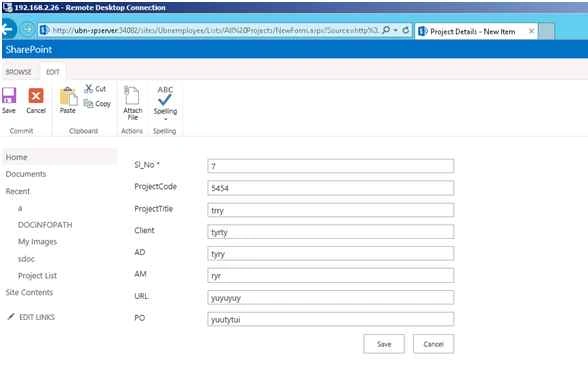
- Then return to your list and enter some new items.
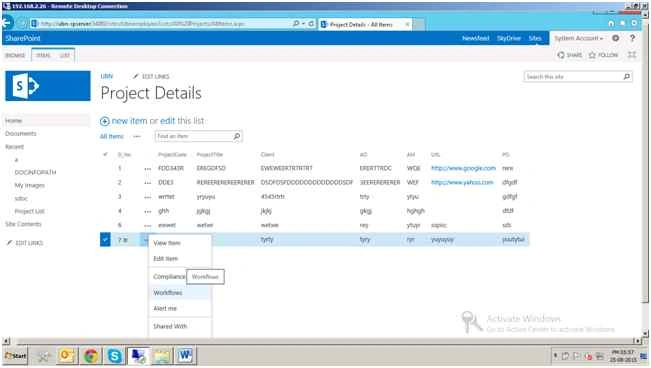
- Then click on Workflow on the left of the title columns.
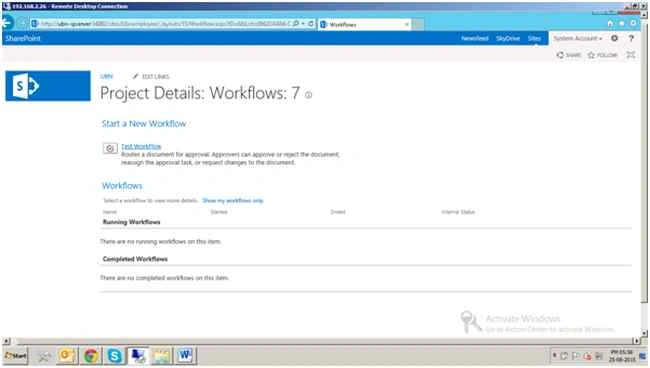
- Then click on your Workflow that you created.
- When your entered item is in the In Progress mode.

- Then click on In Progress.
- Then click Approve on your recent Items.
- Then the Workflow History and Workflows Details will be visible on the page.
Shobana JPosted Jul 12, 2016, 3:19 AM
Nice one
Gowtham KPosted Aug 26, 2015, 10:51 AM
Good one
Yashwanth MuthineniPosted Aug 26, 2015, 6:12 AM
Nice Share
Rajeesh MenothPosted Aug 26, 2015, 12:58 AM
Nice One
Vaikesh K PPosted Aug 26, 2015, 12:02 AM
Nice One
Karthikeyan KPosted Aug 25, 2015, 11:10 PM
Thanks for share sir
Pankaj Kumar ChoudharyPosted Aug 25, 2015, 9:19 PM
Nice Article Sir........