
In the previous article we have seen the theories on AppFabric Caching service.
In this article, we explore the programming aspects of it.
The following are the steps involved in using the cache.
Step 1: Create the Service Namespace
We need to create the service namespace. You can skip this step if you already
have a namespace. For creating the namespace sign in to the Windows Azure portal
and select the Service Bus, Access Control & Caching item as shown below.
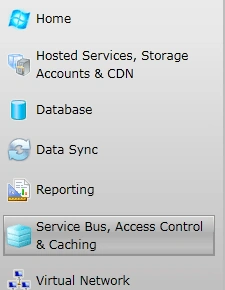
Now click on the New button.
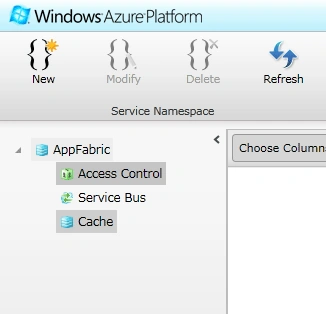
In the appearing dialog enter the cache details as shown below.
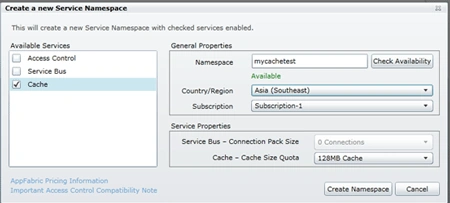
Please ensure you entered a unique namespace and click the Create Namepace
button. Wait for a few minutes and your namespace will be ready.

Step 2: Install AppFabric SDK
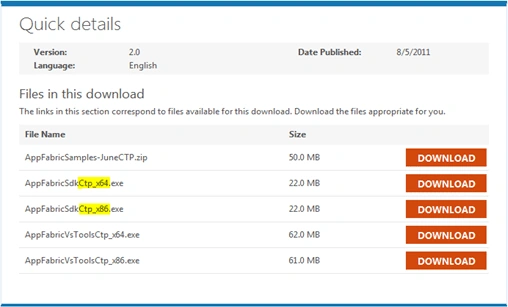
This application requires AppFabric SDK. You can download it
from
here. You can download the appropriate 32 bit or 64 bit version as shown
below.
Step 3: Create new Web Role
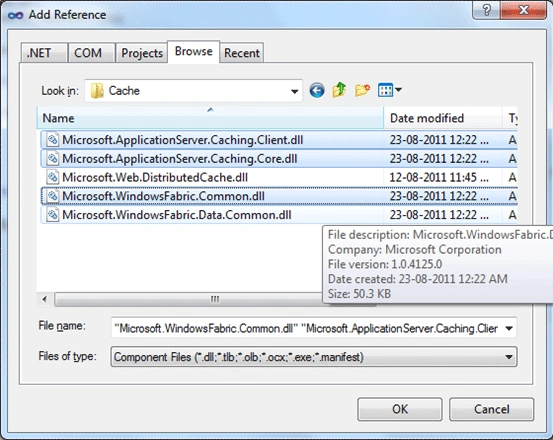
Create a new Azure Project and add a web role into it. Add reference to the
following caching assembly files.
You can locate the files in folder:
C:\Program Files\Windows Azure AppFabric SDK\V1.5\Assemblies\NET4.0\Cache
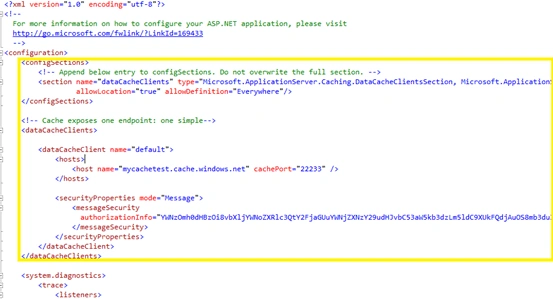
Modify the web.config of the application by adding the marked section. Enter
your namespace and key information in the respected area.
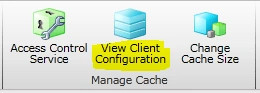
The configuration entries (namespace and key) can be generated from portal using
the button highlighted.
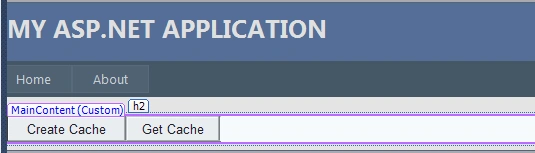
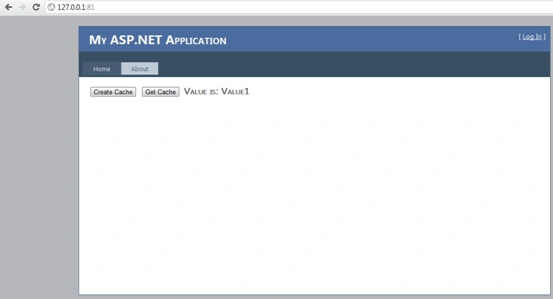
Now in the Default.aspx page design view add two buttons named Create Cache and
Get Cache as shown below.
Make the click events of buttons as following.
protected
void
CreateCacheButton_Click(object
sender,
EventArgs
e)
{
DataCacheFactory
factory =
new
DataCacheFactory();
factory.GetDefaultCache().Add("Key1",
"Value1");
factory.GetDefaultCache().Add("Key2",
"Value2");
factory.GetDefaultCache().Add("Key3",
"Value3");
factory.GetDefaultCache().Add("Key4",
"Value4");
factory.GetDefaultCache().Add("Key5",
"Value5");
}

Join the conversation! Your thoughts help the community grow.