

Introduction
This article explains customization of a social providers button in the ASP.NET MVC 5 using Visual Studio Studio 2013. As you all know, we can create the MVC 5 Project based ASP.NET Web Application in Visual Studio 2013, so here I am customizing the login providers buttons.
In that context, you need to be aware of the configuration of MVC 5 external login options.
Registration of OAuth Providers
We need to first enable the authentication providers for the project. Use the following procedure to create a sample of doing that.
Step 1: Open the Startup.Auth.cs file.
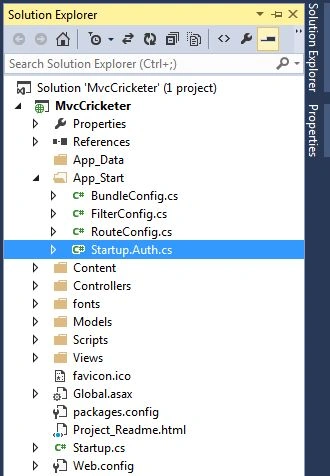
Step 2: Enable the Google provider as shown below:
- app.UseGoogleAuthentication();
Step 3: Run your application and open the Login page.
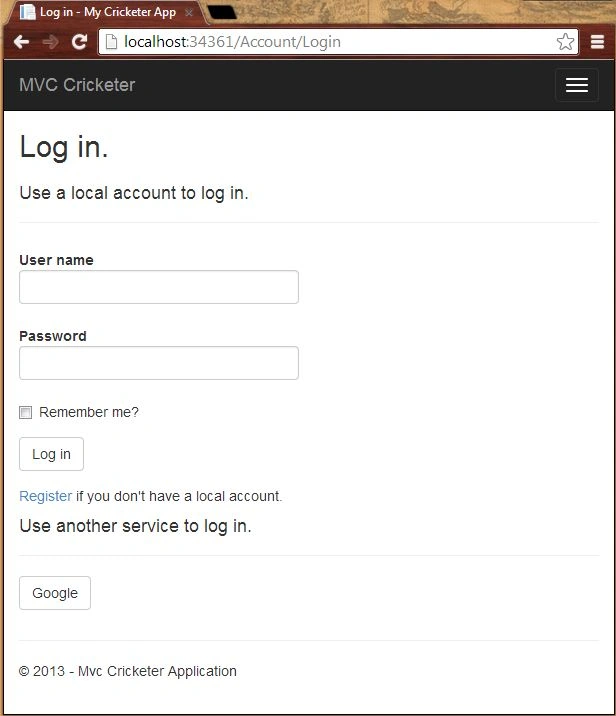
Step 4: Use the same and open other providers and enter the app_id and app_secret value as "x" as shown below:
- app.UseTwitterAuthentication(
- consumerKey: "x",
- consumerSecret: "x");
- app.UseFacebookAuthentication(
- appId: "x",
- appSecret: "x");
These are the simple social provider buttons to be displayed on your login page.
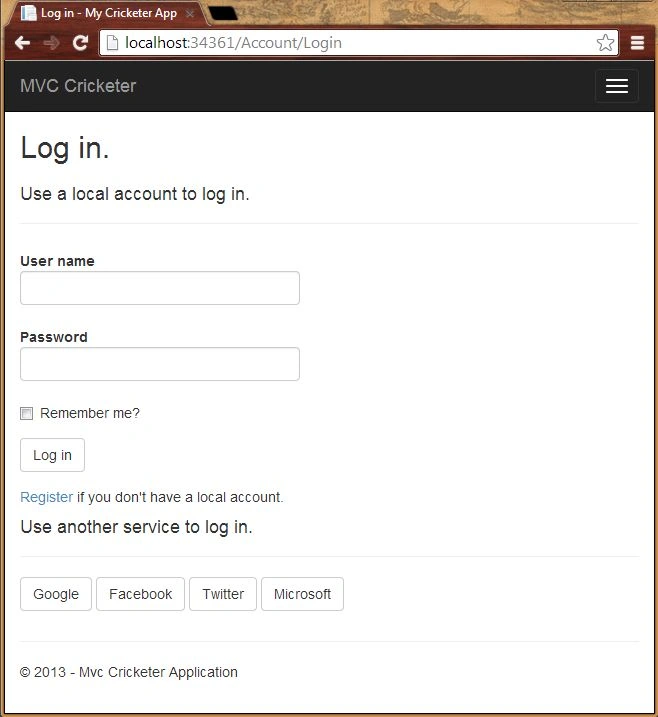
Customization of OAuth Providers
I am using a CSS file that is expressed on GitHub. Use the following procedure to do that.
Step 1: Create a CSS file in Content.
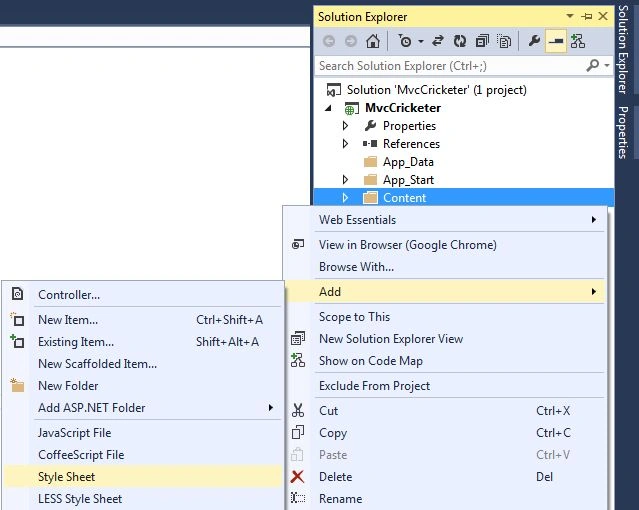
Step 2: Name it "Zocial.css".
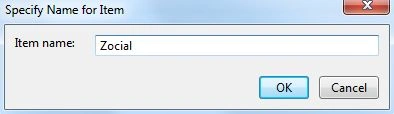
Step 3: Copy the content in it from the CSS file stored in GitHub.
Step 4: Open the Bundle Configuration file.
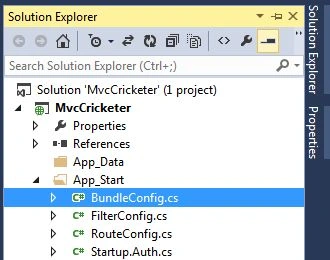
Step 5: Modify your code with the following code:
- bundles.Add(new ScriptBundle("~/bundles/bootstrap").Include(
- "~/Scripts/bootstrap.js",
- "~/Scripts/respond.js"));
- bundles.Add(new StyleBundle("~/Content/css").Include(
- "~/Content/bootstrap.css",
- "~/Content/site.css",
- "~/Content/zocial.css"));
In the code above I added the reference of my CSS file created in the Content folder.
Step 6: Now, open the external login file as in the following:
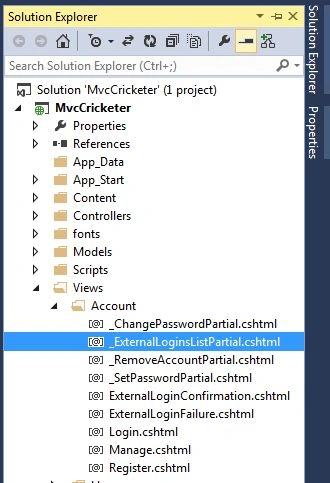
Step 7: Modify the code with the following code:
- using (Html.BeginForm(action, "Account", new { ReturnUrl = returnUrl }))
- {
- @Html.AntiForgeryToken()
- <div id="socialLoginList">
- <p>
- @foreach (AuthenticationDescription p in loginProviders)
- {
- <button type="submit"
- class="zocial @p.AuthenticationType.ToLower()"
- id="@p.AuthenticationType"
- name="provider" value="@p.AuthenticationType"
- title="Log in using your @p.Caption account">
- @p.AuthenticationType</button>
- }
- </p>
- </div>
- }
Step 8: Run your application and open the Login page.
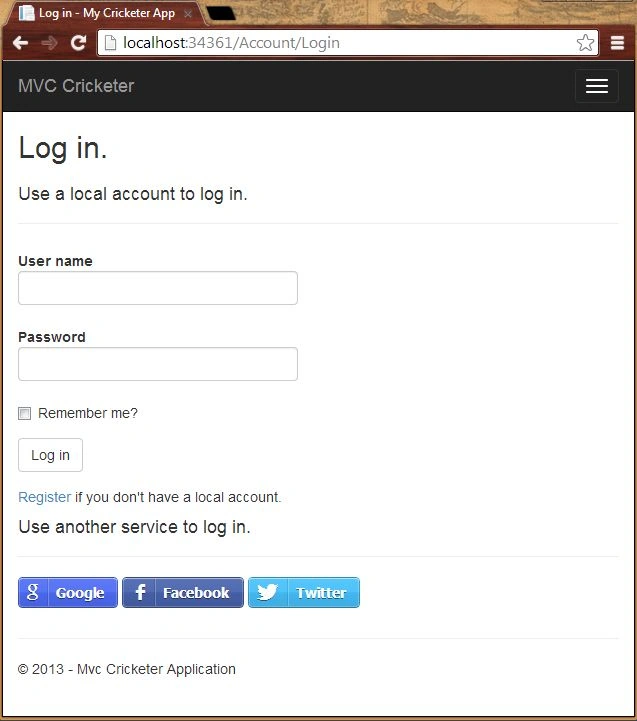
Summary
This article will help you to customize the external authentication providers in your MVC 5 project using Visual Studio 2013. You can also create the MVC 5 project in Visual Studio 2012 with Web Tools 2013.1. Thanks for reading.
Guest UserPosted Jan 25, 2021, 6:36 AM
Hi Joshi i dont see registration part, where perhaps the data is stored? any sql db that call the lists of these table definitions?
Junaid SultanPosted Sep 8, 2018, 3:23 AM
Can we implement the similar functionality in Asp.Net Web Forms?