

Introduction
The localization is using the alternate resources to the particular region target or locale. For the example, we might provide the localized language strings for the various countries in the input for the resources folder. Android is using the resources appropriate for the device's locale at the runtime without any code changes. For more details, refer here.
Let’s start
Step 1
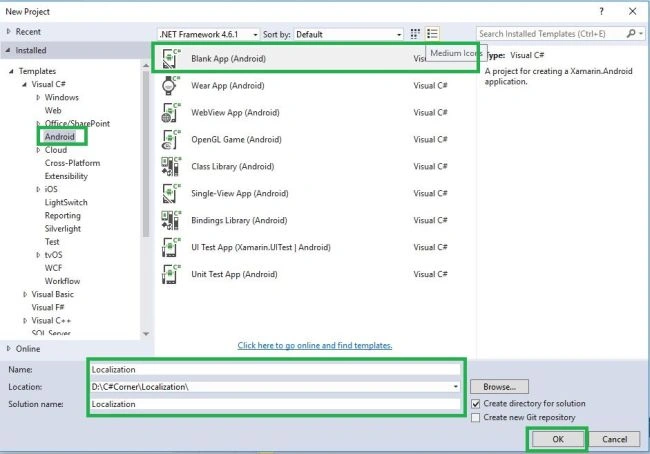
Open Visual Studio->New Project->Templates->Visual C#->Android->Blank app.
Select Blank app. Give the Project Name and Project Location.
Step 2
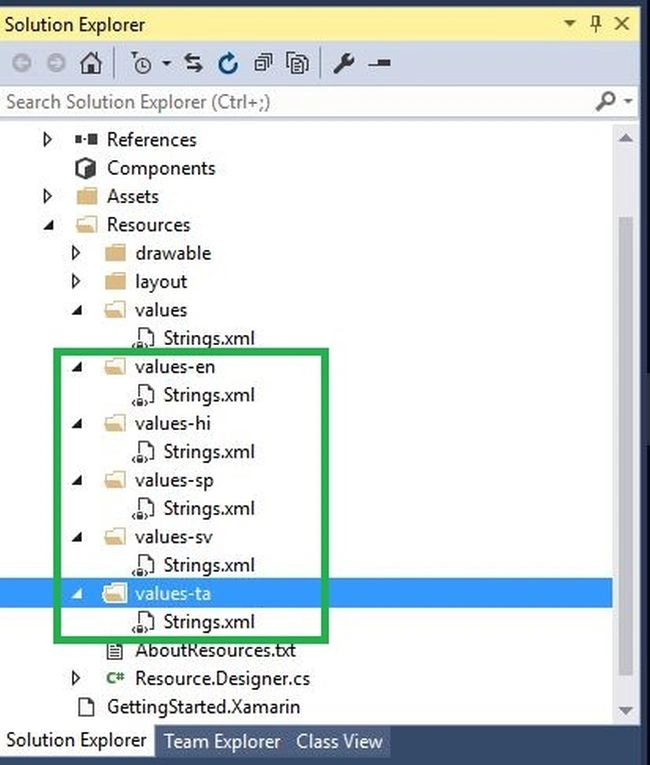
Open Solution Explorer-> Project Name-> Resources. Create values folder for the various languages. Here, I created English, Tamil, Hindi, Spanish, Swedish.
Step 3
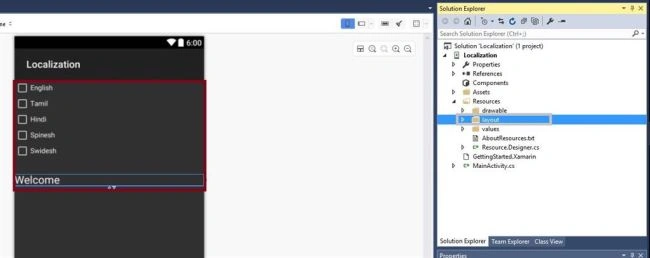
Open Solution Explorer-> Project Name-> Resources-> Layout-> Main.axml. Design the page for the language changes options. Here, I created Check box and textview.
Step 4
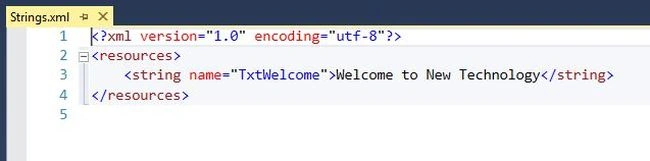
Open Solution Explorer-> Project Name-> Resources -> values-en. Declare the string id and the values for English.
English
XML
- <string name="TxtWelcome">Welcome to New Technology</string>
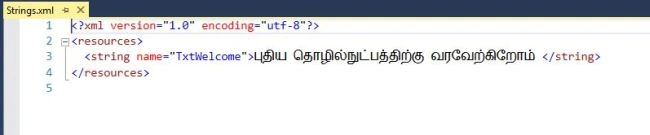
Tamil
XML
- <string name="TxtWelcome">புதிய தொழில்நுட்பத்திற்கு வரவேற்கிறோம் </string>
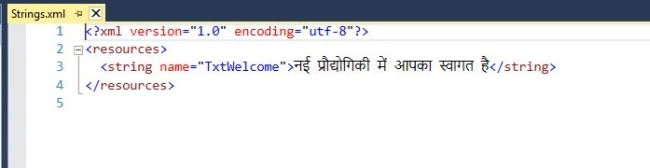
Hindi
XML
- <string name="TxtWelcome">नई प्रौद्योगिकी में आपका स्वागत है</string>
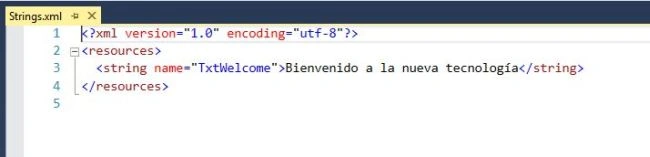
Spanish
XML
- <string name="TxtWelcome">Bienvenido a la nueva tecnología</string>
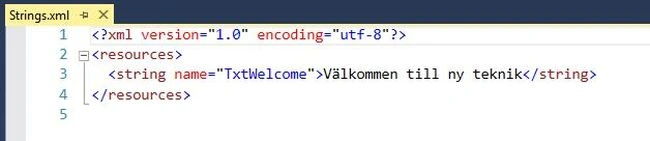
Swedish
XML
- <string name="TxtWelcome">Välkommen till ny teknik</string>
Step 5
Open Solution Explorer-> Project Name->Resources-> MainActicity.cs and add namespace.
- using Android.Util;
- using Java.Util;
Step 6
Declare the button and Checkbox variables. Afterwards, go to Oncreate() and give the code given below.
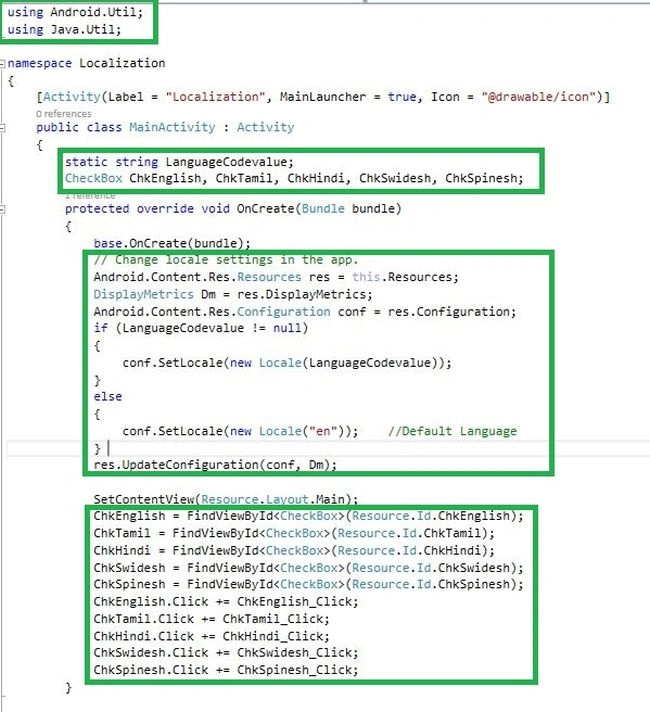
C# code
- <policies>
- <inbound>
- <base />
- <cache-lookup vary-by-developer="false" vary-by-developer-groups="false">
- <vary-by-header>Accept</vary-by-header>
- <vary-by-header>Accept-Charset</vary-by-header>
- </cache-lookup>
- <rewrite-uri template="/resource" /> </inbound>
- <outbound>
- <base />
- <cache-store caching-mode="cache-on" duration="3600" /> </outbound>
- </policies>static string LanguageCodevalue; CheckBox ChkEnglish, ChkTamil, ChkHindi, ChkSwidesh, ChkSpinesh; protected override void OnCreate(Bundle bundle) { base.OnCreate(bundle); // Change locale settings in the app. Android.Content.Res.Resources res = this.Resources; DisplayMetrics Dm = res.DisplayMetrics; Android.Content.Res.Configuration conf = res.Configuration; if (LanguageCodevalue != null) { conf.SetLocale(new Locale(LanguageCodevalue)); } else { conf.SetLocale(new Locale("en")); //Default Language } res.UpdateConfiguration(conf, Dm); SetContentView(Resource.Layout.Main); ChkEnglish = FindViewById
- <CheckBox>(Resource.Id.ChkEnglish); ChkTamil = FindViewById
- <CheckBox>(Resource.Id.ChkTamil); ChkHindi = FindViewById
- <CheckBox>(Resource.Id.ChkHindi); ChkSwidesh = FindViewById
- <CheckBox>(Resource.Id.ChkSwidesh); ChkSpinesh = FindViewById
- <CheckBox>(Resource.Id.ChkSpinesh); ChkEnglish.Click += ChkEnglish_Click; ChkTamil.Click += ChkTamil_Click; ChkHindi.Click += ChkHindi_Click; ChkSwidesh.Click += ChkSwidesh_Click; ChkSpinesh.Click += ChkSpinesh_Click; }
Step 7
After implementation Oncreate() to Create Checkbox, proceed, as shown below.
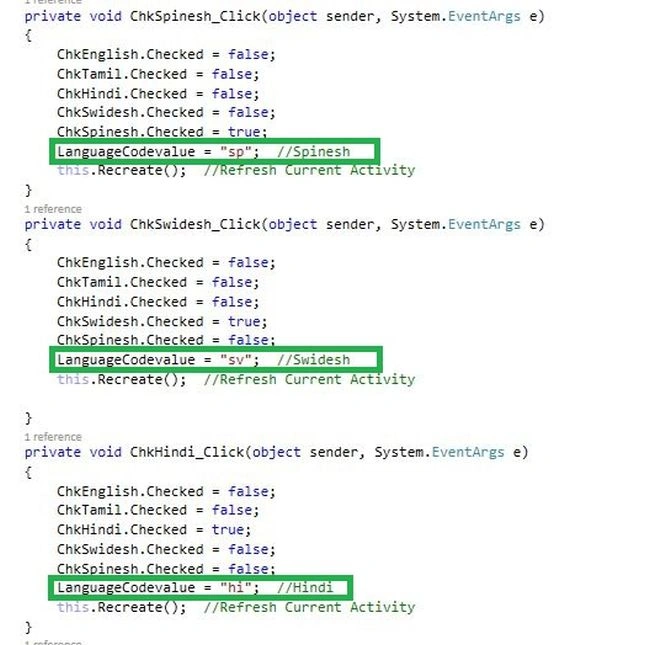
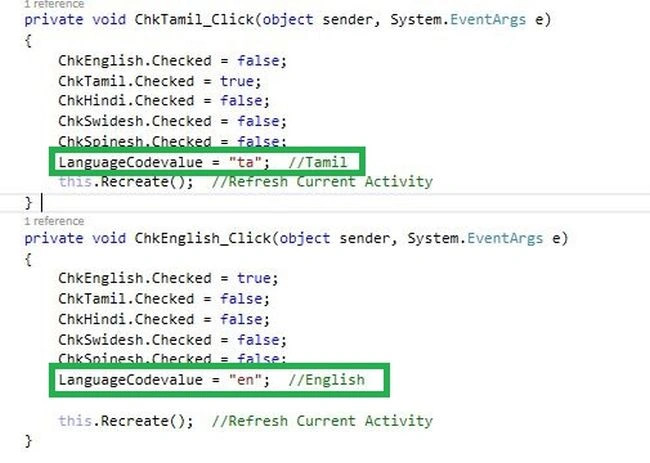
- private void ChkSpinesh_Click(object sender, System.EventArgs e) {
- ChkEnglish.Checked = false;
- ChkTamil.Checked = false;
- ChkHindi.Checked = false;
- ChkSwidesh.Checked = false;
- ChkSpinesh.Checked = true;
- LanguageCodevalue = "sp"; //Spinesh
- this.Recreate(); //Refresh Current Activity
- }
- private void ChkSwidesh_Click(object sender, System.EventArgs e) {
- ChkEnglish.Checked = false;
- ChkTamil.Checked = false;
- ChkHindi.Checked = false;
- ChkSwidesh.Checked = true;
- ChkSpinesh.Checked = false;
- LanguageCodevalue = "sv"; //Swidesh
- this.Recreate(); //Refresh Current Activity
- }
- private void ChkHindi_Click(object sender, System.EventArgs e) {
- ChkEnglish.Checked = false;
- ChkTamil.Checked = false;
- ChkHindi.Checked = true;
- ChkSwidesh.Checked = false;
- ChkSpinesh.Checked = false;
- LanguageCodevalue = "hi"; //Hindi
- this.Recreate(); //Refresh Current Activity
- }
- private void ChkTamil_Click(object sender, System.EventArgs e) {
- ChkEnglish.Checked = false;
- ChkTamil.Checked = true;
- ChkHindi.Checked = false;
- ChkSwidesh.Checked = false;
- ChkSpinesh.Checked = false;
- LanguageCodevalue = "ta"; //Tamil
- this.Recreate(); //Refresh Current Activity
- }
- private void ChkEnglish_Click(object sender, System.EventArgs e) {
- ChkEnglish.Checked = true;
- ChkTamil.Checked = false;
- ChkHindi.Checked = false;
- ChkSwidesh.Checked = false;
- ChkSpinesh.Checked = false;
- LanguageCodevalue = "en"; //English
- this.Recreate(); //Refresh Current Activity
- }
Step 8
Press F5 or Build and Run the Application.

Finally, we successfully created Xamairn Android app.
Frank OdoomPosted Sep 25, 2018, 5:54 AM
Created a sample project here as well, thanks for the guide https://github.com/frankodoom/Xamarin.Android.Localization
Frank OdoomPosted Sep 15, 2018, 8:46 AM
Any link to the source code
Andy SoloPosted Sep 13, 2018, 12:55 PM
How to make a localized name of the application in Xamarin.Forms?
Vaibhav PatilPosted Jun 26, 2017, 4:27 AM
Just what i wanted thanks