

In this blog, I have explained how to show the documents in thumbnail view in SharePoint document libraries using JSLink.
Open a SharePoint site.
Create a Document library named "Thumbnail demo".
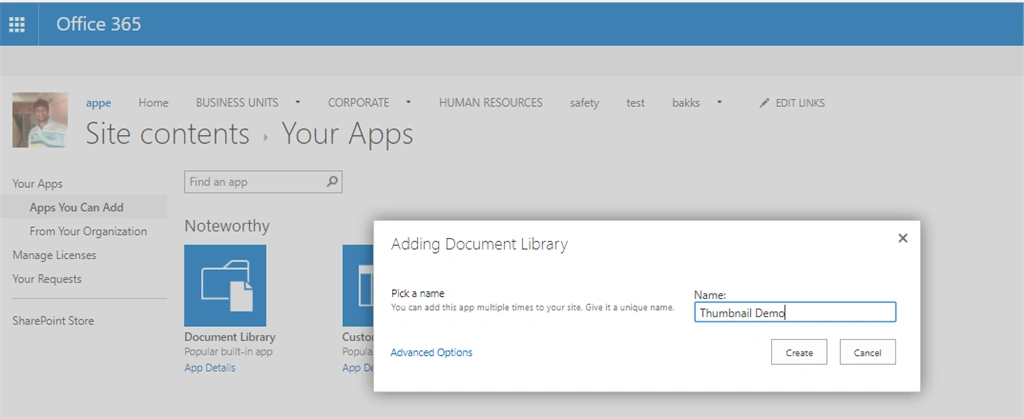
Click "Create" and upload images to it.
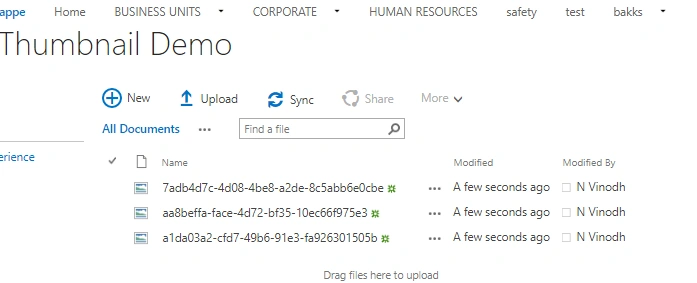
Let's build the code.
Create a JavaScript source file to inject into the SharePoint document library.
Declare the CSS from the reference
- var cssId = 'myCss';
- if (!document.getElementById(cssId)) {
- var head = document.getElementsByTagName('head')[0];
- var link = document.createElement('link');
- link.id = cssId;
- link.rel = 'stylesheet';
- link.type = 'text/css';
- link.href = 'https://sharepointtechie.sharepoint.com/sites/appnfc/SiteAssets/design.css';
- link.media = 'all';
- head.appendChild(link);
- }
Create a function to override the document library template
- (function() {
- //Create a variable named overridectx
- var overrideCtx = {};
- //Get the document library template form overrideCtx
- overrideCtx.Templates = {}
- //Set the custom header for the document library template
- overrideCtx.Templates.Header = "<div>";
- //Get the item template structured rendered from the function thumbnailtemplate()
- overrideCtx.Templates.Item = thumbnailtemplate;
- //Set the custom footer for the document library template
- overrideCtx.Templates.Footer = "<div>";
- // This line of code tell TemplateManager that we want to change all HTML for item row render
- SPClientTemplates.TemplateManager.RegisterTemplateOverrides(overrideCtx);
- })();
- This
- function provides the rendering logic
- function thumbnailtemplate(ctx) {
- console.log(ctx);
- //Get the url of image form the document library
- var fileUrl = ctx.CurrentItem.FileRef;
- //Get the title of the item from the document library
- var titleInfo = ctx.currentItem.Title;
- // Return whole item html
- var html = "<div class='responsive'><div class='gallery'><a target='_blank' href='" + fileUrl + "'><img src='" + fileUrl + "' width='300' height='200'></a><div class='desc'>" + titleInfo + "</div> </div></div>";
- return html;
- }
Full code
- // Declare the css from the reference
- var cssId = 'myCss';
- if (!document.getElementById(cssId)) {
- var head = document.getElementsByTagName('head')[0];
- var link = document.createElement('link');
- link.id = cssId;
- link.rel = 'stylesheet';
- link.type = 'text/css';
- link.href = 'https://sharepointtechie.sharepoint.com/sites/appnfc/SiteAssets/design.css';
- link.media = 'all';
- head.appendChild(link);
- }
- (function() {
- var overrideCtx = {};
- overrideCtx.Templates = {}
- overrideCtx.Templates.Header = "<div>";
- overrideCtx.Templates.Item = thumbnailtemplate;
- overrideCtx.Templates.Footer = "<div>";
- SPClientTemplates.TemplateManager.RegisterTemplateOverrides(overrideCtx);
- })();
- // This function provides the rendering logic
- function thumbnailtemplate(ctx) {
- console.log(ctx);
- var fileUrl = ctx.CurrentItem.FileRef;
- var titleInfo = ctx.CurrentItem.Title;
- // Return whole item html
- var html = "<div class='responsive'><div class='gallery'><a target='_blank' href='" + fileUrl + "'><img src='" + fileUrl + "' width='300' height='200'></a><div class='desc'>" + titleInfo + "</div> </div></div>";
- return html;
- }
Finally, the document library looks like this.
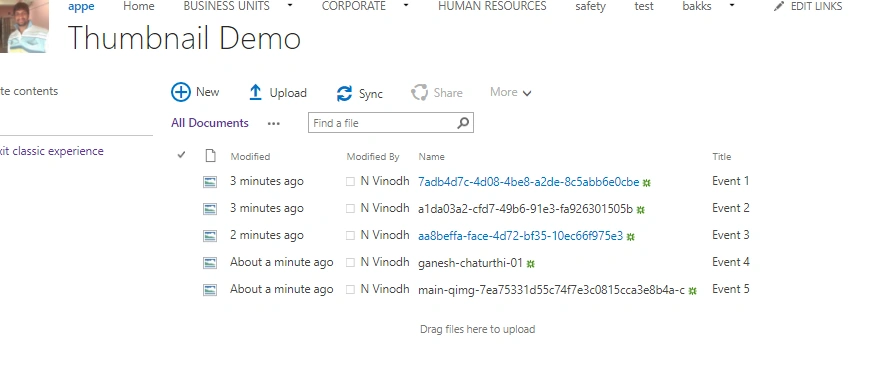
After injecting JSLink into a document library.
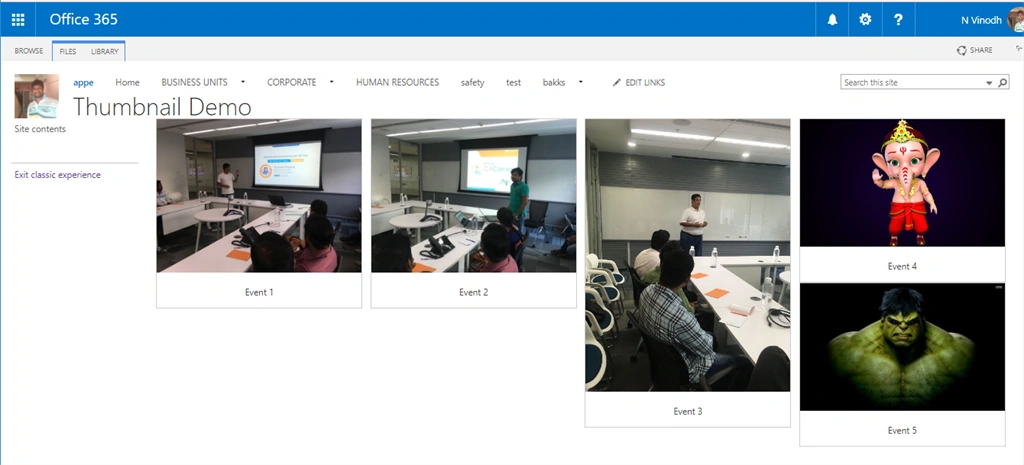
Click on the image to preview.

Happy SharePointing!....
goran ljubicPosted Feb 28, 2020, 4:34 AM
I need preview document in sharepoint 2010. can you give me some solution?
Robert deGraaffPosted Feb 10, 2019, 4:57 AM
This looks exactly like what I want to achieve. Can you give pointers as to how/where I add your code (and how I can obtain a copy of your css file since I can't access the one mentioned in the code) ?
venkat KotaiahPosted Dec 13, 2017, 6:41 AM
Very nice..it useful to me a lot...
Satyendra MishraPosted Dec 5, 2017, 2:13 AM
It is very nice and useful. Thanks...
Mahipal ReddyPosted Dec 4, 2017, 2:14 AM
Nice article vinodh..