

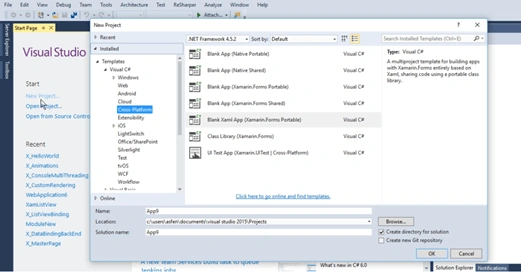
First of all, we open a new project from the file. The window will appear, as shown in the figure. Then, we select the Blank Xaml App (Xamarin Forms Portable).
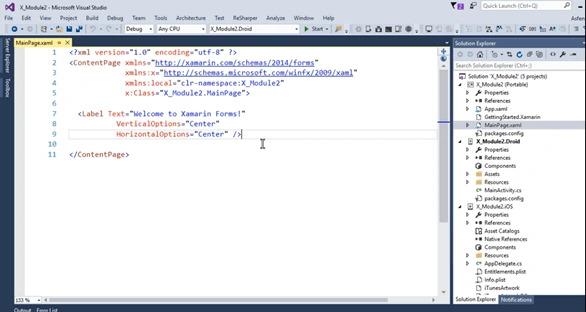
After some time, a blank window will open where we need to implement our code. There are some options in the right pane that we have discussed in previous posts. We will work at the top of the portable project which is highlighted in the given figure.
Then, we delete the label code and write our code for the next operation. We start our code with StackLayout, the layout that positions the child elements in a single line which can either be vertical or horizontal. Because StackLayout layouts override the bounds on their child elements, application developers should not set bounds on them. Xaml for Xamarin.Forms supports the following properties for the StackLayout class. We call it sharper in coding.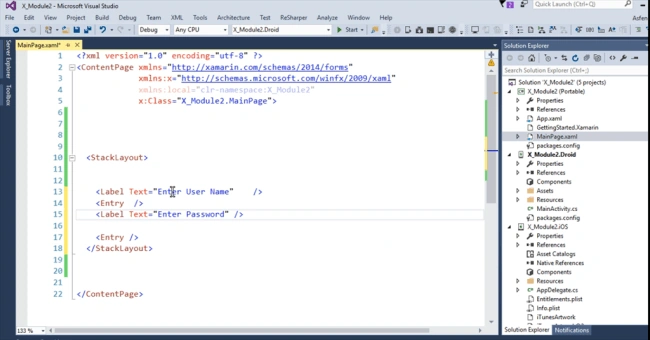
As we can see in the figure, we use StackLayout and click the reshaper option. Then, we use next option. We use label tag <label/>. In html, we use start and close both tags; but in the Xamarin form, we use only the closed tag. Then, we use Text here which Gets or sets the text for the label. This is a bindable property. Setting Text to a non-null value will set the formatted text property to null. Then, we write the message which the user will see in double quotes “”. Then, we use entry label. We use this label for the field where the user can write, as shown in the next mobile figure. It is showing the output which I wrote through code.
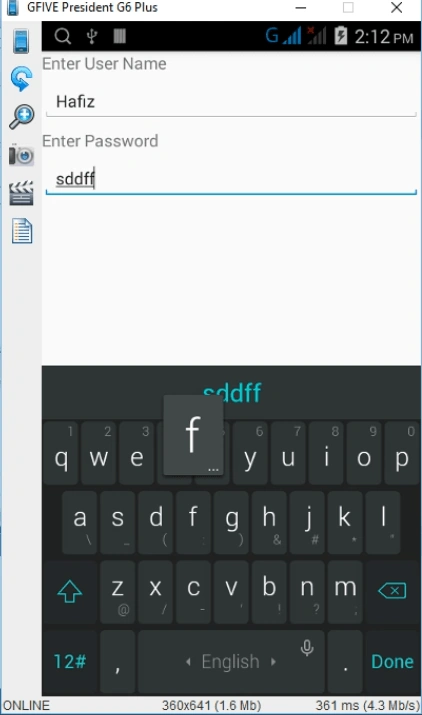
We run this code in the Android phone for the output. This code is simple and easy to remember, If you face any query, please comment here.
Zubair GondalPosted Sep 8, 2016, 5:44 AM
Dear i need some same project can u give me some links about xamarin i wanna learn please
Bhavik PatelPosted Jul 31, 2016, 2:12 AM
Nice