Introduction
Notification Window is a new feature added in Silverlight 4. In this article we will see how we can use Notification Window. We have to remember one thing that, Notification Window only works in Out-of-Browser mode.
Creating Silverlight Project
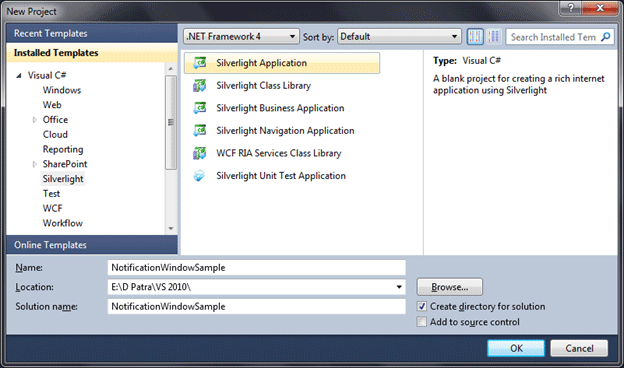
Fire up Visual Studio 2010 and create a new Silverlight Application Project. Name it as NotificationWindowSample.
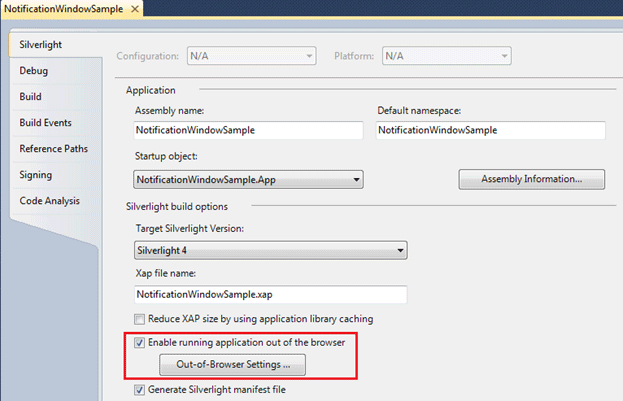
As the Notification Window would work in out-of-browser mode, let's set the properties for that. Open the Silverlight project properties and enable the out-of-browser mode. See below figure:
We can set the width and height while the application would start in out-of-browser mode. Even we can set the startup position. See below figure:

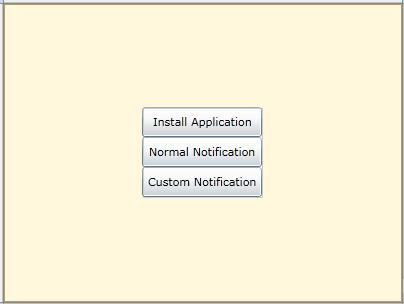
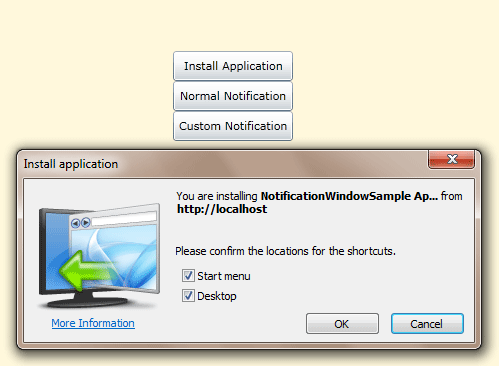
Now let's have 3 Buttons, out of that, first button is for Installing the application, then rest two are for displaying sample Notification Windows.
Let's add code for the Button click of "Install Application".

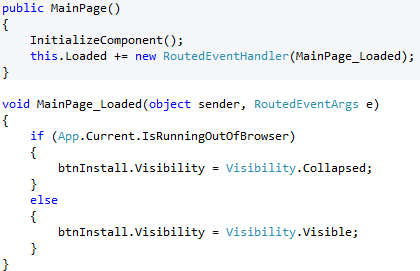
Let's have the Loaded event, where we can check whether the application is already installed, if installed disable the Button. See following code snippet:
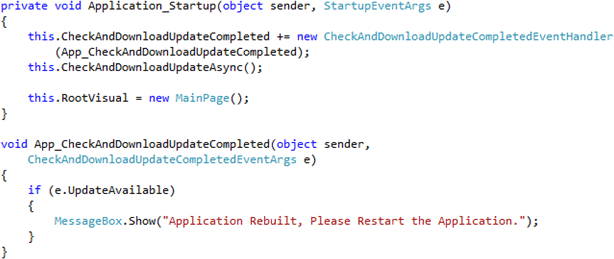
Now if after the installation we have changed the code for some reason, we need an updated version, for that there is an event called "CheckAndDownloadUpdateCompleted".
In App.xaml.cs, we can write the following line of code to check for a newer version of the application.
Now we are good to test our sample out-of-browser application.
Now let's run the application and install the application.
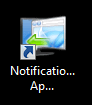
After installation, we can start the application by clicking on the desktop icon.
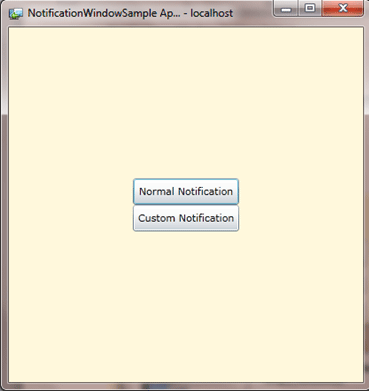
As you see in above application, we don't have the Install Application Button.
Now let's do some Notification Window stuff. Let's use the default Notification Window style and another Customized Notification Window Style.
See the below code, where normal style of the Notification Window is used:
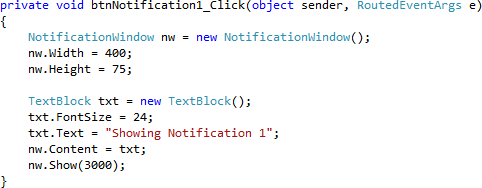
As you see in above code display, we created an instance of NotificationWindow and then assigned it's Width and Height. Then we created a TextBlock instance and assigned the element to the Content of NotificationWindow. If you see the definition of Content, you will note that it can take any FrameworkElement. And finally for displaying the Notification Window a time is required in terms of Milli Seconds.

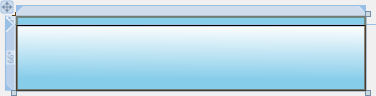
Now let's have the Customized Notification Window. For that let's add an User Control to the Silverlight project and name it as CustomWindow.
Now we can have any design, I have designed as below.
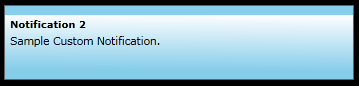
I have kept two TextBlocks such as HeaderText and BodyText for the message displaying format.
Using the Custom Window is same as the previous one.
Now if you build the application, and restart the out-of-browser application, you will be notified that the application is rebuilt...
Now click on the 2nd Notification Button and you will see the following Notification Customized Window:
You can use Notification Window in various situations where you want to display a message to the user.
Hope you like this article.