Ok. Now that we have created our Picture Library.
Let's go back to the Home Page.
Edit the Page using Page Tab -> Edit Page
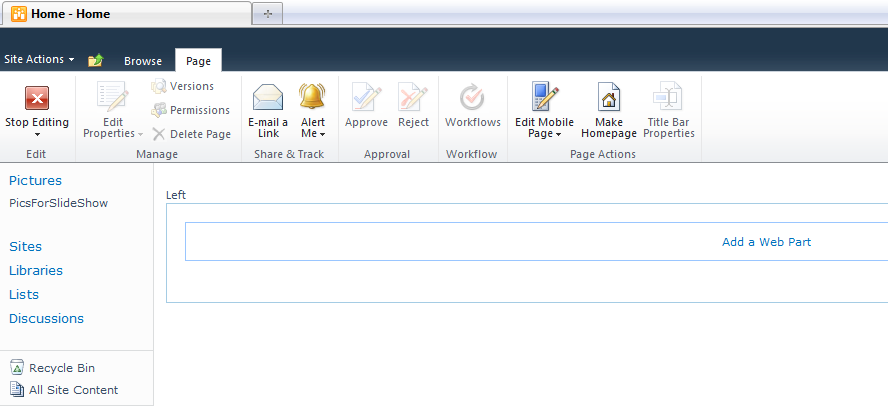
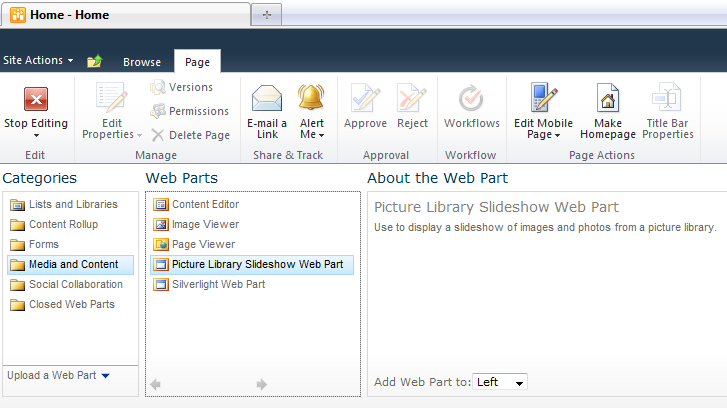
Click Add a Web Part and there choose Category "Media and Content" and Choose "Picture Library Slideshow Web Part"
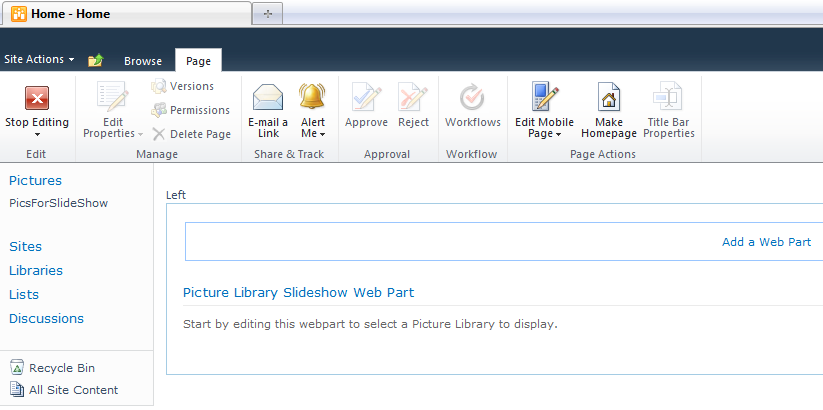
Click Add. It is empty initially because we need to configure it first.
Choose the Web Part:
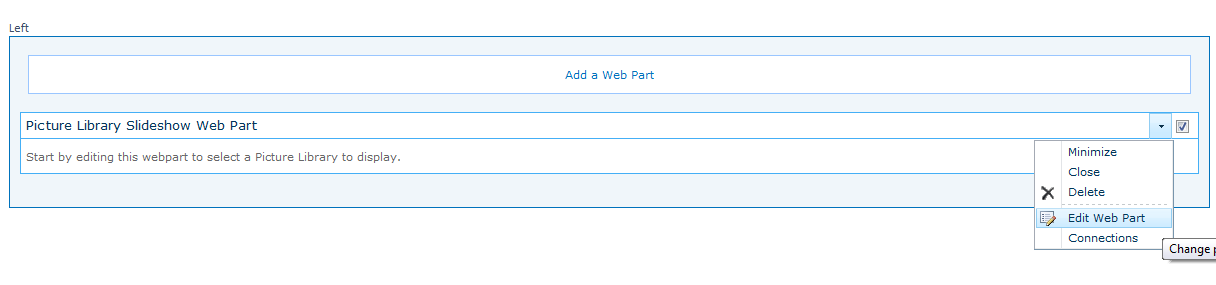
Then Choose Edit Web Part.
A new Panel will open in the right corner showing us all the properties that can modified for this WebPart.
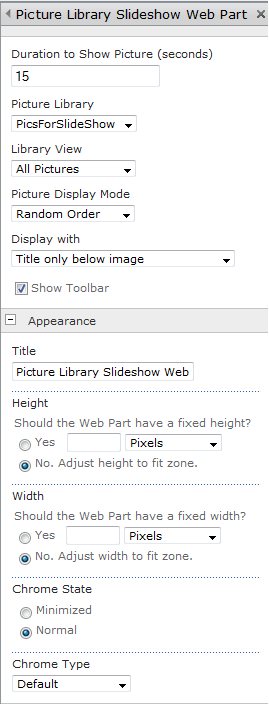
Look at the "Picture Library" labelled Combobox; there you will see "PicsForSlideShow". So that's everything we need. We just need to Click Apply and then click OK.
Then Click Stop Editing and see your Pictures in SlideShow:
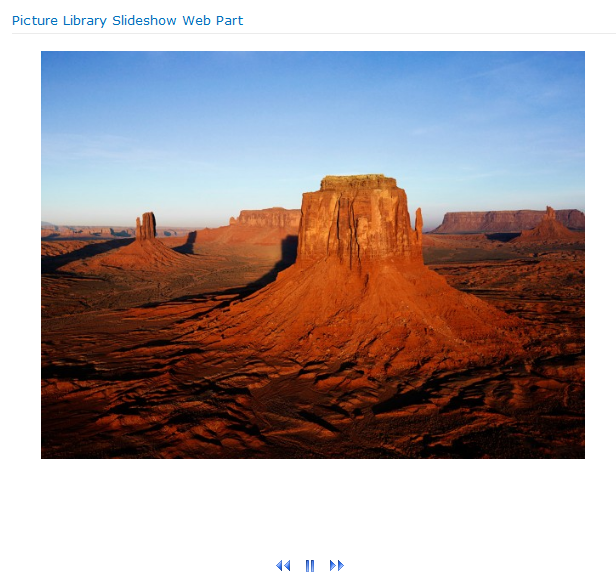
That's it. You've added SlideShow in your Sharepoint Portal successfully.
Hope it helps!