We normally use to do sorting and paging for grids like GridView. Here, we will look into html table sorting and paging. I am going to explain it with a sample MVC application. Create an ASP.NET MVC 2 web application and name it as JQuerySortAndPaging. We no need to add JQuery script files manually, since MVC have built-in support for JQuery. Now, add the below script files to your solution under scripts folder:
-
jquery.tablesorter.min.js
-
jquery.tablesorter.pager.js
These script files are used to do sorting and paging of the table. Add below script tags to site.master page:
<script src="../../Scripts/jquery-1.4.1.min.js" type="text/javascript"></script>
<script src="../../Scripts/jquery.tablesorter.min.js" type="text/javascript"></script>
<script src="../../Scripts/jquery.tablesorter.pager.js" type="text/javascript"></script>
I added few images to content folder to show first, next page links. Now, create a SQL Server Database with a table called "Employees" under app_data folder. Create a LINQ to SQL classes component [EmpDC.dbml] and drop Employees table onto it from Server Explorer. Add the below code to index view under Home controller:
<div id="sortMsg" style="text-align: center; color: Red;">
</div>
<table border="1" id="empTable" style="width: 50%; cursor: default">
<thead>
<tr>
<th>
<u>Employee Name</u>
</th>
<th>
<u>Employee ID</u>
</th>
<th>
<u>Salary</u>
</th>
<th>
<u>Delete</u>
</th>
</tr>
</thead>
<tbody>
<%foreach (var emp in new JQuerySortAndPaging.EmpDCDataContext().Employees)
{ %>
<tr>
<td>
<%=emp.EmpName %>
</td>
<td>
<%=emp.EmpId %>
</td>
<td>
<%=emp.Salary %>
</td>
<td>
<img src="../../Content/delete.jpg" style="width: 20px; height: 20px" />
</td>
</tr>
<%} %>
</tbody>
</table>
<br />
<div id="pager" class="pager">
<br />
<img src="../../Content/first.png" class="first" />
<img src="../../Content/prev.png" class="prev" />
<input type="text" class="pagedisplay" />
<img src="../../Content/next.png" class="next" />
<img src="../../Content/last.png" class="last" />
<select class="pagesize">
<option selected="selected" value="10">10</option>
<option value="20">20</option>
<option value="30">30</option>
<option value="40">40</option>
</select>
</div>
This code will create a row for each employee in Employees table. Delete image is used to delete a row from the table. We added images to show first, next etc page links. We need to give same class names as shown above for images and divs under pager div for proper paging. Pager works based on class names. So, use same names in your code for paging. Now, add below script to do sorting and paging:
<script type="text/javascript">
$(function() {
$("#empTable")
.tablesorter({ widthFixed: true })
.tablesorterPager({ container: $("#pager") });
$("#empTable").bind("sortStart", function() {
$("#sortMsg").html('Sorting');
}).bind("sortEnd", function() {
$("#sortMsg").html('');
});
//Hide/delete row on click.
$("#empTable img").click(function() { $(this).parent().parent().hide(); });
});
</script>
For sorting, we are calling tablesorter() on the table and for paging called tablesorterPager() with event to be triggered on sort start and end. We are hiding corresponding row on click of delete image.
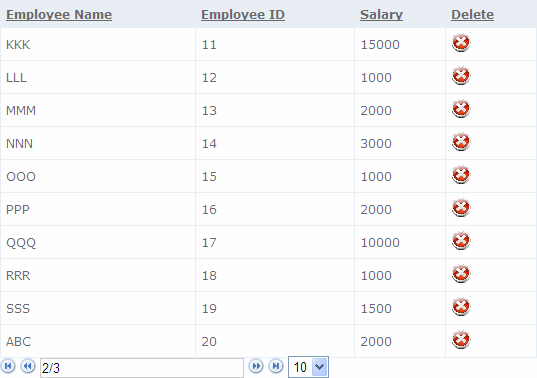
The output will be as shown below:
If you want to adjust page size on deleting a row, refer this:
http://stackoverflow.com/questions/1903788/updating-jquery-tablesorter-plugin-after-removing-a-row-from-dom
I had done sample implementation in the attached code, which will adjust page size on row deletion.
Note: Use this sorting/paging, if you have few rows. Since, on page load itself all rows will be rendered and paging/sorting will be done in browser. So, having more rows will delay page loading.
I am ending the things here. I am attaching the source code with it. I hope this article will be helpful for all.