Introduction
Workflows are now an integral part for any project. You can build a SharePoint work flow using the available templates, SharePoint designer and using visual studio 2005 / 2008. This tutorial will mainly concentrate on work flow creation using Sharepoint designer. We will walk through the basic 8 steps needed to create work flows using Sharepoint designer.
I have published some videos on Sharepoint, WCF , WPF , WWF, design patterns, UML, FPA, Enterprise blocks and lot you can watch the videos at click here
You can download my 400 .NET FAQ EBook from http://www.questpond.com/SampleDotNetInterviewQuestionBook.zip
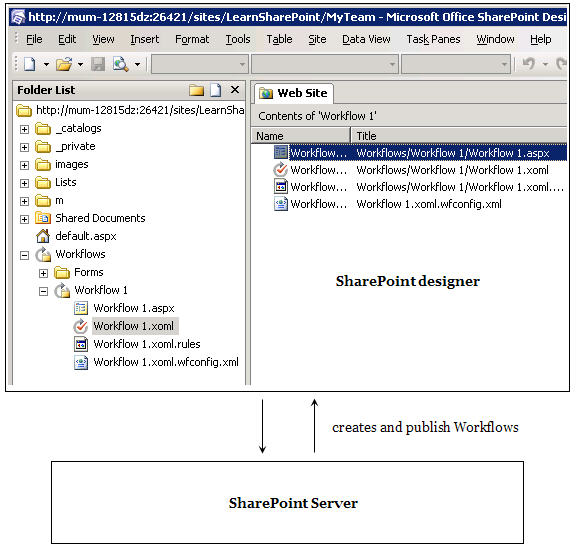
Sharepoint designer helps us to create workflows and attach the workflows to a content type like list , document etc. In other words Sharepoint designer creates workflows and publishes the workflow on the sharepoint server site.
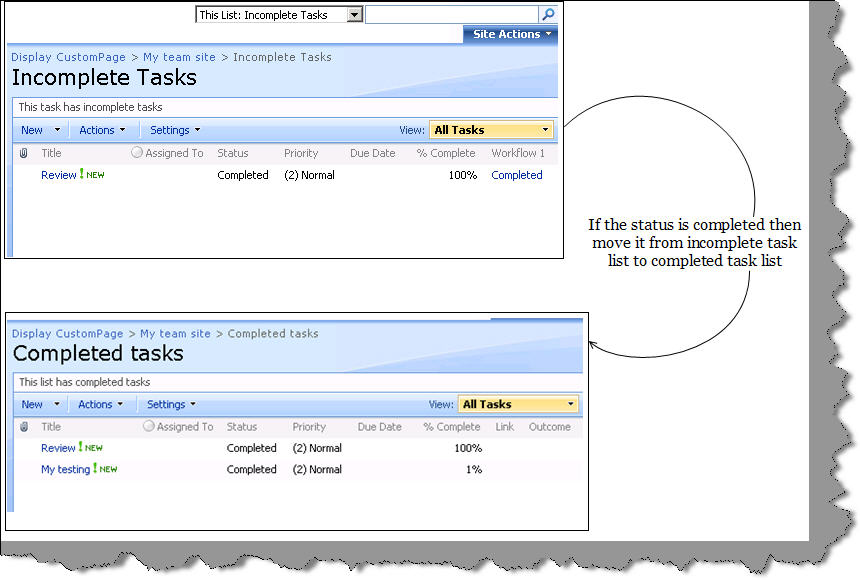
To understand it better we will build a simple work flow of completed and incomplete tasks. We will create two lists one is the incomplete tasks and the other the completes tasks. The workflow will flow something like this:-
-
User will create a task and enter the status of the task.
-
If the task is incomplete nothing will happen.
-
Once the task is marked as complete. The task will be copied from incomplete task list to completed task list.
-
The task will be deleted from the incomplete task list.
So let's understand the eight important steps we will need to create the above work flow using Sharepoint designer.
Create a team site using the sharepoint team site template.
Create two task list one is incomplete task list and the other completed task list.
To create task list click on site action A Create: - Add a new library list A create a task
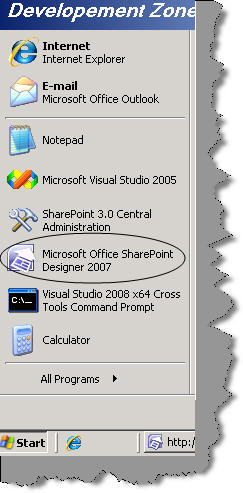
Start the Sharepoint designer.
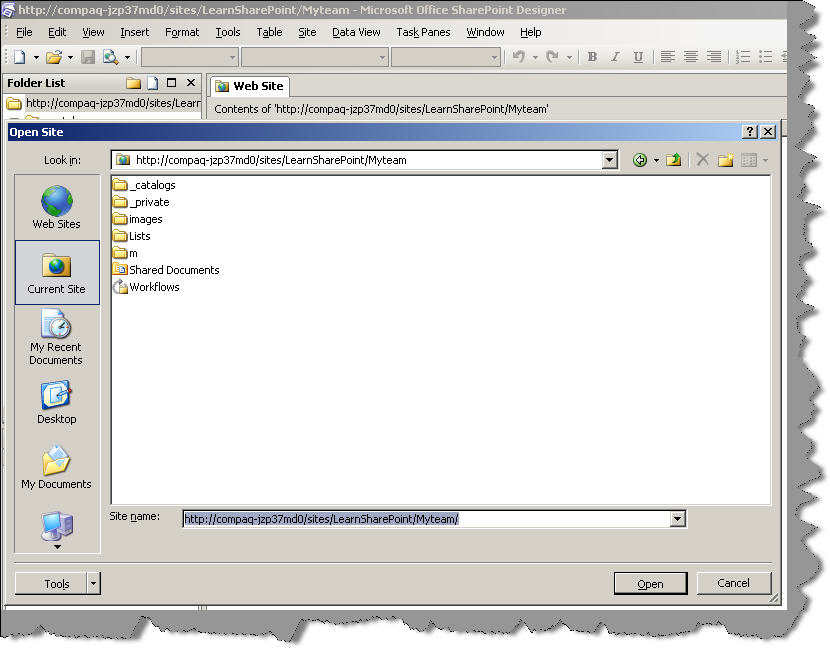
Open the site in your sharepoint designer using click on file A open site.
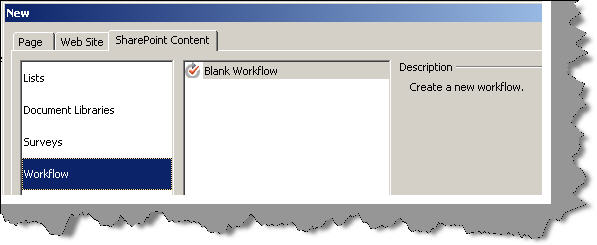
Go to workflows by clicking on file A new A SharePoint content and click ok as shown in the below figure.
This is a important step. In this step we define two important things first is this work flow will be attached to which list. Currently we have attached the work flow to incompleted tasks list. Second we need to define the events on which the workflow should be activated. For the current scenario we have considered two events one when the item is created and the second when the item is updated.
This is one more crucial step where we need to define on what condition the work flow will execute and what action should take place if the condition is true. So when a task status is completed then two actions will take place. First the task will be copied from the incomplete task list to the completed task list. Second the task is deleted from the incomplete task list.
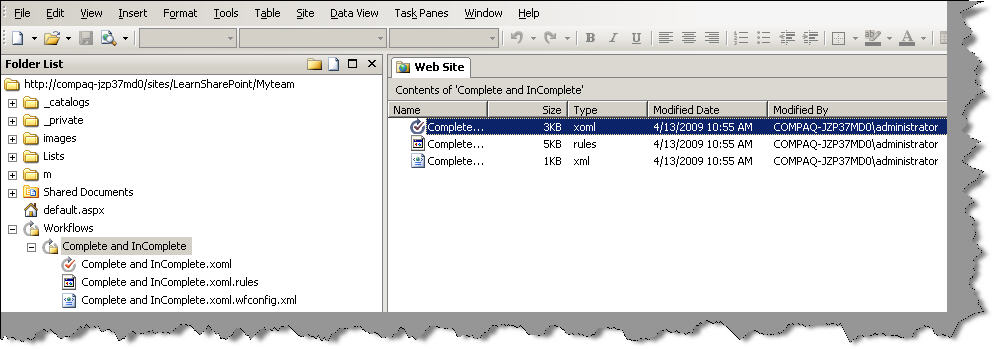
Once you click finish you can see the work flow created in the share point designer. This workflow is also published to the sharepoint server,
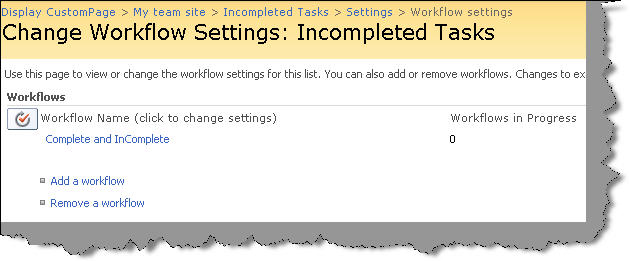
You can see if the work flow is associated with the incomplete task list. Go to incompleted tasks A Settings A List settings A Workflow settings, you can see the work flow is attached to the incomplete task list.
Ok, now it's time to see the work flow in action. So go to incomplete task list and create a task with status completed.
Once you click ok you see the task for some seconds in the incomplete tasks list and then the task is copied to the completed task list and deleted from the incomplete task list.
Quick Start FAQ Part 1:- 11 basic FAQ questions, must for every new comer. It's a the basic Quick Start FAQ tutorial which talks about What is SharePoint, WSS, MOSS, Site/Site collection , Virtual Path provider and then ends with explaining SitePages and Application pages. :- http://www.c-sharpcorner.com/UploadFile/shivprasadk/1234567801062009045241AM/12345678.aspx?ArticleID=efb756bd-8f0f-488b-b2d6-5b7f43f4e62c
Quick Start FAQ Part 2:- This is the second part in the series which explains the ready made functionalities, custom pages, deploying/activating/deactivating features and lot. :- http://www.c-sharpcorner.com/UploadFile/shivprasadk/45454301092009151131PM/454543.aspx?ArticleID=b2779b40-f9ad-40a0-b8bf-e76dcf284205
Quick Start FAQ Part 3:- This is the third part of the series in which we have explained page templates , page instances, WSS model, understand safe mode processing and deploy custom controls. :- http://www.c-sharpcorner.com/UploadFile/shivprasadk/757501152009161607PM/7575.aspx?ArticleID=17ef5ae6-b053-4ded-ba83-ad3e767ca367
Quick Start FAQ Part 4:- This series is all about webparts, webparts and webparts. :- http://www.c-sharpcorner.com/UploadFile/shivprasadk/45454602072009032747AM/454546.aspx?ArticleID=f38c17c0-287f-4a5a-bd57-53a0ad4cde2d
Quick Start FAQ Part 5 :- This series will mainly concentrate on custom columns, content types and document list library. I am sure once your read this article your thinking of how SharePoint organizes document centralization will change.
Quick Start FAQ Part 5