

Introduction
The Slider control is one of the controls in WPF. This control simplifies the process of coding for some UI design cases where you need to let your user choose a value and change it and you update your interface based on the user's choices. A very common example is a slider control that lets the user zoom in or zoom out in a Google Maps application. Slider is a built-in control in WPF and is easy to use. You can have horizontal and vertical sliders with any custom interval and ticks that you like.
Here is a brief description of common properties for a slider control in WPF.
- AutoToolTipPlacement : Specifies if a ToolTip must be shown and where it will be displayed.
- Delay : A value in milliseconds that specifies how long RepeatButton should wait before an increase or decrease.
- Interval : A value in milliseconds that specifies the time for waiting between repeats.
- LargeChange : The amount that should be added or subtracted to or from a Value attribute when the user clicks on the scrollbar.
- Maximum : Maximum value for slider.
- Minimum : Minimum value for slider.
- Orientation : Gets the values of Horizontal or Vertical and specifies the orientation of the slider.
- SmallChange : The amount that should be added or subtracted to or from Value attribute when the user clicks on the thumb.
- TickPlacement : Determines the place that ticks should be placed.
- Ticks : A required attribute and a set of double values for ticks.
- Value : Default selected value for tick.
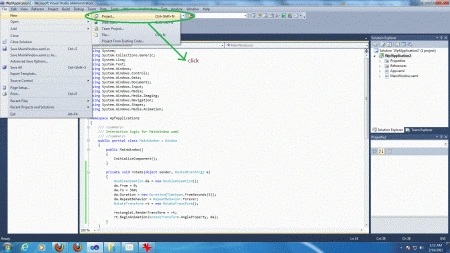
Step 1 : Open Visual Studio.
- Select new -> project
- Select your preferred language
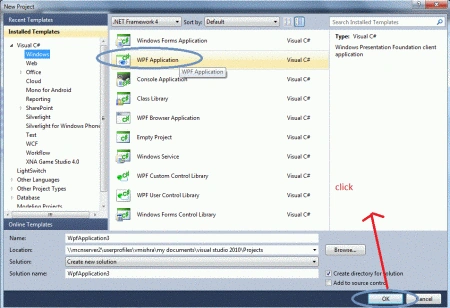
- Select a WPF application
- Name the project
- Now name of project is "WpfApplicationDemo"
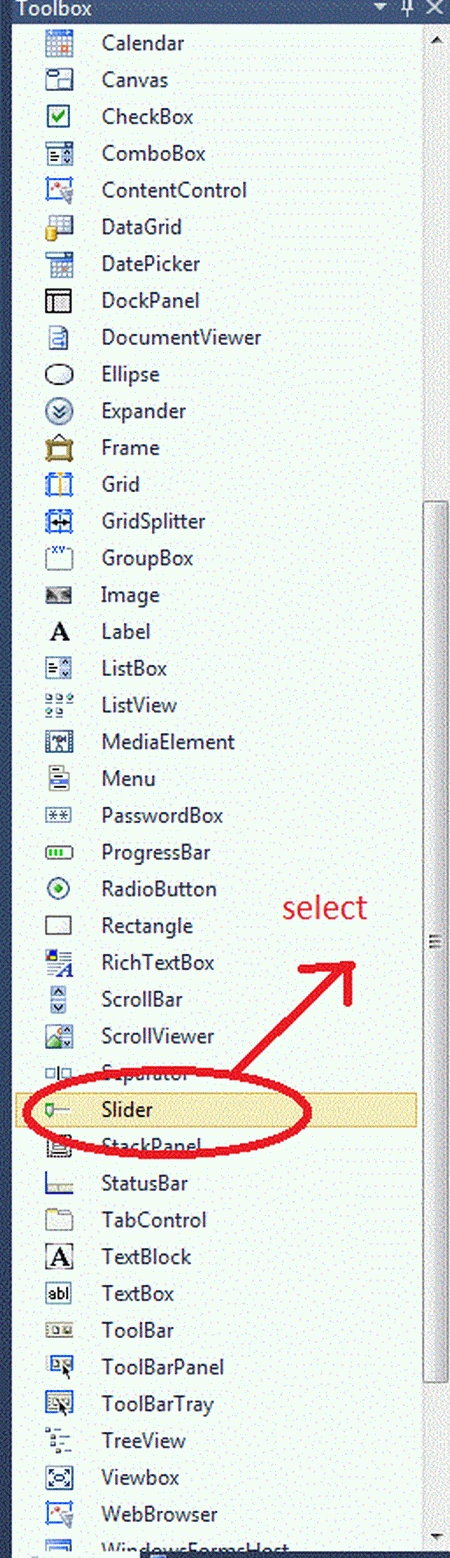
Step 2 : Open the Toolbox of WPF application.
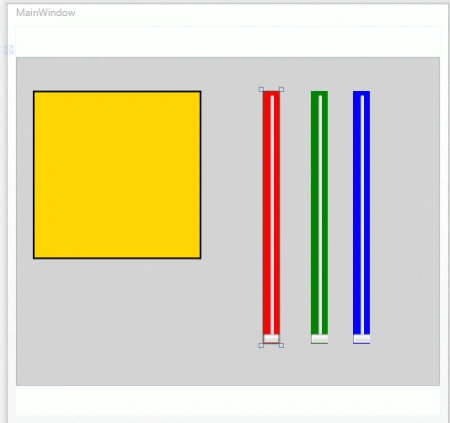
- Drag & Drop a rectangle control onto the design view.
- Drag & Drop three slider controls onto the design view.
Step 3 : Now, the final source code of the XAML page is given below.
Code
<Window x:Class="WpfApplicationDemo.MainWindow"
xmlns="http://schemas.microsoft.com/winfx/2006/xaml/presentation"
xmlns:x="http://schemas.microsoft.com/winfx/2006/xaml"
Title="MainWindow" Height="500" Width="525">
<Canvas Name="LayoutRoot" Background="LightGray" Height="390">
<Rectangle Name="rectangle1" Width="200" Height="200"
Canvas.Left="20" Canvas.Top="40" Fill="Gold"
Stroke="Black" StrokeThickness="2">
</Rectangle>
<Slider Name="RedSlider" Width="20" Height="300"
Background="Red" Maximum="255" Minimum="0"
Canvas.Left="300" Canvas.Top="40" Orientation="Vertical"
ValueChanged="RedSlider_ValueChanged"/>
<Slider Name="GreenSlider" Width="20" Height="300"
Background="Green" Maximum="255" Minimum="0"
Canvas.Left="350" Canvas.Top="40" Orientation="Vertical"
ValueChanged="GreenSlider_ValueChanged"/>
<Slider Name="BlueSlider" Width="20" Height="300"
Background="Blue" Maximum="255" Minimum="0"
Canvas.Left="400" Canvas.Top="40" Orientation="Vertical"
ValueChanged="BlueSlider_ValueChanged"/>
</Canvas>
</Window>
Step 4 : Now, the source code of MainWindows.xaml.cs file.
Code
using System;
using System.Collections.Generic;
using System.Linq;
using System.Text;
using System.Windows;
using System.Windows.Controls;
using System.Windows.Data;
using System.Windows.Documents;
using System.Windows.Input;
using System.Windows.Media;
using System.Windows.Media.Imaging;
using System.Windows.Navigation;
using System.Windows.Shapes;
using System.Windows.Controls.Primitives;
namespace WpfApplicationDemo
{
public partial class MainWindow : Window
{
public MainWindow()
{
InitializeComponent();
}
private void GreenSlider_ValueChanged(object sender, RoutedPropertyChangedEventArgs<double> e)
{
UpdateCircleWithColors();
}
private void BlueSlider_ValueChanged(object sender, RoutedPropertyChangedEventArgs<double> e)
{
UpdateCircleWithColors();
}
private void RedSlider_ValueChanged(object sender, RoutedPropertyChangedEventArgs<double> e)
{
UpdateCircleWithColors();
}
private void UpdateCircleWithColors()
{
Color clr = Color.FromArgb(255, Convert.ToByte(RedSlider.Value),
Convert.ToByte(GreenSlider.Value), Convert.ToByte(BlueSlider.Value));
rectangle1.Fill = new SolidColorBrush(clr);
}
}
}
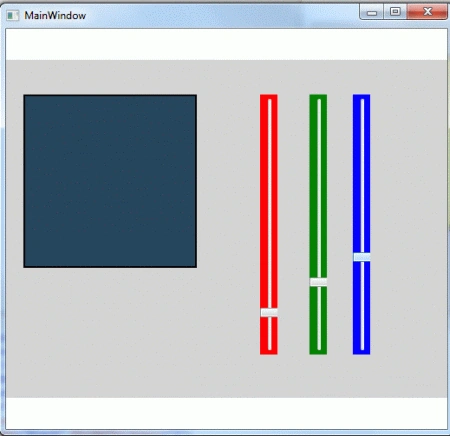
Output
Resources
Jessica StephenPosted Feb 15, 2012, 11:50 PM
Good Presentation I must say.
Maria JohnsonPosted Feb 15, 2012, 11:22 PM
Hi Shubham. You have presented your article very nicely.