
Introduction
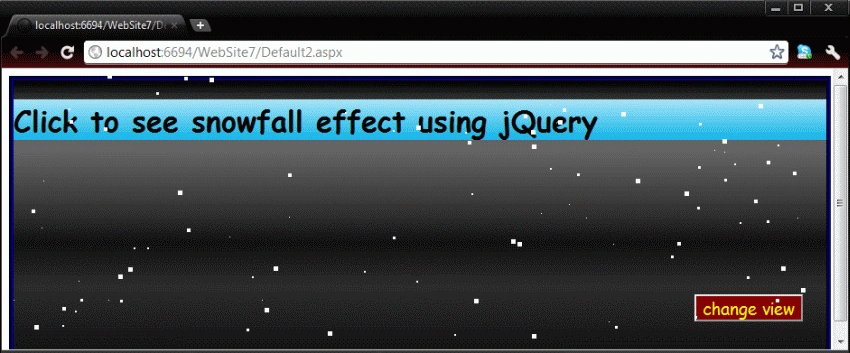
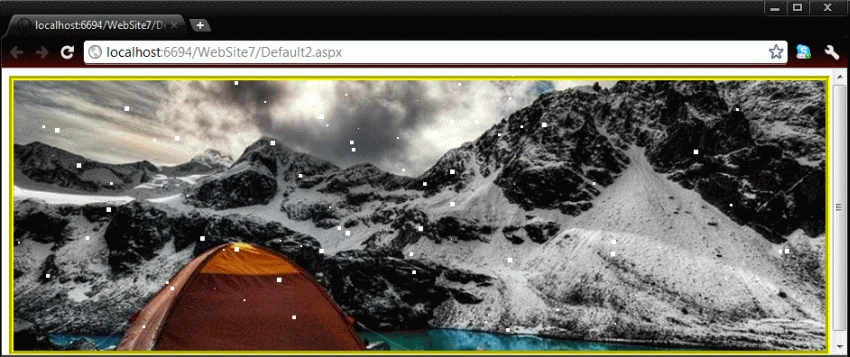
Hello Friends it's time to do something new so here in this article we are going to explore creation of a snowfall effect using jQuery. In further details we have to require a jQuery plugin named snowfall.jquery.js which must be downloaded from the internet and you can also download it from my attached file or zip file. In this article we will see what a snowfall is, which is that there is a place at which you stand and a snowfall starts. In other words you feel the snow flakes falling. In this we will be using some CSS properties to make it effective so you feel better. In this plugin there is a function named snowfall; that's the function which will produce the effect. So further, for application of the functionality you have to follow the steps given below:
Step 1 : In this step you have to open a new website; let us see the figure from where you have to add the website.
- File-->New-->Website
- Select a ASP.NET website
- Click oK

Step 2 : In this step you have to add a new web form; let us see in the figure from where you have to add it.
- Go to Solution Explorer
- Right-click on the add new item
- Select new web page
- Give it a name whatever you want
- Click oK
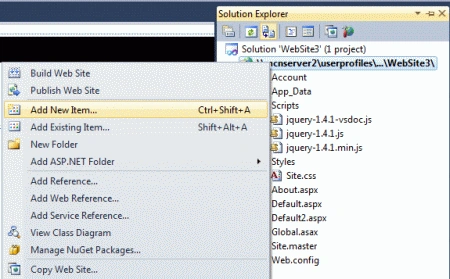

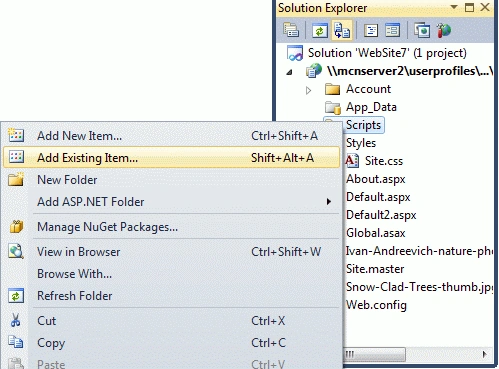
Step 3 : Now you have to add the jQuery plugin if you have it already then go to:
- Scripts folder
- And add existing item
- And find where you have save it
- And click OK then it will be appeared in the Script folder as given below:
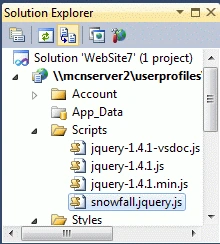
Step 4 : If you don't have a plugin then you should have to download the whole application which will be above the page.
Step 5 : In this step you have to write the CSS which has to apply to the page given below:
CSS Code :
<style type="text/css">
.div1
{
background: -webkit-gradient(linear, left top, left bottom, color-stop(0%,rgba(76,76,76,1)),
color-stop(0%,rgba(0,0,0,1)),
color-stop(12%,rgba(89,89,89,1)),
color-stop(25%,rgba(102,102,102,1)),
color-stop(39%,rgba(71,71,71,1)),
color-stop(50%,rgba(44,44,44,1)),
color-stop(60%,rgba(17,17,17,1)),
color-stop(76%,rgba(43,43,43,1)),
color-stop(91%,rgba(28,28,28,1)),
color-stop(100%,rgba(19,19,19,1)));
height:300px;
width:900px;
border:5px groove Navy;
}
.h1
{
font-family:Comic Sans MS;
background: -webkit-gradient(linear, left top, left bottom, color-stop(0%,rgba(169,228,247,1)),
color-stop(100%,rgba(15,180,231,1)));
}
.input
{
background-color:Maroon;
height:30px;
width:120px;
font-family:Comic Sans MS;
font-size:larger;
color:Yellow;
margin:150px 0px 0px 750px;
}
.img
{
position:absolute;
margin-top:-310px;
border:5px groove yellow;
}
</style>
Step 6 : In this step you have to add the jScript reference; let us see the figure below from here you have to add it.
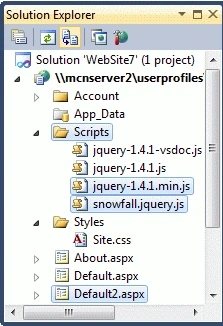
Step 7 : In this step you have to add the jScript code; it will be automatically added whenever you copy the Scirpts reference from the script folder as in the figure above and which will be like as given below:

Step 8 : In this step you have to write the jQuery code which will be inside the <script></script> tag and you can place it inside the either on head section or body section as you wish:
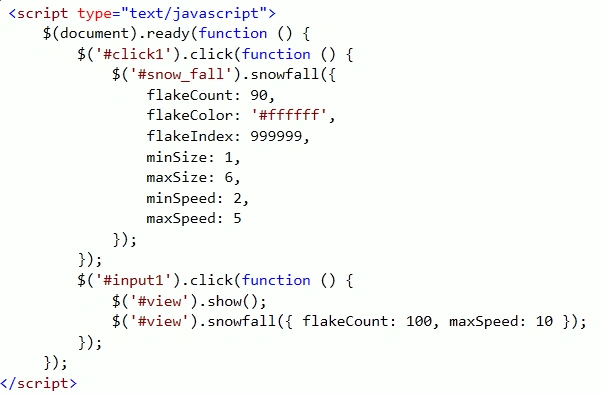
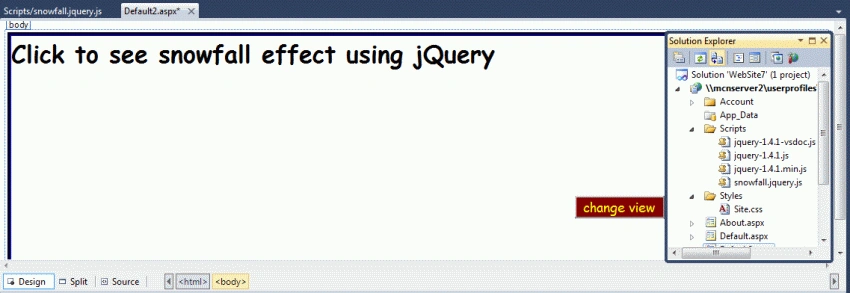
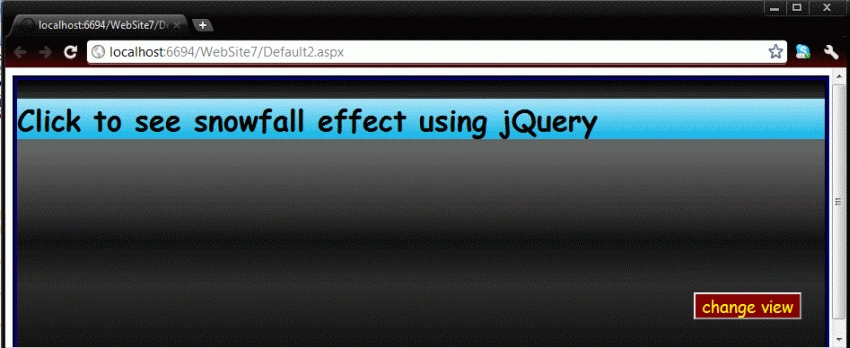
Step 9 : In this step we have to write the Complete code for the Default2.aspx page; let us see the code which is given below:
Former memberPosted Nov 5, 2012, 1:32 PM
Hi this is really nice article pleas check this also... http://www.dotnetpools.com/Article/ArticleDetiail/?articleId=68&title=Zoom Effect Using Jquery In Asp.Net