

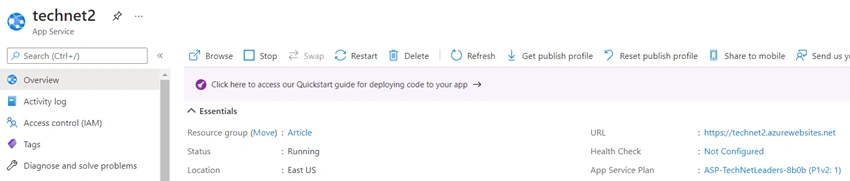
Currently, we have two App Services ruing on our environment, and the details are below.
- App Service Name: technet1
- Location: Central US
- URL: https://technet1.azurewebsites.net

- App Service Name: technet2
- Location: East US
- URL: https://technet2.azurewebsites.net
Step 1
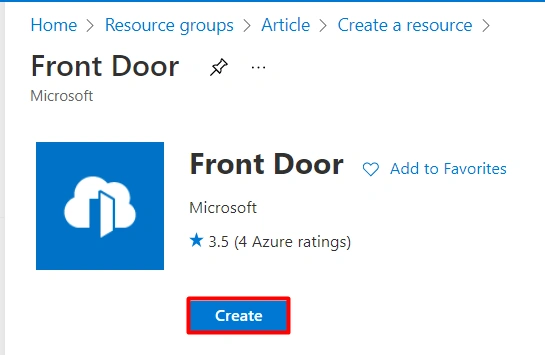
On the Azure Portal, go to search resources, and type front door, and then select Front Door.
Step 2
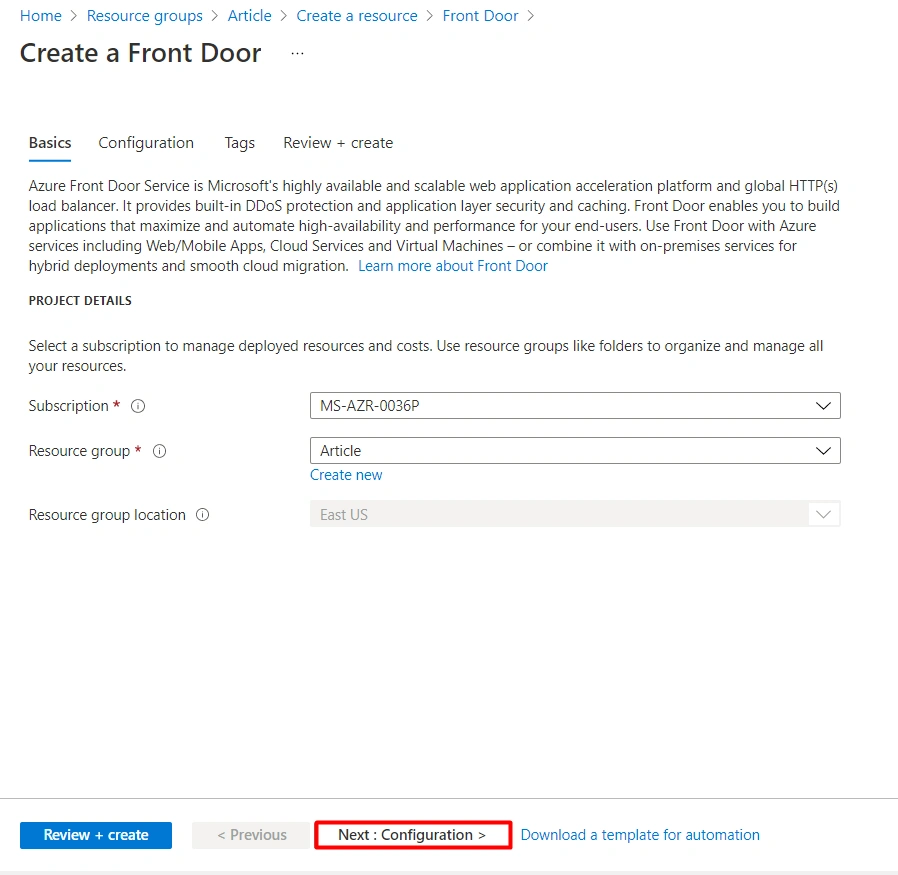
On the Create a Front Door tab, select your subscription, Resource group, accept the default location setting, and click Next: Configuration.
Step 3
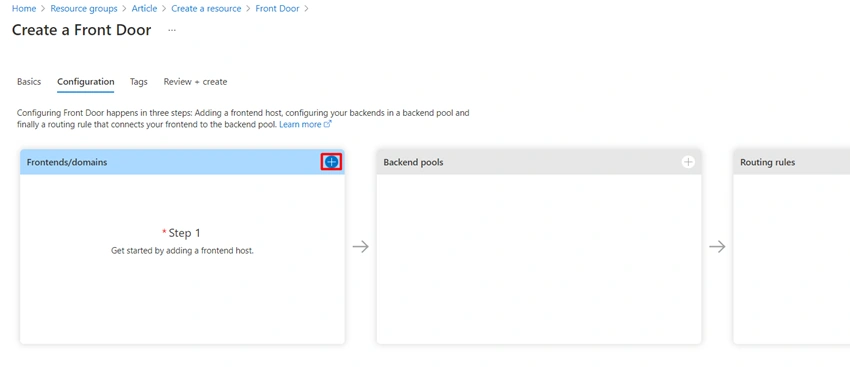
On the Configuration tab, in Frontends/domains, select + to add a frontend host.
Step 4
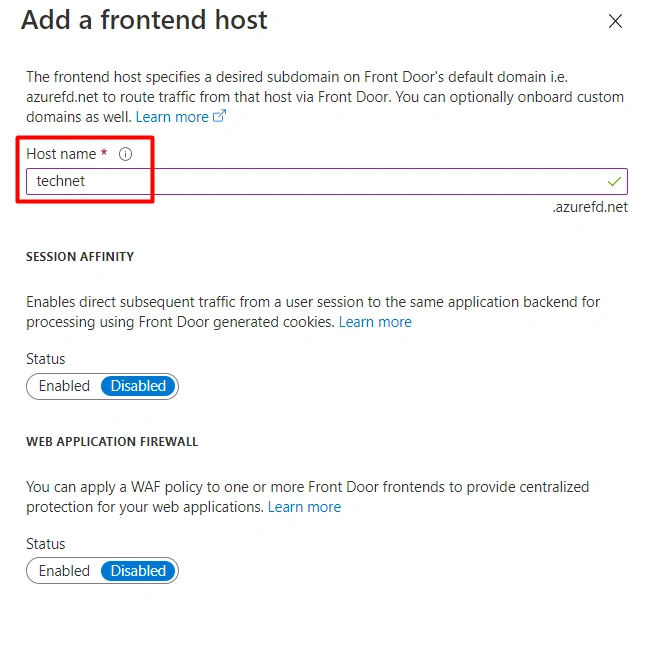
Enter a globally unique hostname, and then select Add.
Step 5
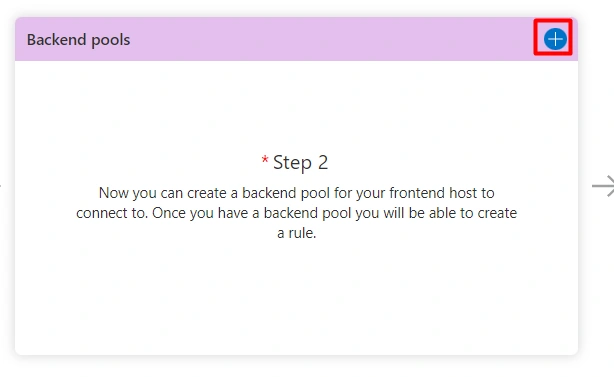
Select + to add a backend pool on the backend pool tab.
Step 6
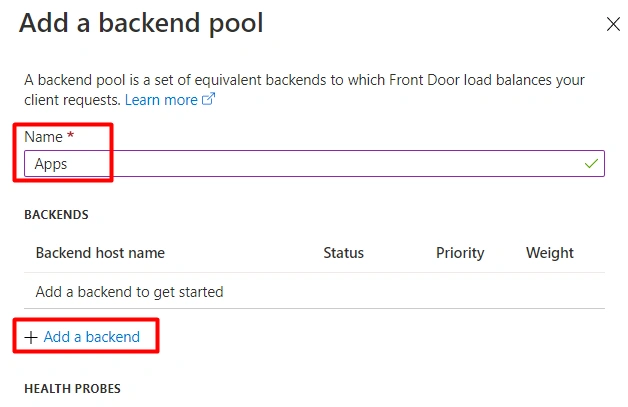
Enter a globally unique hostname, and under BACKENDS, select + Add a backend.
Step 7
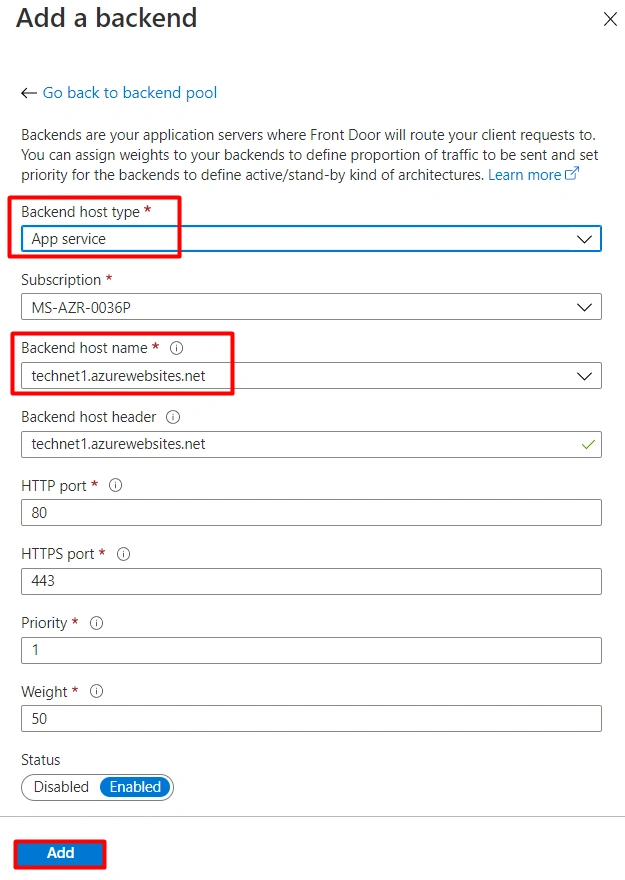
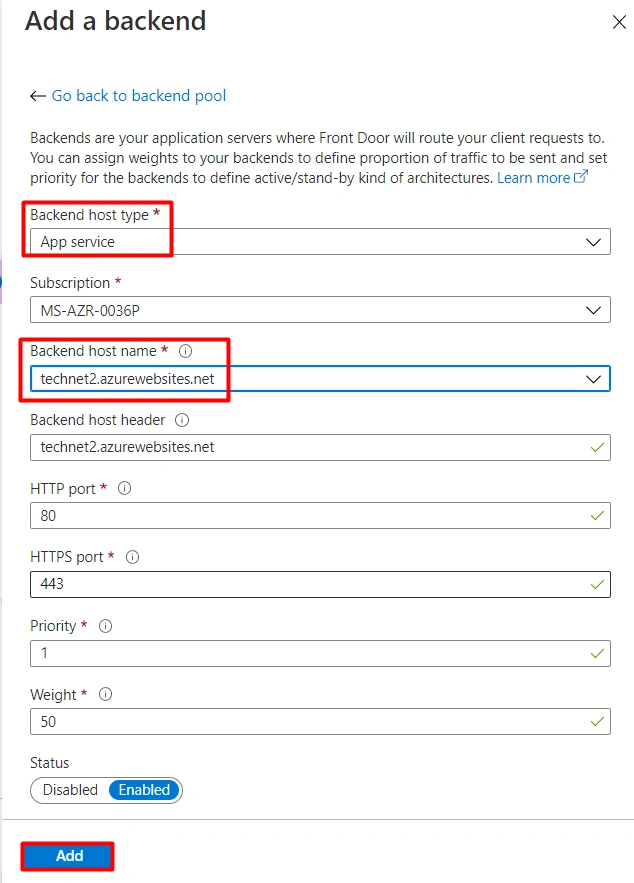
In Add a backend, enter the following information.
- Backend host type: Select App service.
- Subscription: Select your subscription.
- Backend hostname: Select the first web app you created. In this demo, our App was technet1.
Leave all other fields as default and then select Add.
Step 8
Add a backend again, enter the following information.
- Backend host type: Select App service.
- Subscription: Select your subscription.
- Backend hostname: Select the first web app you created. In this demo, our App was technet2.
Leave all other fields as default and then select Add.
Step 9
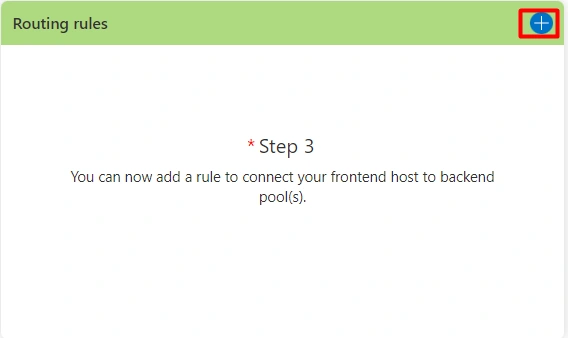
In Routing rules, select + to configure a routing rule.
Step 10
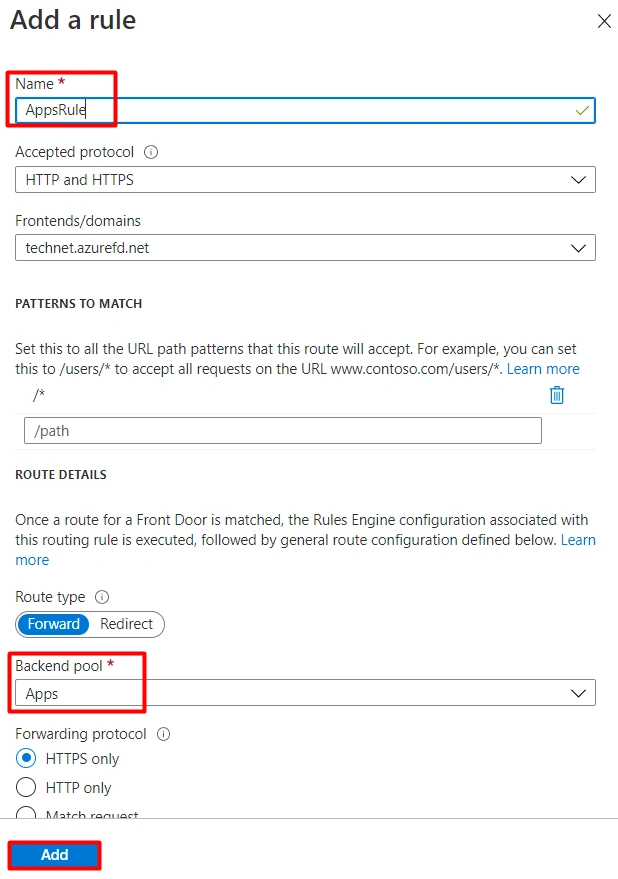
In Add a rule, enter the Name for the rule, make sure that the Backend pool is App, and leave all default values, and Add the Rule, finally Select Review + Create, and then Create.
Step 11
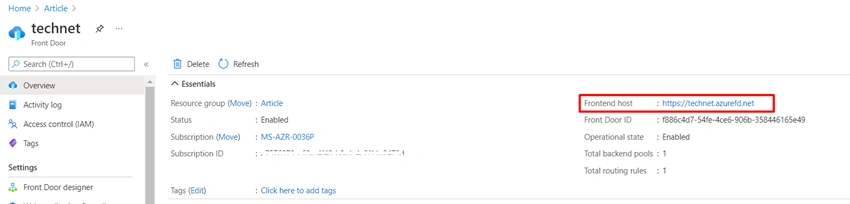
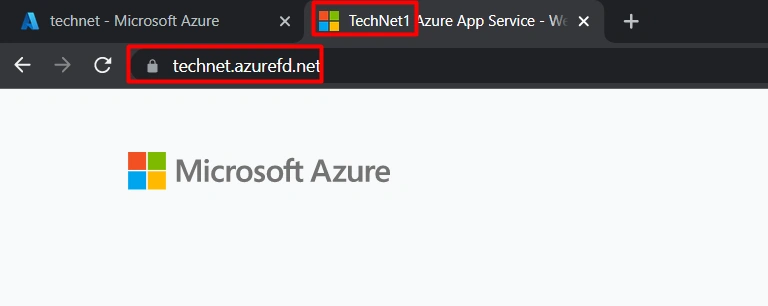
Copy the URL and paste it to the browser; your request will automatically be routed to the first server (TechNet1).
Step 12
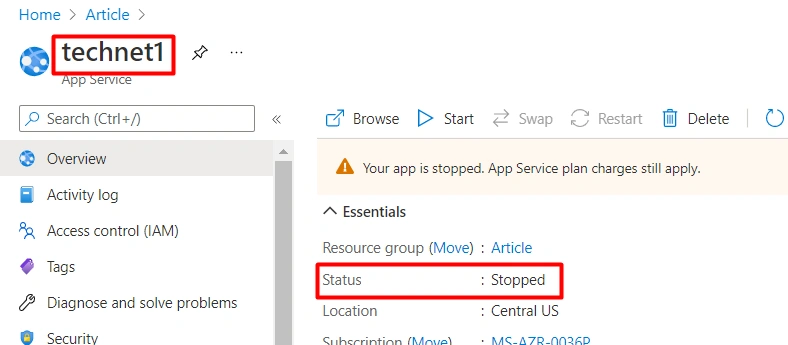
Select technet1, then select Stop.
Step 13
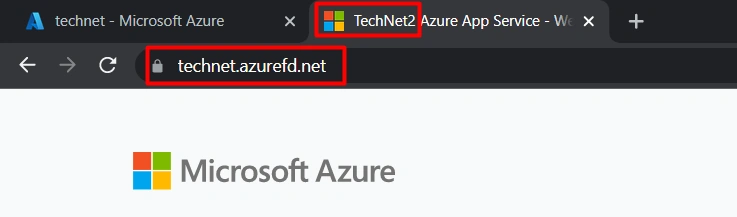
Now, go back to our browser and select Refresh now; we can see that the TechNet2 App is working.
Hadshana KamalanathanPosted Jan 20, 2022, 11:31 AM
Nice Article!