

Introduction
Want to deploy your first smart contract on Base, but not sure where to start? You’re in the right place. In this tutorial, we will guide you through the full process of creating and deploying a smart contract using Remix IDE and Hardhat, two of the most popular Ethereum developer tools. Since Base is EVM-compatible, it works just like Ethereum. That means you can write and deploy smart contracts using the same tools you already know. Plus, it’s cheaper and faster!
Let’s get started.
What You’ll Need
- MetaMask wallet installed and set up
- Some ETH on Base testnet (we will show you how to get it)
- Node.js and npm installed (for Hardhat)
- A code editor like VS Code
Step 1. Writing a Simple Smart Contract in Remix
We will start by creating a simple contract in Remix, then deploy it using Hardhat.
1. Open Remix
- Visit Remix
- Create a new file, name it SimpleStorage.sol
2. Add this code
// SPDX-License-Identifier: MIT
pragma solidity ^0.8.0;

contract SimpleStorage {
    uint256 public number;

    function setNumber(uint256 _num) public {
        number = _num;
    }

    function getNumber() public view returns (uint256) {
        return number;
    }
}
This contract lets you store and retrieve a number on the blockchain.
3. Compile the Contract
- Click the Solidity Compiler tab in Remix
- Select the right version (e.g., 0.8.0) and compile
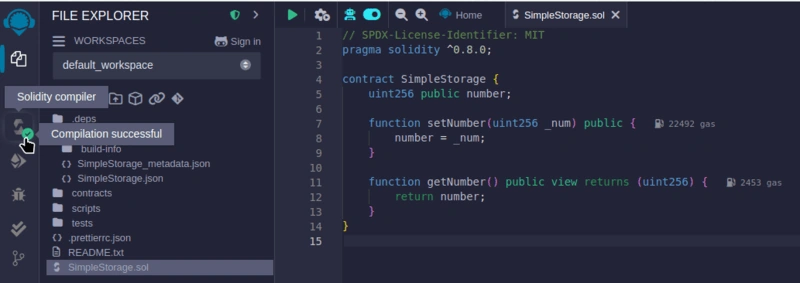
Done! Now let’s set up Hardhat for deployment.
Step 2. Deploying to Base Using Hardhat
1. Create a New Project Folder
mkdir base-smartcontract
cd base-smartcontract
npm init -y
npm install --save-dev hardhat
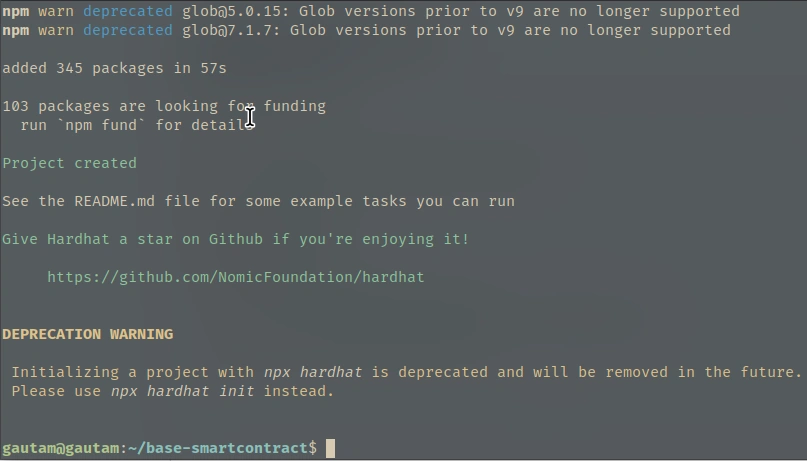
npx hardhat
Choose “Create a basic sample project”.
2. Install Dependencies
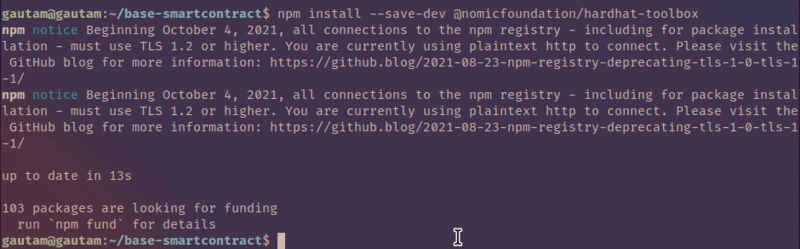
npm install --save-dev @nomicfoundation/hardhat-toolbox
This command installs the Hardhat Toolbox package as a development dependency in your project.
3. Replace the Sample Contract
Go to contracts/Lock.sol and replace it with your SimpleStorage.sol code from Remix. Or create a new file
touch contracts/SimpleStorage.sol
Now you have to paste your contract code into it.
4. Configure Hardhat for Base
Edit hardhat.config.js
require("@nomicfoundation/hardhat-toolbox");

module.exports = {
  solidity: "0.8.0",
  networks: {
    baseGoerli: {
      url: "https://sepolia.base.org",
      accounts: ["YOUR_PRIVATE_KEY"] // Don't share this!
    }
  }
};
- This Hardhat config file sets up your project to work with the Base Sepolia testnet. It uses the Hardhat Toolbox plugin for features like testing and deployment, and dotenv to securely load your private key from a .env file.
- The Solidity compiler is set to version 0.8.0, and the network section defines the Base Sepolia RPC URL and wallet account for deploying contracts. This setup allows you to easily write, test, and deploy Ethereum-compatible smart contracts on the Base blockchain in a secure and efficient way.
5. Create a Deployment Script
Create a new file scripts/deploy.js
async function main() {
  const SimpleStorage = await ethers.getContractFactory("SimpleStorage");
  const contract = await SimpleStorage.deploy();
  await contract.deployed();
  console.log(`Contract deployed to: ${contract.address}`);
}

main().catch((error) => {
  console.error(error);
  process.exitCode = 1;
});
- This script defines an async function called main() that handles the deployment of a smart contract named SimpleStorage.
- First, it uses ethers.getContractFactory() to load the compiled contract. Then, it calls deploy() to deploy the contract to the network. After the contract is deployed, await contract.deployed() waits for confirmation, and the contract address is printed to the console.
- Finally, main().catch(...) ensures that if anything goes wrong during deployment, the error is caught and printed, and the process exits with an error code. This setup is commonly used for deploying contracts using Hardhat and Ethers.js.
6. Get Base Testnet ETH
Go to the official Base faucet and request test ETH. You can get some test ETH for deployment.

7. Deploy the Contract
npx hardhat run scripts/deploy.js --network baseSepolia
You should see the contract address once deployed!

Now your contract is live on the Base testnet, and you can interact with it using the address and functions like setNumber() or getNumber().
Final Thoughts
Deploying smart contracts on Base is simple, fast, and cost-effective, especially for Ethereum developers. With tools like Remix for quick contract creation and Hardhat for powerful local development, you can launch dApps, tokens, or NFTs on Base in no time. Since Base supports the same EVM standards, you don’t have to learn anything new. Plus, your users benefit from lower gas fees and faster performance.
Join the conversation! Your thoughts help the community grow.