

Blend is a perfect tool to design your app. The Blend 2015 has similar look with Visual Studio 2015 and feel of more support for designers. Whatever you do with your project by staying at any of the platform, the changes will automatically synchronous across the project among these two tools. Like Visual Studio, you can also create project in Blend and start working upon it like Visual Studio and you will feel exactly the same home environment which you feel with Visual Studio. Perhaps the main focus of Microsoft Blend is towards designing, so you will have more designer lover environment over here.
So let’s start by creating an empty project in Microsoft Blend 2015,
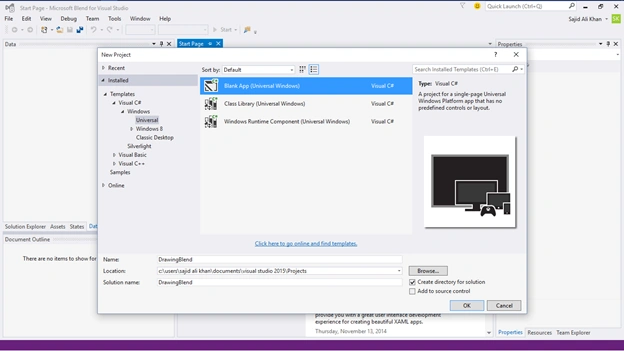
Microsoft Blend will start the project and open a great design environment for you,
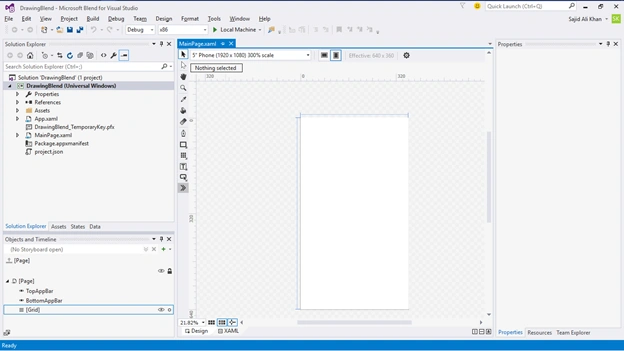
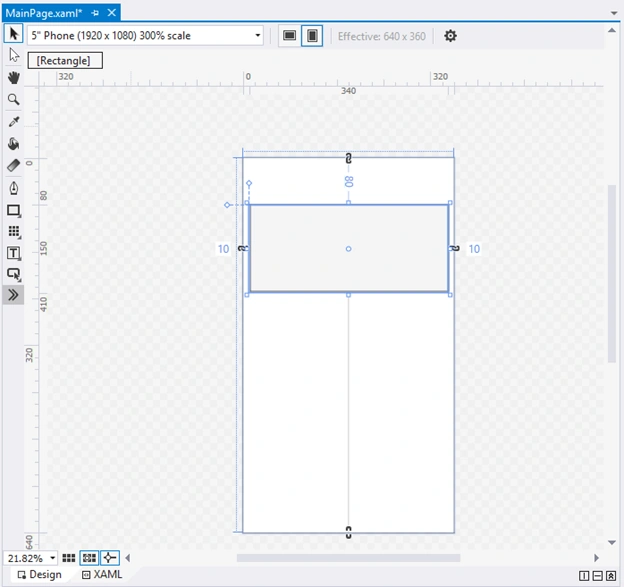
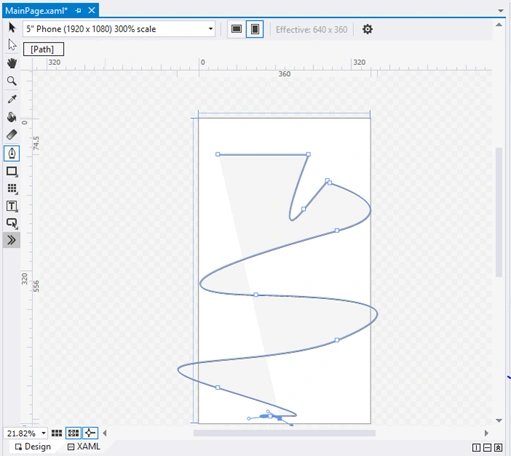
To create some UI, you need some hands-on with Blend features.
Let’s start one by one,

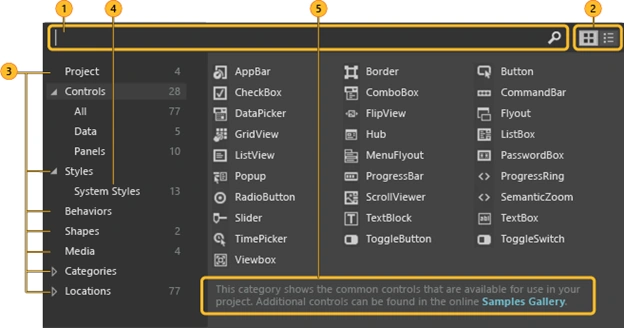
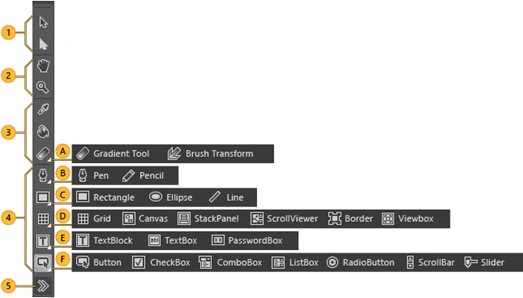
On the left top side of Blend, you can see the Solution Explorer, Assets, States and Data. This section is related to your Project. Perhaps it is also designed in such a way that help you in the design of your app.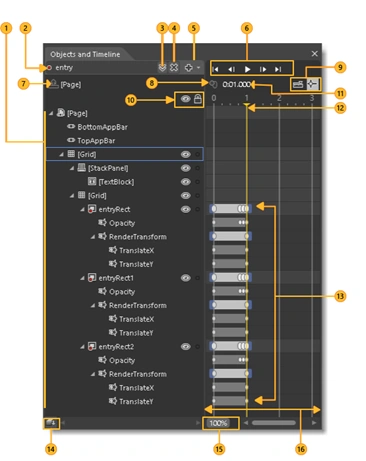
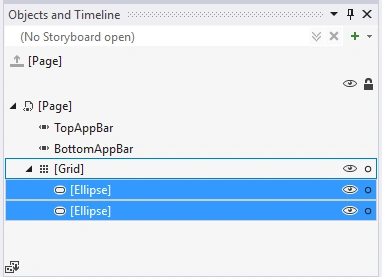
At the left bottom, you can see the section of Objects and Timeline that help you to animate your design.
- Objects view: You can drill down to varying levels of detail. You can also add layers to further organize objects on the artboard. That way you can lock and hide them as a group.
- Record mode indicator: That tell you whether you’re recording property changes in a timeline.
- Storyboard picker: View a list of storyboards that you’ve created.
- Close storyboard: Close the current storyboard.
- Storyboard options: Create, duplicate, reverse, delete, rename, or close a storyboard.
- Playback controls: It navigates through the timeline. You can also drag the playhead to navigate through (or scrub) the timeline.
- Return scope to: Scope the objects view back to the previous root object or previous scope. You can do this only when you’re modifying a style or template.
- Record a keyframe: Record a snapshot of the properties of the selected object at the current point in time.
- Snapping options: Set timeline snapping, snap resolution, and turn off timeline snapping.
- Show/hide, Lock/unlock: Show or hide the visibility and locking options for the objects view.
- Playhead position on the timeline: Show the current time in milliseconds. You can also enter a time value directly in this field to jump to a particular point in time. The precision depends on the snap resolution set in the Snapping Options.
- Playhead: Determine what point in time the animation is at. You can drag the playhead across the timeline to preview animation.
- Keyframes set on timelines: Change a property value at a specific point in time.
- Change order of objects: Set the display order of objects. Click this button to arrange objects in the structure view by Z order (front-to-back) or by markup order (the order in which they appear in XAML view).
- Timeline zoom: Set the zoom resolution of the timeline. Zooming in let's you edit an animation with more detail, and zooming out shows more of an overview of what is happening over longer periods of time. If you zoom in but can't set a keyframe at the position in time that you want, verify that the snap resolution is set high enough.
- Timeline composition area: View the timeline, and move keyframes around by dragging them or using their shortcut menus.
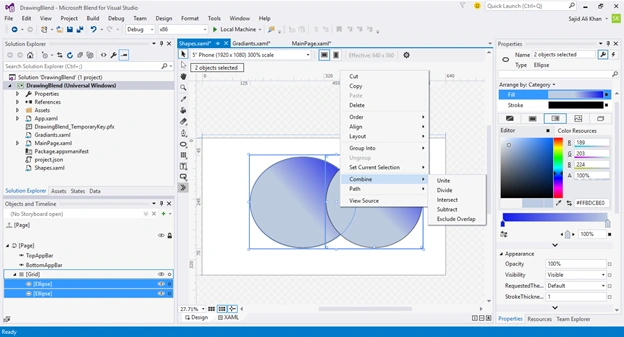
On the right side of the blend, there’s the property windows that will help you to customize your stuff;
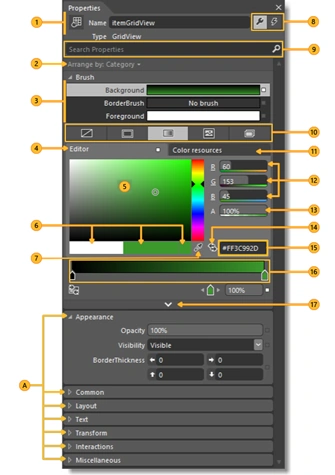
- Name and Type View the icon, name and type of the selected object.
- Arrange by Arrange properties alphabetically by name, source, or category.
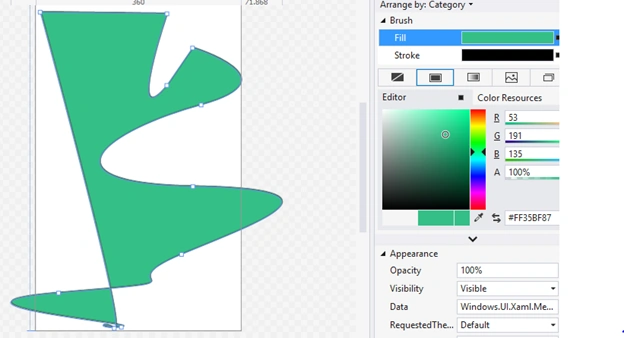
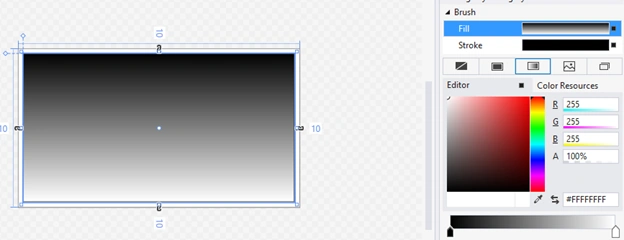
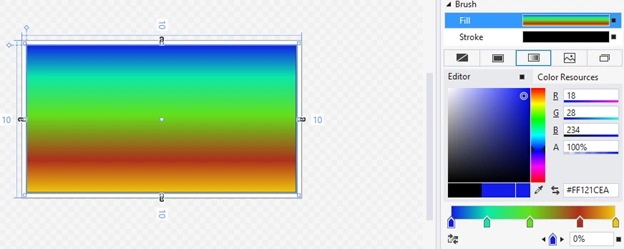
- Brush properties Set the visual properties for brushes such as Fill brush, Stroke brush, and Foreground brush.
- Color editor Use for solid color and gradient brushes.
- Color picker Select a color.
- Color chips View the initial color, current color, and last color.
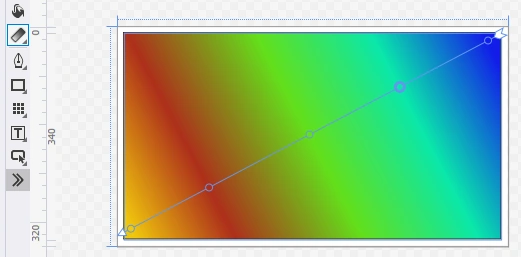
- Eyedroppers Use the color of any element on your screen. The Color eyedropper is available when the Solid color brush is selected. The Gradient eyedropper is available when the Gradient brush is selected.
- Properties and Events Set properties or choose events for a selected element.
- Search box Search for properties. Filter the properties that are displayed by typing in the Search box.
- Brush editor tabs Use to select a brush editor. You can choose No brush, Solid Color brush, Gradient brush, Tile brush, or Brush resource.
- Color resources Apply the exact same color to different properties. The Color Resources tab includes Local Resources and System Resources.
- RGB color space Modify the color by adjusting the values for the R, G, or B (red, green, blue) number editors.
- Alpha channel Modify the Alpha value by using the number editor next to A.
- Convert color to resource Convert the selected color to a color resource. Color resources are available when you click the Color resources tab.
- Hex value View the hexadecimal value of the color displayed.
- Gradient slider Appears only if a gradient brush is selected.
- Show advanced properties View categories of properties that are less commonly used.


Asfend YarPosted Feb 20, 2016, 5:02 AM
great effort
Asfend YarPosted Feb 20, 2016, 5:02 AM
nice
Santhakumar MunuswamyPosted Nov 20, 2015, 8:59 AM
Good One
Banketeshvar NarayanPosted Nov 20, 2015, 4:59 AM
Good One
Sibeesh VenuPosted Nov 20, 2015, 4:39 AM
Nice Share