
Introduction
Wamp Server (Windows, Apache, MySQL, PHP/Perl Python) is a small server that runs on the Windows operating system. Wamp includes a database administrator and phpMyAdmin data. Using this we can create a new database, tables and enter data. Wamp Server provides the facility to developers to make the web application locally with the operating system. Wamp Server is available for free and is open source.
Wamp Server provides an environment just like a server so the developer can use this local server to run web applications locally. Using Wamp Server the developer can see how the web application performs.
Installation
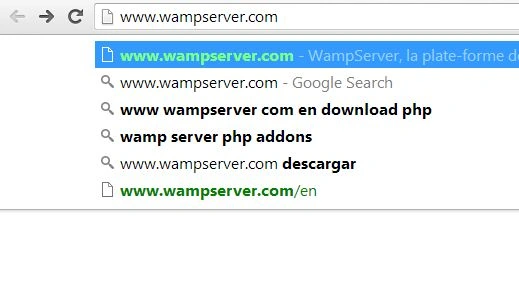
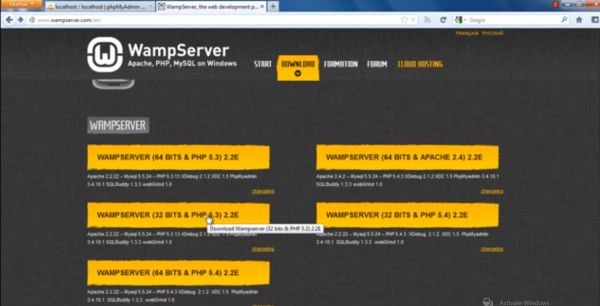
To install WampServer on your system first you need to download it from http://www.wampserver.com/. On the WebPage you will see the various types of Wamp Server downloads depending on your system requirement. I downloaded WampServer 2.2E 64 bit for my system. Choose one of the WampServer new pages to be opened that gives a link you can download from directly. After some time a new page will appear and your download will start after 4 seconds.
Step 1
Go to the http://www.wampserver.com/ to download Wamp Server.
 Step 2
Click on the WampServer relevant to your systems, such as 64 bit or 32 bit.
Step 2
Click on the WampServer relevant to your systems, such as 64 bit or 32 bit.
 Step 3
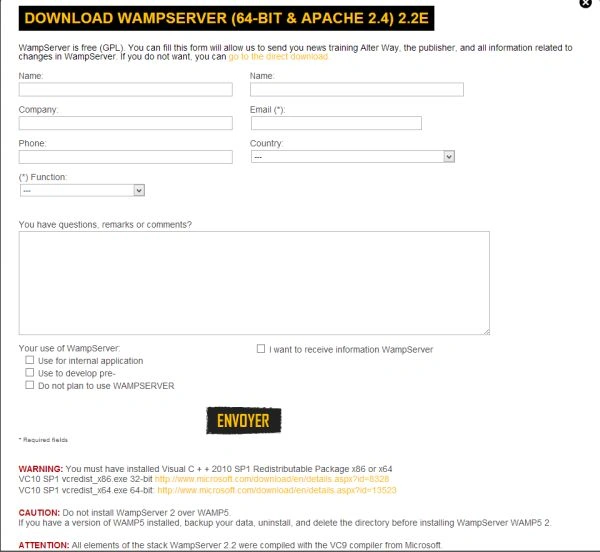
Click on the link to go directly to the download on the second line of the page.
Step 3
Click on the link to go directly to the download on the second line of the page.
 Step 5
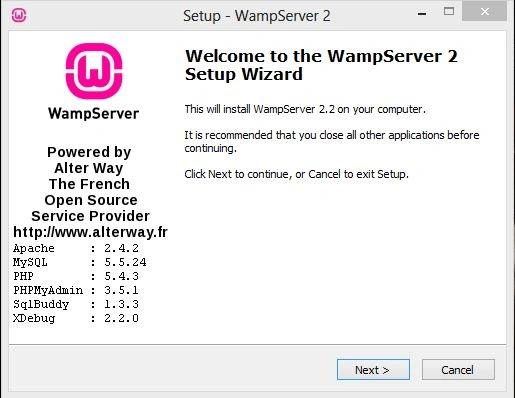
After downloading, click on the setup to install WampServer.
Step 6
Step 5
After downloading, click on the setup to install WampServer.
Step 6
Utility
Click "Next".
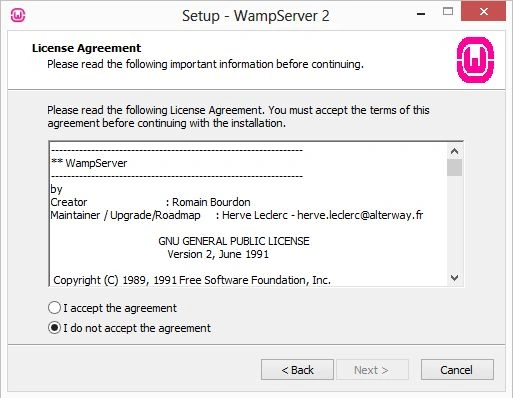
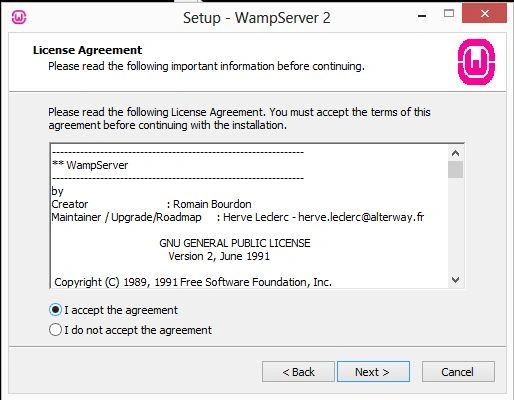
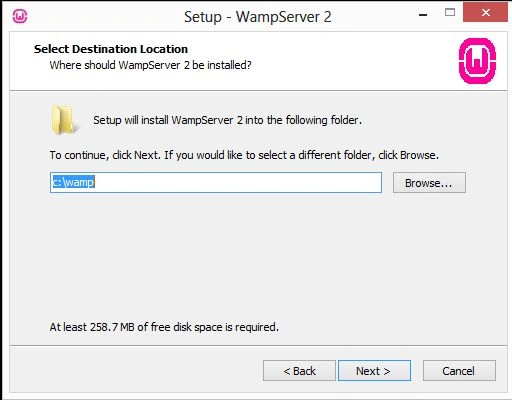
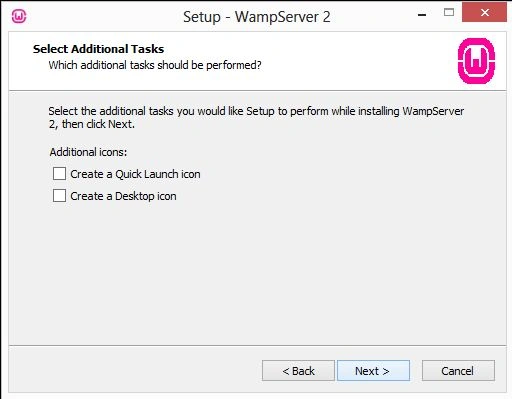
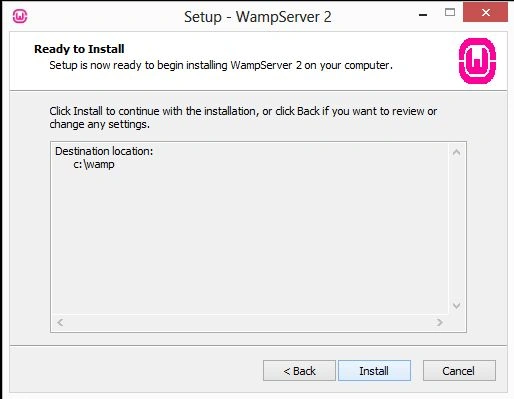
Step 12
The installation starts.
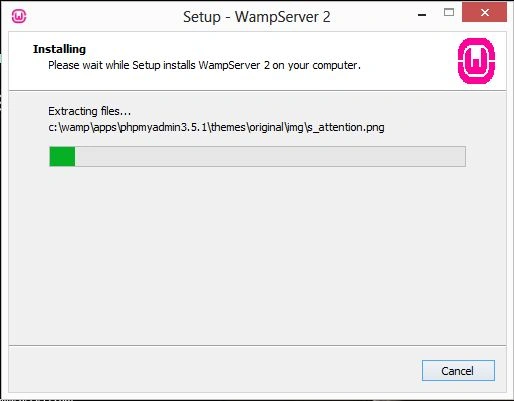 Step 13
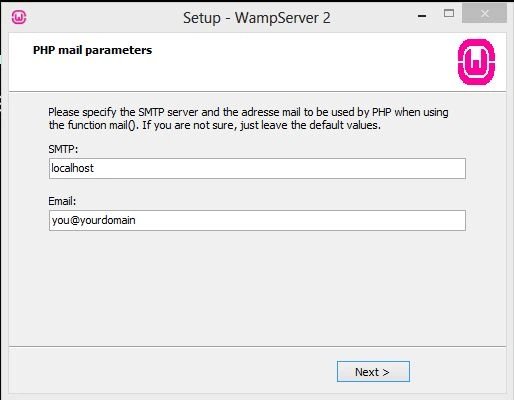
Click "Next".
Step 13
Click "Next".
Step 14
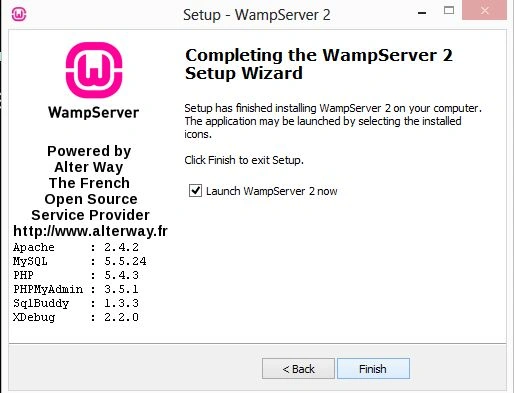
Click "Finish".
 Step 15
After installation of Wamp Server, an icon will be present on your Desktop. So click on it.
Step 15
After installation of Wamp Server, an icon will be present on your Desktop. So click on it.
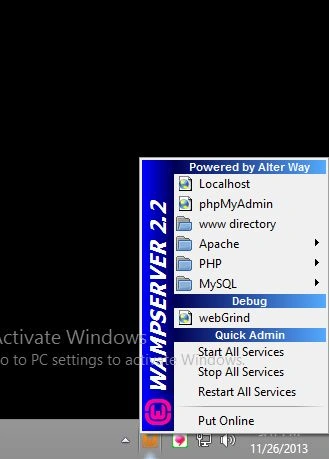 Step 16
Click on "Put Online" and then your server will be online. When you move the cursor to Wamp Server it will show you like this:
Step 16
Click on "Put Online" and then your server will be online. When you move the cursor to Wamp Server it will show you like this:
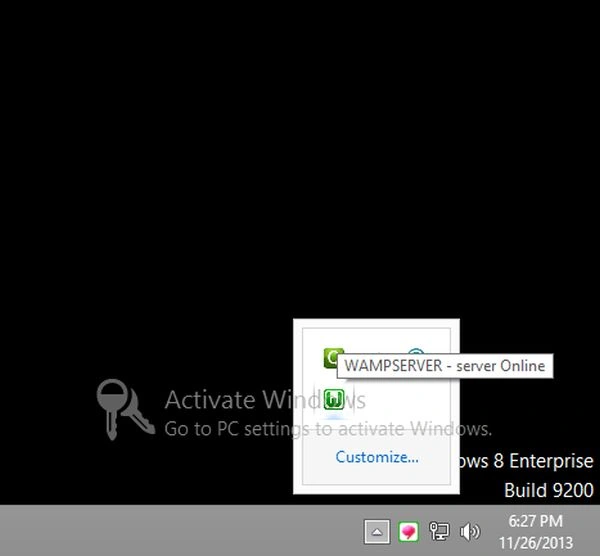 Step 17
Now click on "localhost".
Step 17
Now click on "localhost".
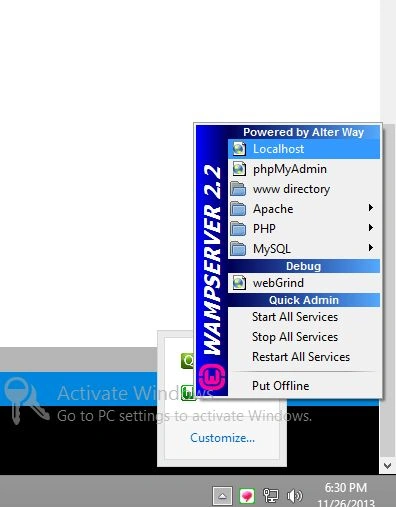 Step 18
A new page will be opened in the web browser.
Step 18
A new page will be opened in the web browser.
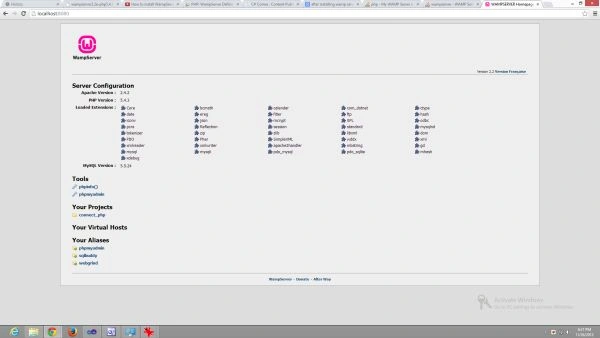 Step 19
Unfortunately, if Wamp Server will not go online after clicking on "Put online" then open the http.conf file and change the port number from 80 to 8080 and then click on "Stop service" and "Restart service". After some time you will be online definitely.
Click on the http.conf.
Step 19
Unfortunately, if Wamp Server will not go online after clicking on "Put online" then open the http.conf file and change the port number from 80 to 8080 and then click on "Stop service" and "Restart service". After some time you will be online definitely.
Click on the http.conf.
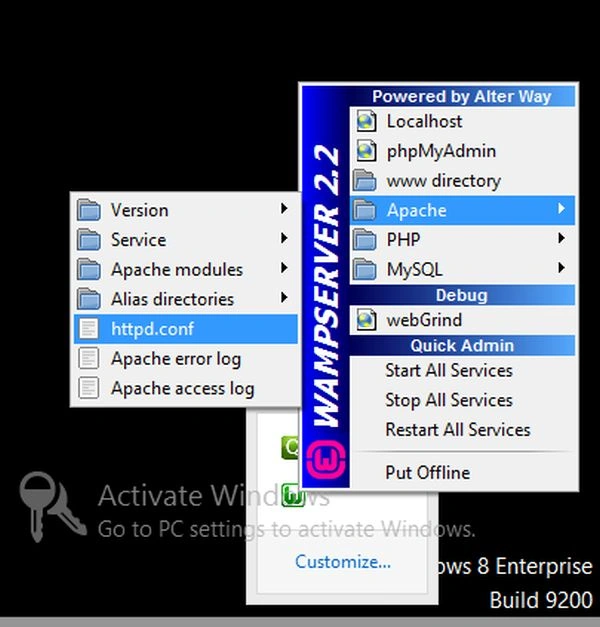 After clicking on http.conf a file will be opened. In this file, you change the port number from 80 to 8080.
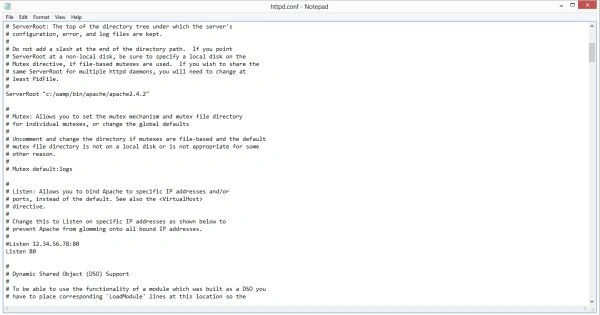 Change the port from Listen:80 to LIsten:8080 and save the file by clicking on "Save".
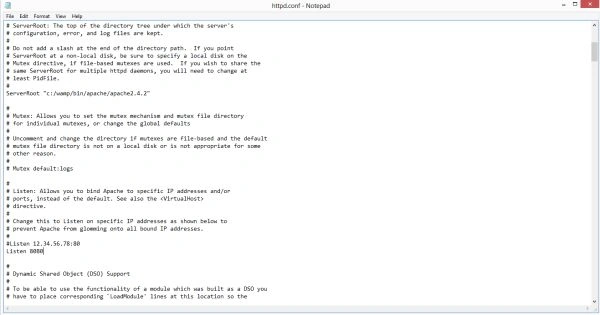 Now restart and put it online.
Rahat YasirPosted Dec 2, 2014, 9:37 AM
This is not in android. you have installed this on windows...what is this?
Vinod KumarPosted Nov 29, 2013, 3:11 AM
nice one...