

Introduction
In this article we are going to explore how to rotate an image via code in Windows Phone 7. Subsequently we will discuss in details how to rotate an image via code in Windows Phone 7. When we discussed rotation then one thing came to my mind; the concept of a Storyboard in WPF. Further we discussed that a storyboard is a type of container timeline that provides targeting information for the timelines it contains. In this article we will also learn about how to use Storyboard objects to organize and apply animations. It describes how to interactively manipulate Storyboard objects and describes indirect property targeting syntax. Let's start to do it. If you want to implement it then you should follow the steps given below.
Step 1: In this step first of all we have to open a Windows Phone application; let us see how you will open it.
- Go to Visual Studio 2010
- File->New->Project
- Select the template named as Silverlight for Windows Phone
- Select the Windows Phone application
- Give it a name as you want.

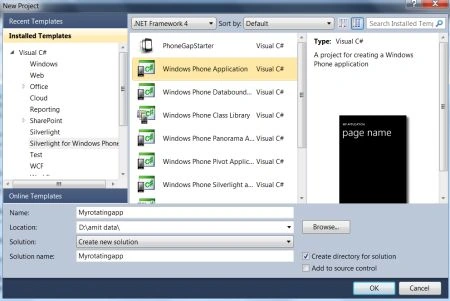
Step 2: In this step you have to add an image inside the Windows Phone application as I did; you can see in the figure given below.
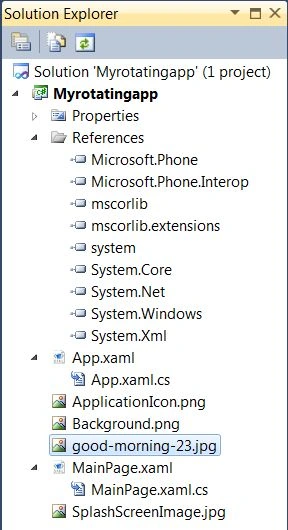
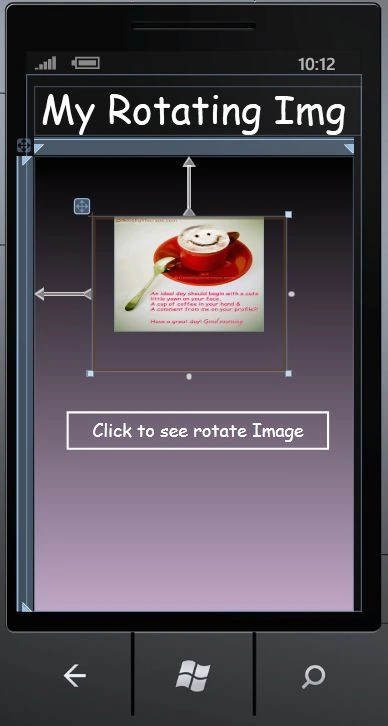
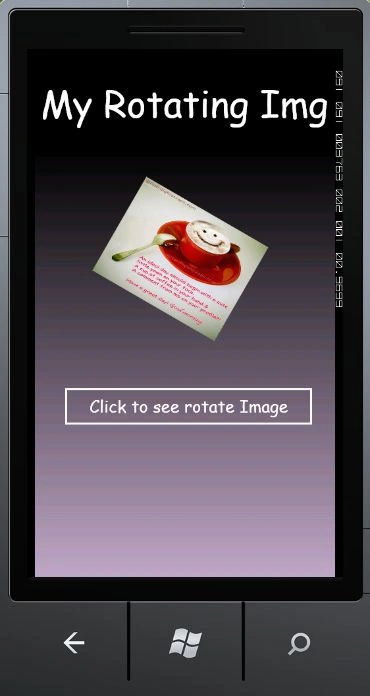
Step 3: In this step you will see the code for the MainPage.xaml.cs file which is shown below. This code simply shows you that you have a StackPanel with an image named image1 that will be rotated on the button click. If you want to create an image object at the click of the button then uncomment the commented line and do some changes in the code. Replace the name of image image1 to My_img wherever it occurs. Further in the XAML file remove the Image control which is inside the StackPanel control.
Code:
using System;
using System.Collections.Generic;
using System.Linq;
using System.Net;
using System.Windows;
using System.Windows.Controls;
using System.Windows.Documents;
using System.Windows.Input;
using System.Windows.Media;
using System.Windows.Media.Animation;
using System.Windows.Shapes;
using Microsoft.Phone.Controls;
using System.Windows.Media.Imaging;
namespace Myrotatingapp
{
public partial class MainPage : PhoneApplicationPage
{
// Constructor
public MainPage()
{
InitializeComponent();
}
private void button1_Click(object sender, RoutedEventArgs e)
{
//Image My_img = new Image();
//My_img.Height = 256;
//My_img.Width = 256;
//BitmapImage BI = new BitmapImage();
//BI.UriSource = new Uri("good-morning-23.jpg", UriKind.Relative);
//My_img.Source = BI;
Duration Time_duration = new Duration(TimeSpan.FromSeconds(2));
Storyboard MyStory = new Storyboard();
MyStory.Duration = Time_duration;
DoubleAnimation My_Double= new DoubleAnimation();
My_Double.Duration = Time_duration;
MyStory.Children.Add(My_Double);
RotateTransform MyTransform = new RotateTransform();
Storyboard.SetTarget(My_Double, MyTransform);
Storyboard.SetTargetProperty(My_Double, new PropertyPath("Angle"));
My_Double.To = 180;
image1.RenderTransform = MyTransform;
image1.RenderTransformOrigin = new Point(0.5, 0.5);
//stackPanel1.Children.Add(image1);
MyStory.Begin();
}
}
}
Step 4: In this step you will see the code for the MainPage.xaml file which is shown below.
Code:
<phone:PhoneApplicationPage
x:Class="Myrotatingapp.MainPage"
xmlns="http://schemas.microsoft.com/winfx/2006/xaml/presentation"
xmlns:x="http://schemas.microsoft.com/winfx/2006/xaml"
xmlns:phone="clr-namespace:Microsoft.Phone.Controls;assembly=Microsoft.Phone"
xmlns:shell="clr-namespace:Microsoft.Phone.Shell;assembly=Microsoft.Phone"
xmlns:d="http://schemas.microsoft.com/expression/blend/2008"
xmlns:mc="http://schemas.openxmlformats.org/markup-compatibility/2006"
mc:Ignorable="d" d:DesignWidth="480" d:DesignHeight="768"


Join the conversation! Your thoughts help the community grow.