

Introduction
This article explains how to configure WordPress in your local Wamp Server. Here, I will share the procedure for that.
Background
A Few days ago, my friend Gaurav Arora suggested that I change my static website (www.sibeeshpassion.com) to a dynamic one. Thank you so much for giving me the idea, Gaurav. Therefore, I thought of changing my normal HTML pages to WordPress posts. Since I am completely new to the term PHP and WordPress, I thought to give it a try locally. Hence, I began configuring everything on localhost.
Configuring WordPress
Before we start, please ensure that you have downloaded and installed the Wamp Server and WordPress. You can download them from the following links.
Now, you can follow the preceding procedure. Let us categorize the procedure into the following three points.
- Setting up Database
- Creating User
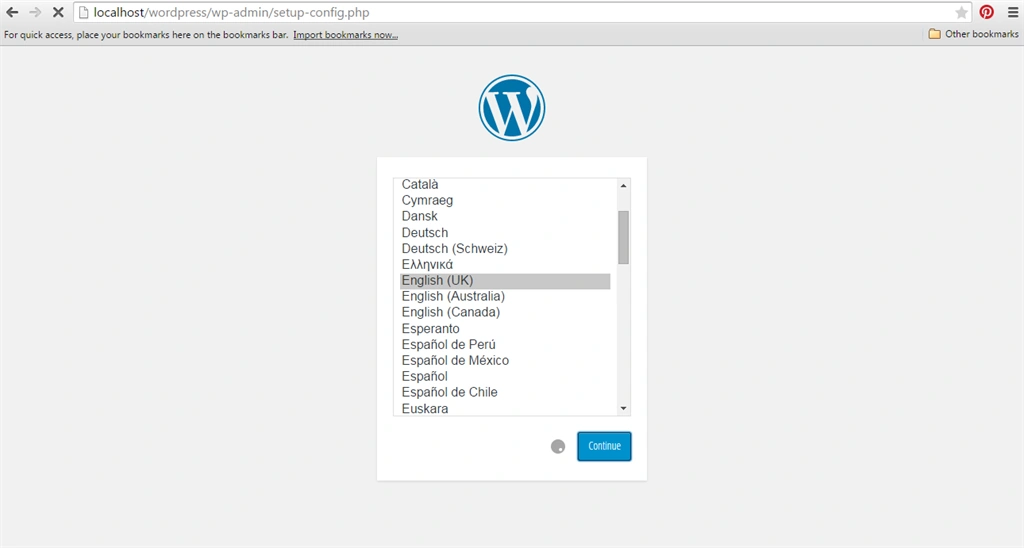
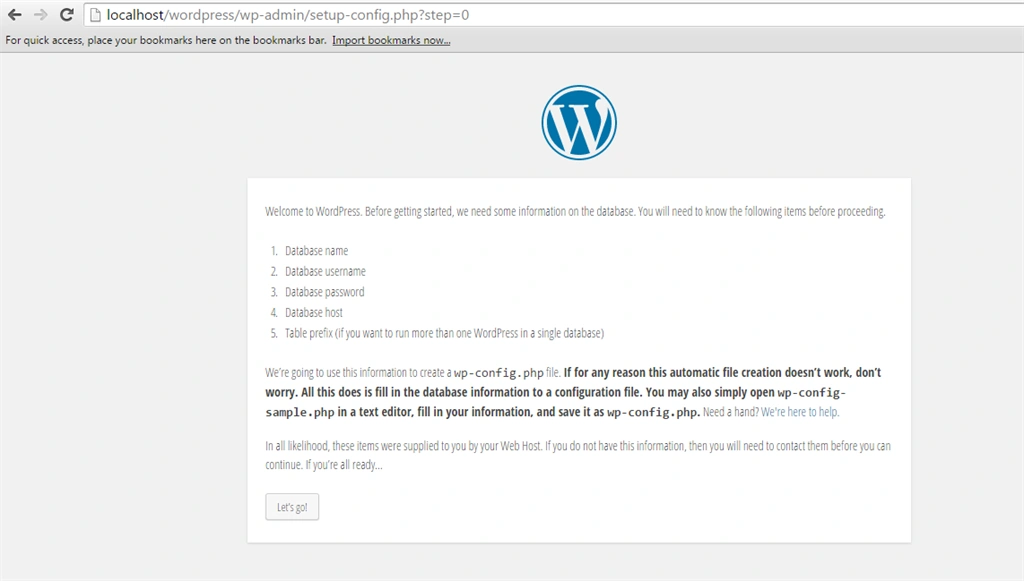
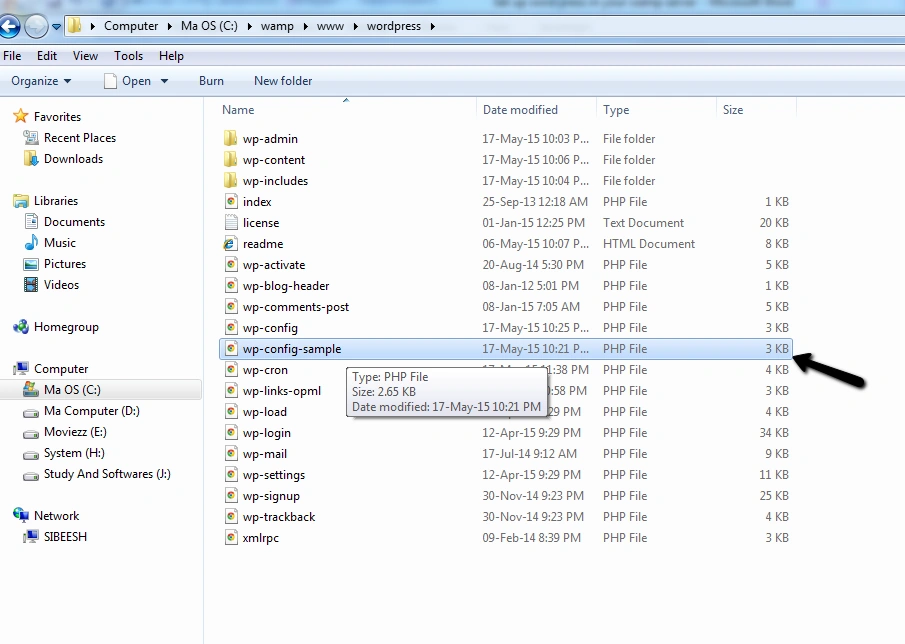
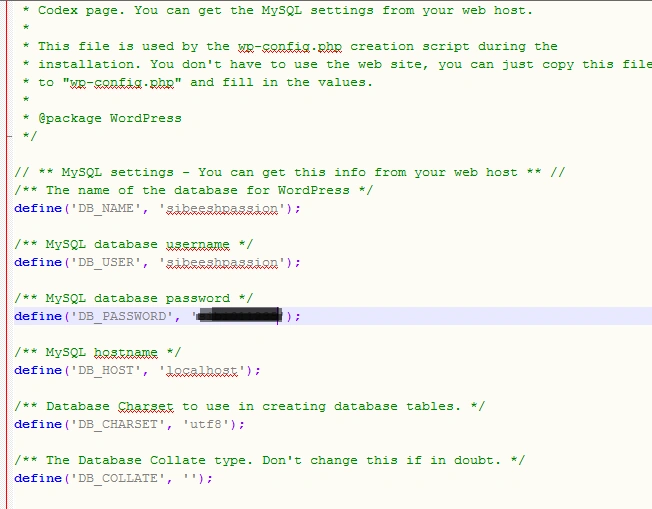
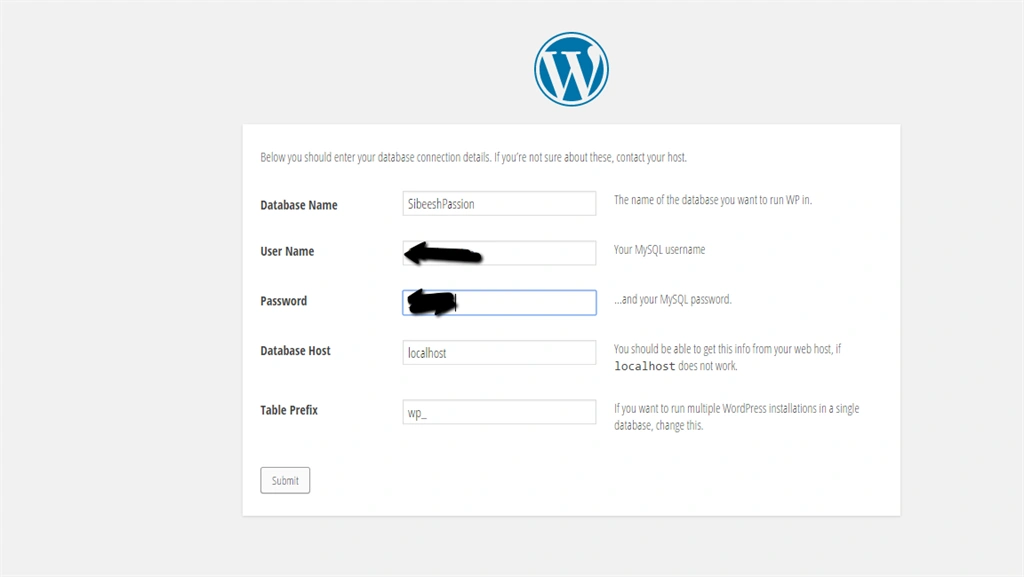
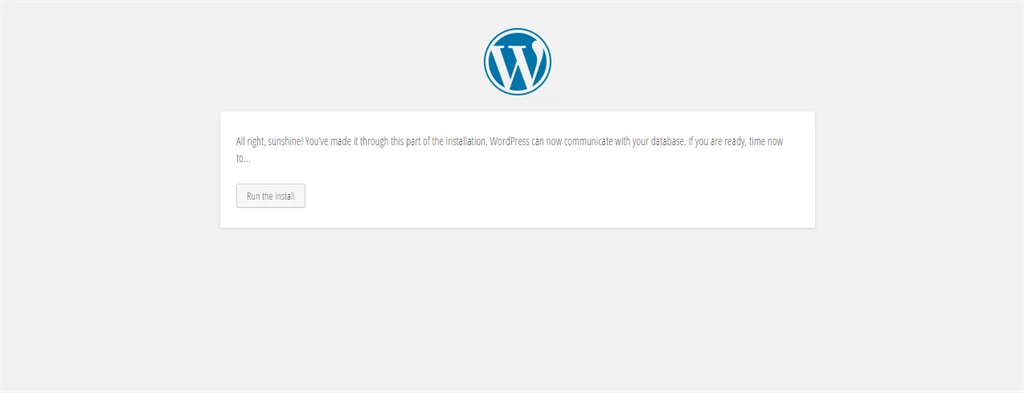
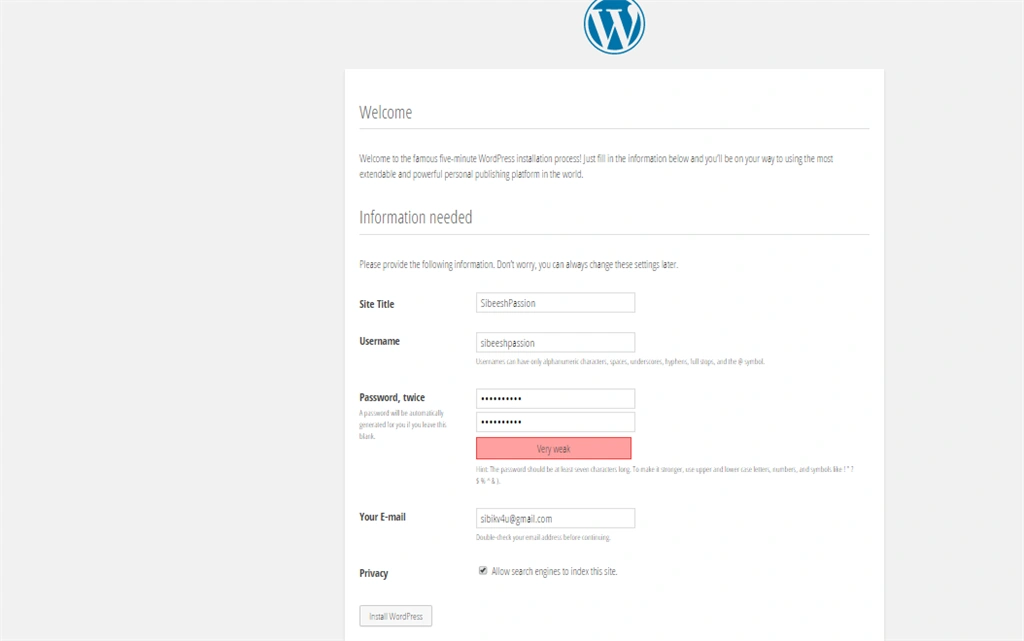
- Configuring WordPress
To configure a database in your Wamp Server, please use the preceding procedure.
Step 1
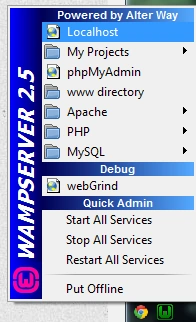
After installing the Wamp Server, you can find a new icon on your Toolbar. Just click on it and now click localhost.
Step 2
Now, you will get a new window as shown below.
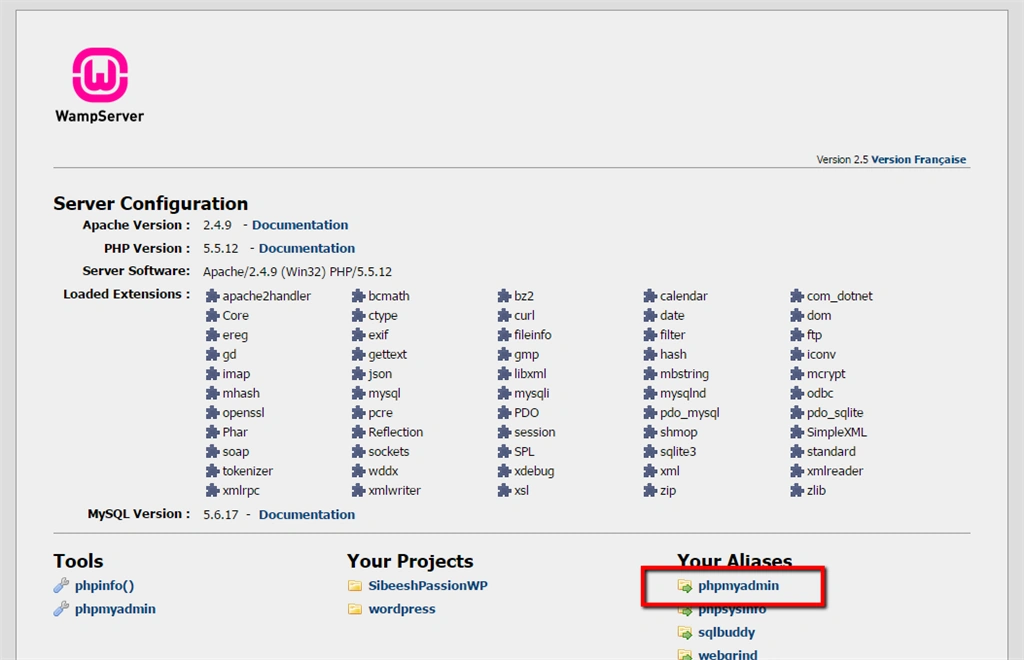
Next, click on phpmyadmin.
Step 3
Now, you will get the phpMyAdmin section as shown in the following screenshot.
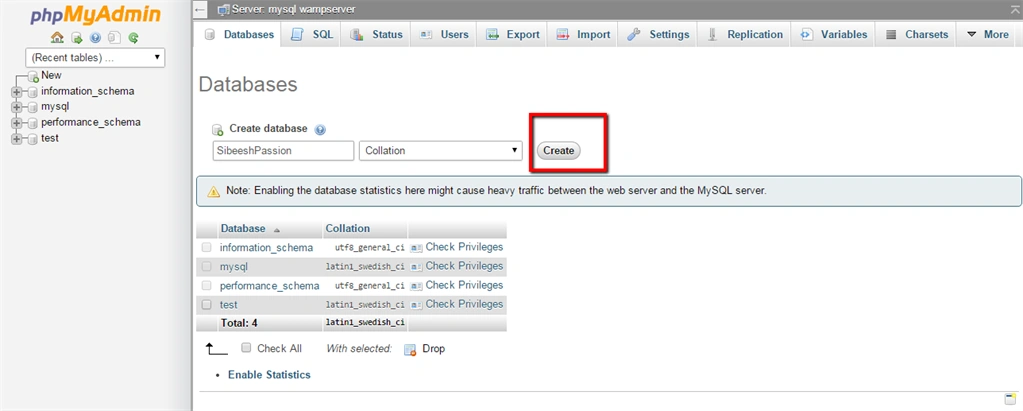
Now, click on the database tab and type your database name and click on Create. That's all we need to do to create a database successfully.
Creating user
Here is the procedure for creating a user.
Step 1
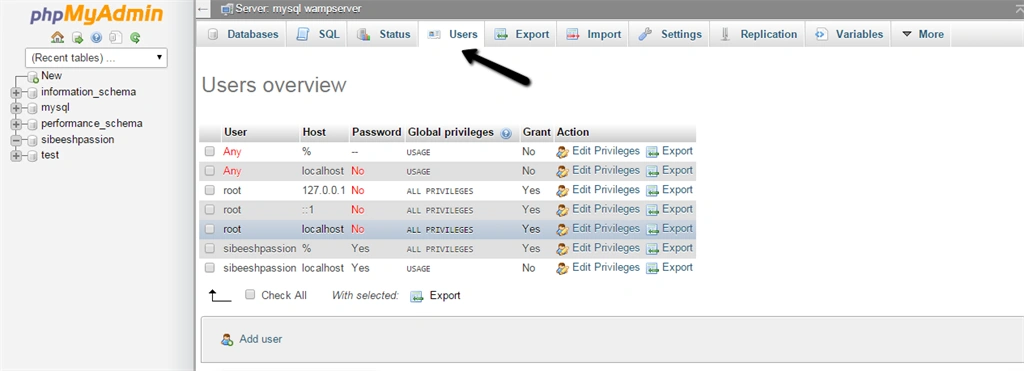
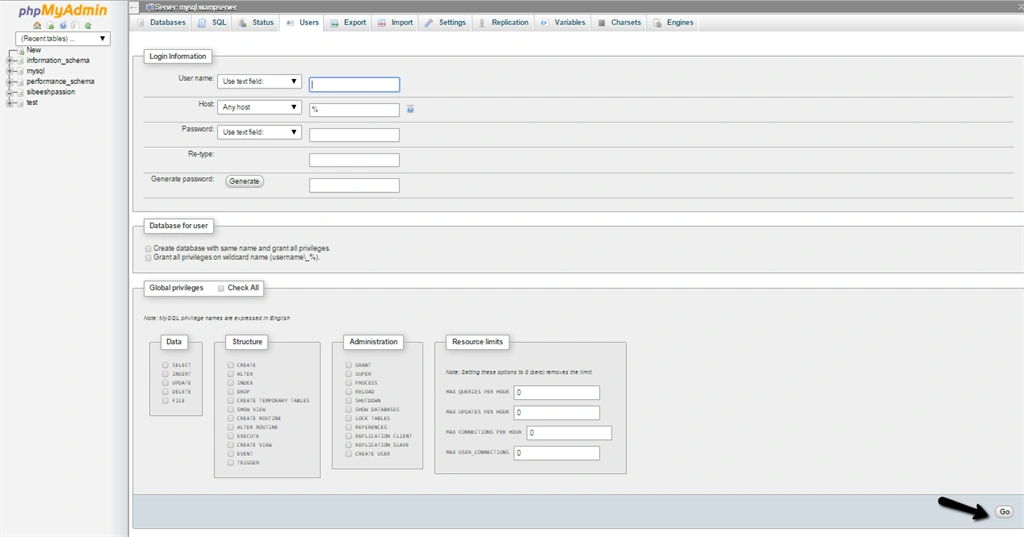
Start with clicking on the user tab.
Step 2
Fill in the required details.
Sibeesh VenuPosted May 19, 2015, 12:37 AM
Santhakumar Munuswamy Thank you buddy
Sibeesh VenuPosted May 19, 2015, 12:37 AM
Gowtham Rajamanickam Thank you buddy
Santhakumar MunuswamyPosted May 18, 2015, 2:15 PM
Thanks for nice one
Gowtham RajamanickamPosted May 18, 2015, 12:38 PM
useful
Gowtham RajamanickamPosted May 18, 2015, 12:38 PM
informative..