
In our previous article we’ve seen the types of Deployment models available in SSIS. We had also deployed packages under both the models.
As I promised, in this article we’ll upgrade older version package to a newer version. We’ll see what are the steps required when you import and upgrade SSIS 2008 packages/project to SSIS 2012 i.e. lower to higher.
So, let’s begin with fresh examples,
I’ve already created a package to perform SQL Server System databases in SSIS 2008. Below is the package diagram for the same.
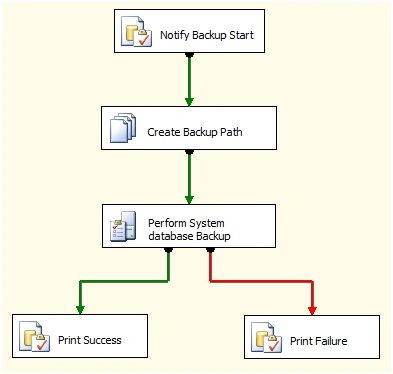
Above package will notify that backup is going to start, next it’ll create a backup directory ‘C:\Backup\’ under drive C:\
Next, it’ll perform backup of your system databases and notify success or failure.
Below is our SSIS 2008 package, which we’ll upgrade in some moment.

Now when you’ll open this solution in SSIS 2012 you’ll get ‘Visual Studio Conversion Wizard’ which converts your project to higher version. Below is the screenshot for the same:
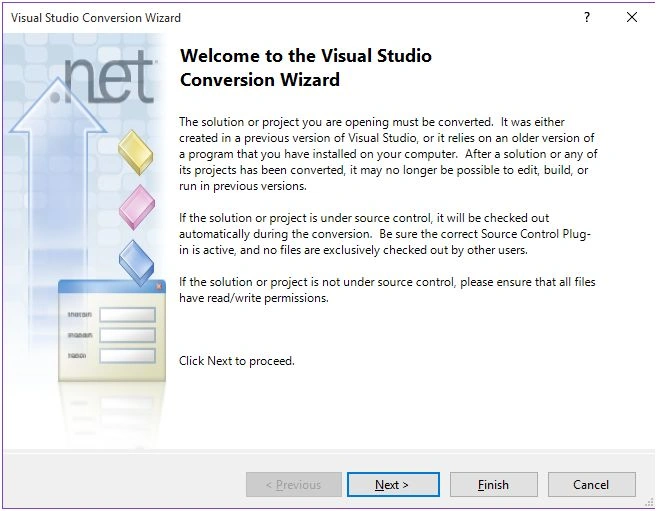
Click next and it’ll ask you to keep backup of your older project as shown below.
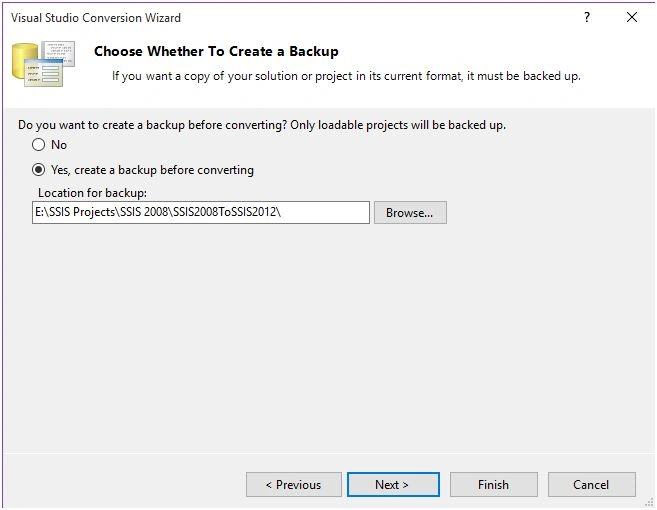
On the next window, you’ll get your project to convert.

Click finish and your conversion is complete.
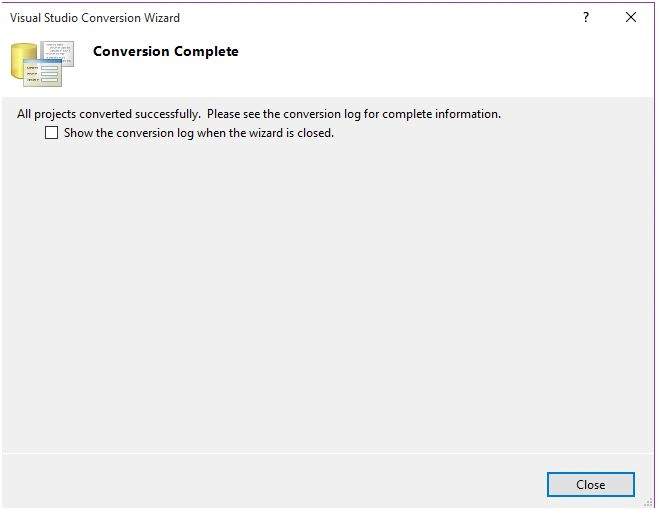
Immediately after this window you’ll get another window to upgrade your package, but I cancelled that window as we want to perform it later.
After successful conversion when you check project directory, you’ll find additional folders as shown below.
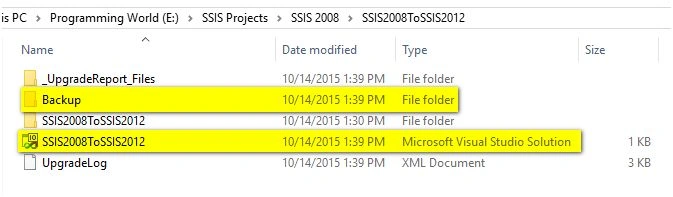
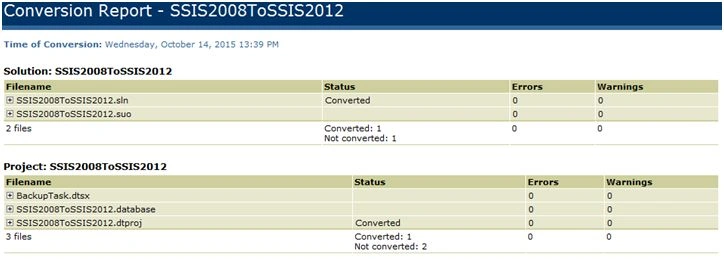
Backup folder is added to it where older project is saved as a backup, also project solution gets changed from older to newer. You’ll also find UpdatedLog file which contains details of the conversion as shown below.
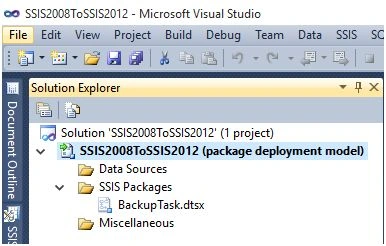
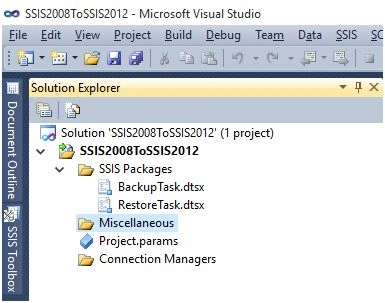
After doing all this conversion part, our package added into SSIS 2012 and as expected it’ll be exported under ‘package deployment model’. Below is the screenshot for the same.
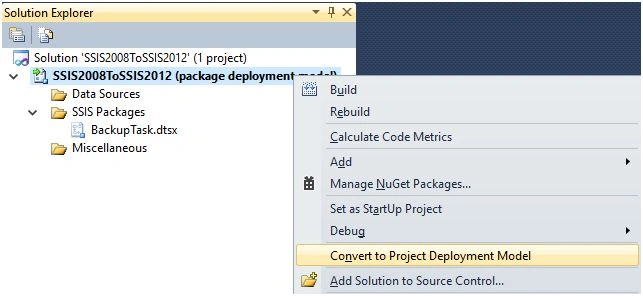
To upgrade your project, right click on your project and select “Convert to Project Deployment Model” as shown below.
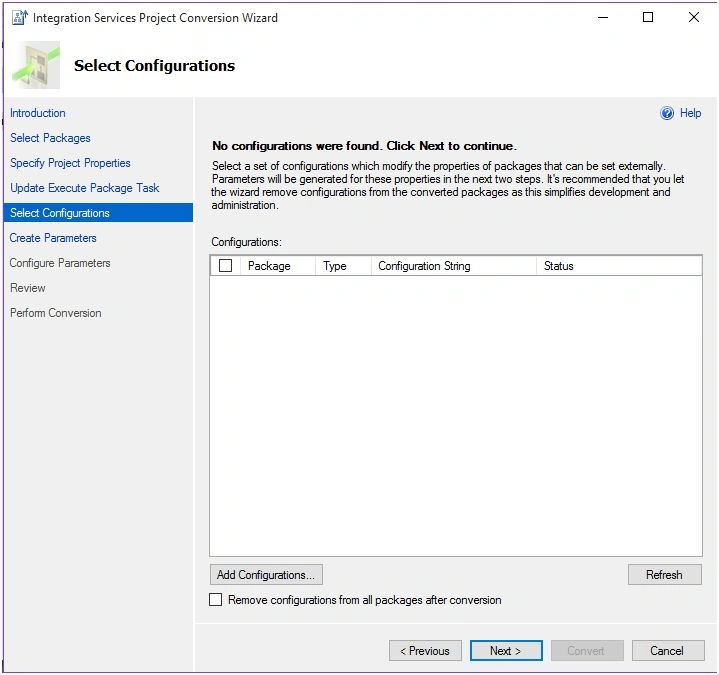
After this step you’ll get “Integration Service Project Conversion Wizard” as shown below.
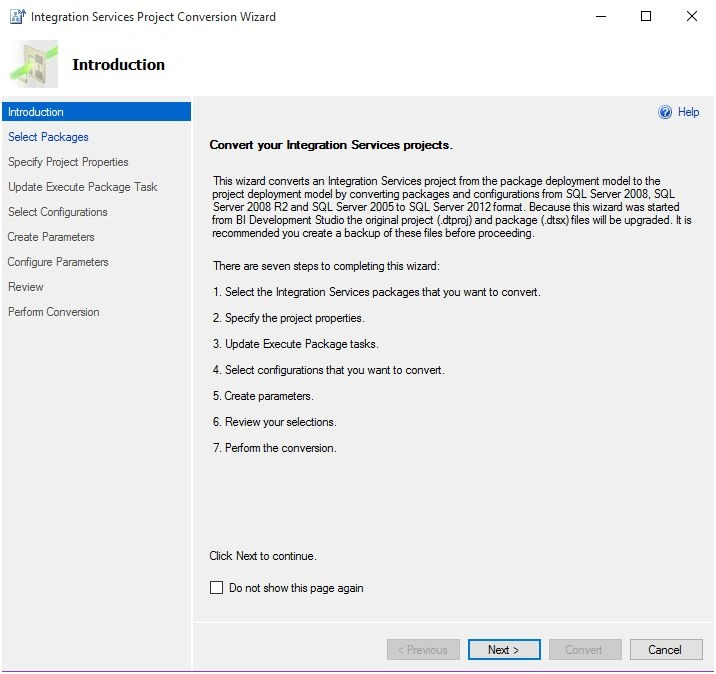
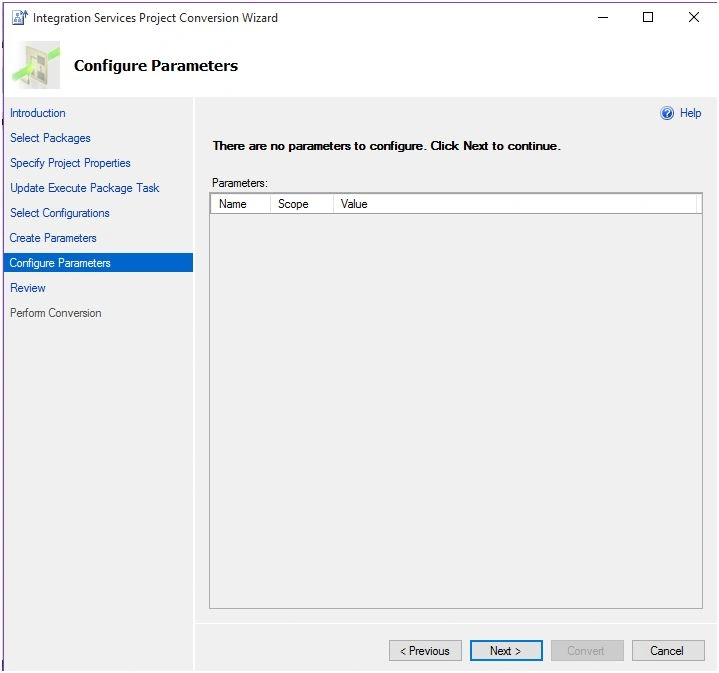
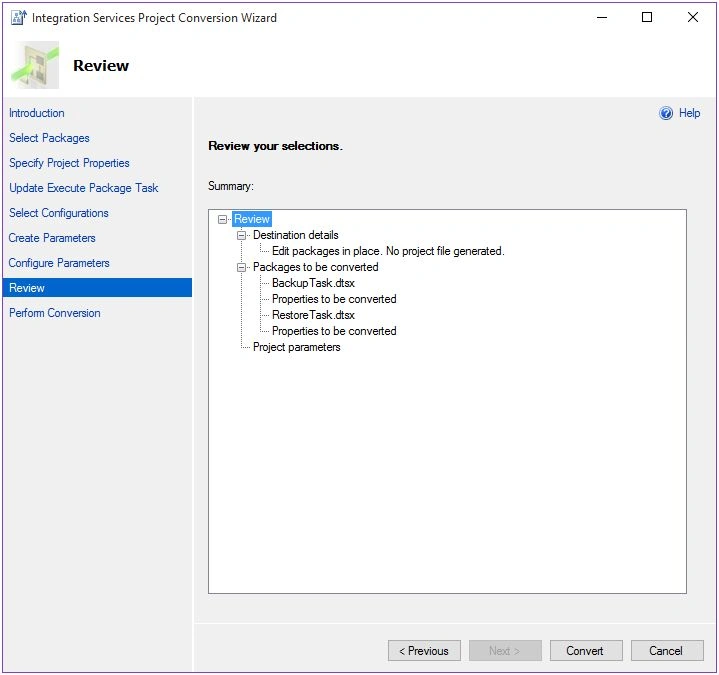
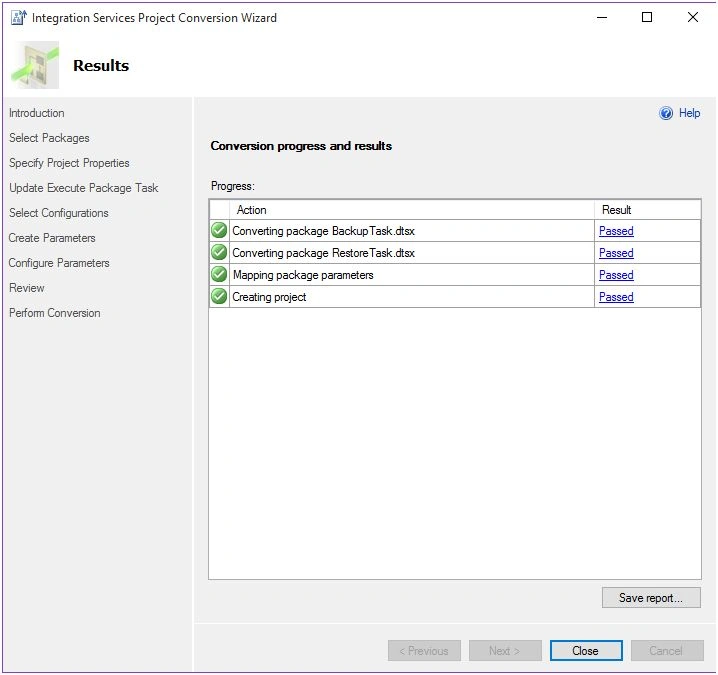
On this window, you’ll find 7 steps to complete the process.
Next step is to select the packages you want to include in this upgrade process.
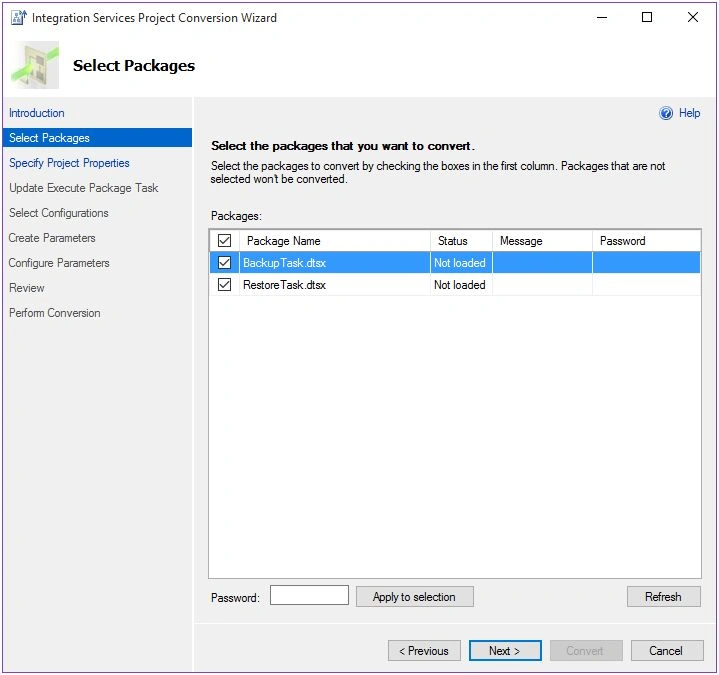
You can also protect this by putting password.
Click Next to specify the project properties.
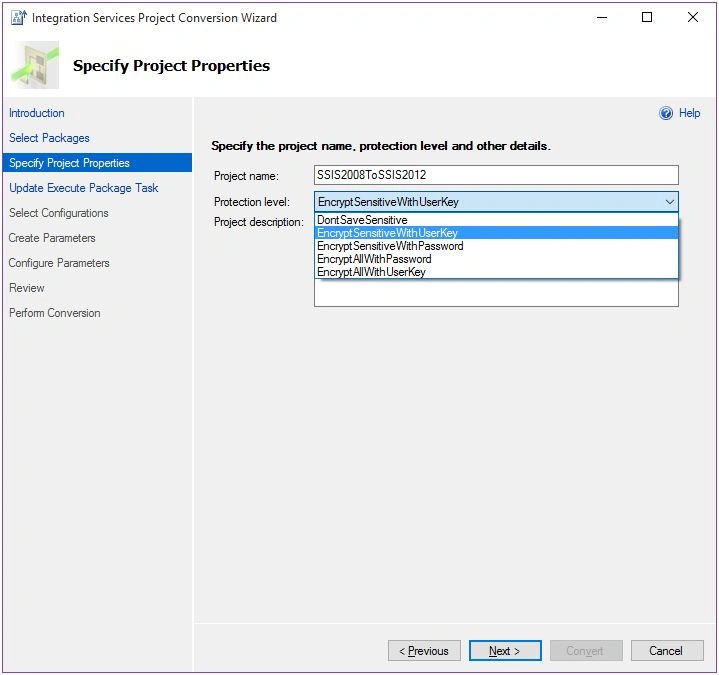
At this window you’ll find Protection Level with some option listed below. Please find the following with a description for the same.

Upgrading SSIS Packages In SQL Server
10 Comments
Join the conversation! Your thoughts help the community grow.
Sign in to leave a comment.

Mahesh ChandPosted Jan 30, 2016, 11:01 PM
Nice Abhi. Thanks for step by step and screen shots.
Manoj KallaPosted Jan 30, 2016, 4:12 AM
Good one
Santhakumar MunuswamyPosted Jan 30, 2016, 2:25 AM
Thanks for nice share
Yashwant VishwakarmaPosted Jan 30, 2016, 12:54 AM
Nice article , thanks for sharing !!
Jaipal ReddyPosted Jan 29, 2016, 10:56 PM
Thanks for sharing . .
Pankaj Kumar ChoudharyPosted Jan 29, 2016, 8:38 PM
Nice Explain Sir...........