

In this blog, we will learn, how to create and set up SQL Server database in Microsoft Azure. We previously saw-
You must have a Microsoft Azure account, in order to perform the steps, given below. You can create an account on Microsoft Azure, using the link.
Let’s Begin,
First of all, you need to login to Microsoft Azure portal.
First of all, you need to login to Microsoft Azure portal.

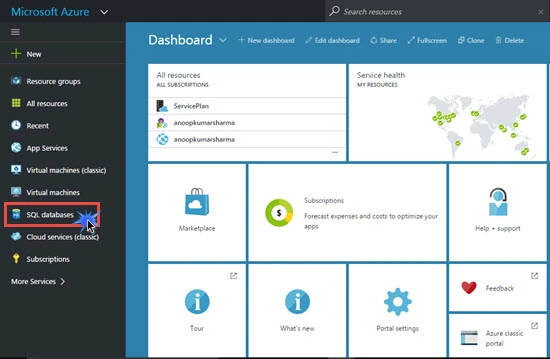
Click SQL database to open SQL database blade.
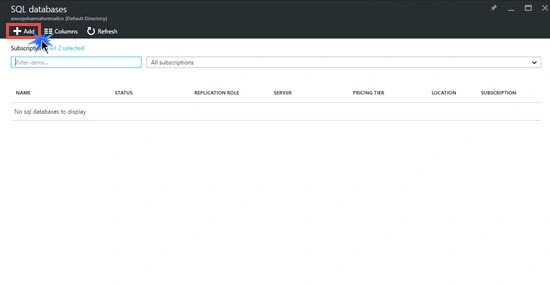
Click Add SQL database.
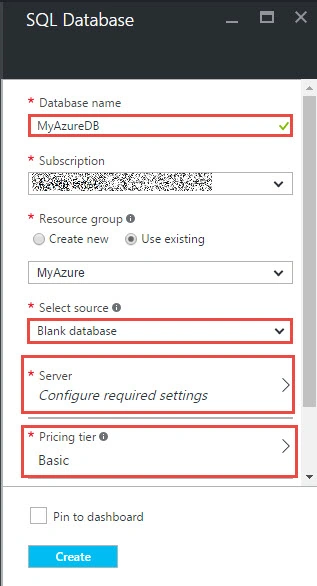
Type a valid name for your database. Select source and select blank database. You can also select the sample database like AdventureWorks etc.
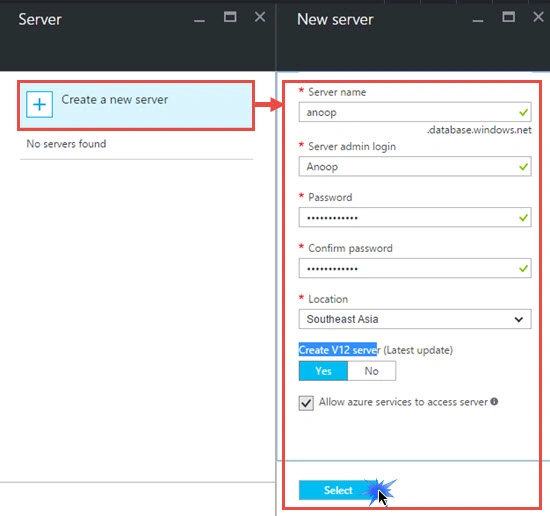
Click Configure required settings and click create a new Server on the Server blade. Fill Server name and Server admin login details. Click select.
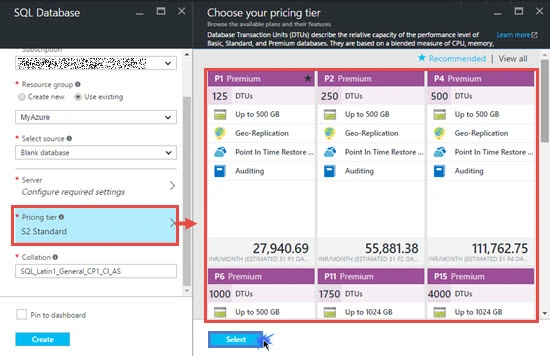
Choose your pricing tier and click create.
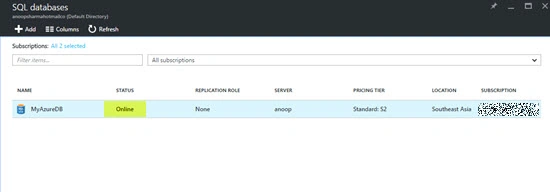
Within a few minutes, you will see an online status in SQL database blade, which means our database is ready for use. Click SQL database name i.e. MyAzureDB.
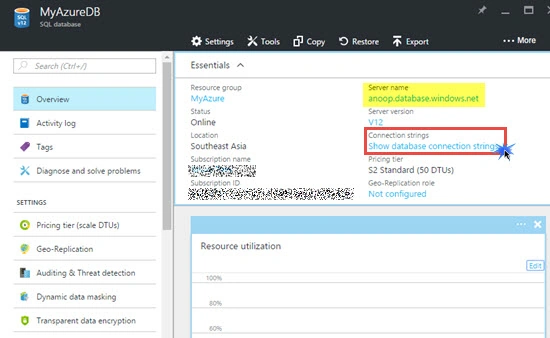
In order to connect your Application to the database, you need a connection string. Click show database connection string.
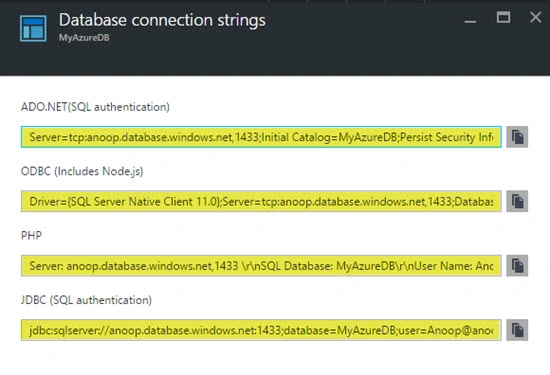
You will get the connection strings for ADO.NET, ODBC, PHP etc. Applications.

Join the conversation! Your thoughts help the community grow.