Django - Visual Studio Setup
Introduction
In the previous chapter, we learned how to install Django and setup the environment. In this chapter, we will learn to setup Visual Studio to run the Django
Setting up Visual Studio
Here, we will go with the Visual Studio IDE. Let's follow the below steps and see what happens. Let's create the app with Django:
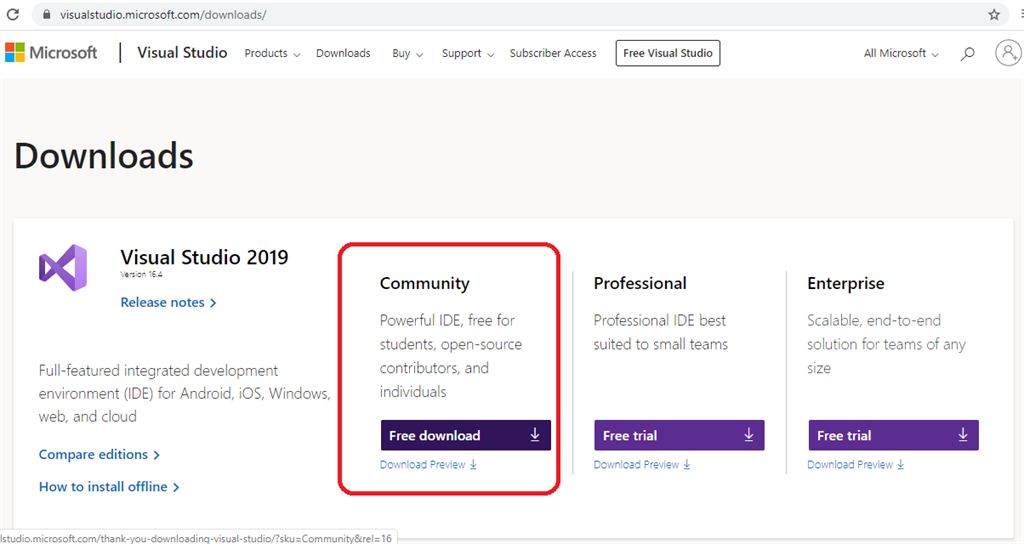
Install the latest free community version of Visual Studio 2019.
After a few minutes, the installation has completed. Now, choose the dark theme as you want to go with from the mentioned options, and follow the next steps as below.
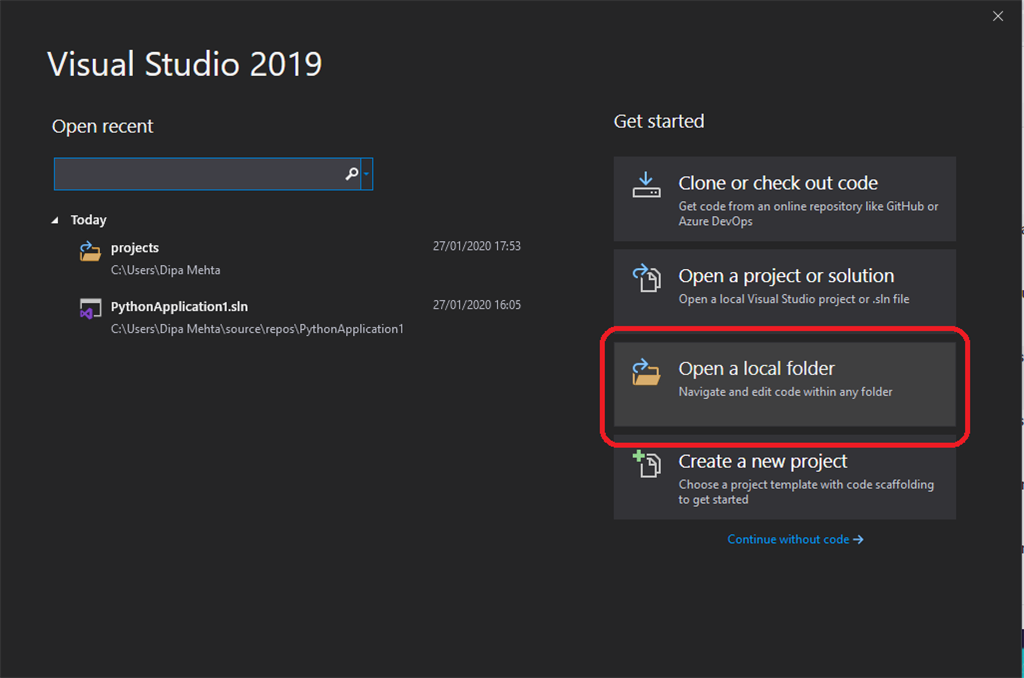
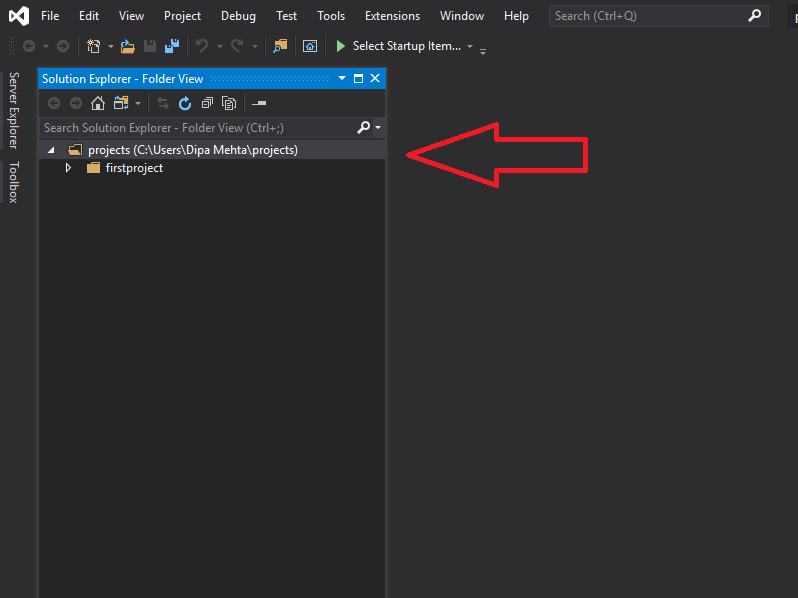
We had already created a project. So, open a local folder and select a project. You can see these files and folders in Solution Explorer.
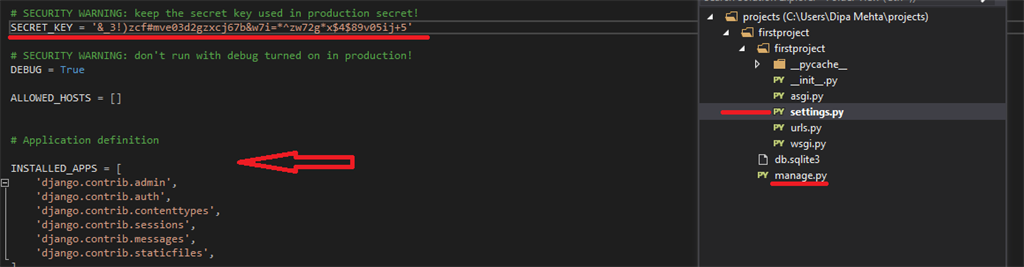
We will check a few important files which will help in our further applications and other development.
Let's check settings.py where we can find a secret key that is used for the deployment of the project while we are using the project on the server. Next is Debug=True, by default it's true. Debug contains a lot of information regarding projects and many data are stored inside. While you are deploying the project on the server make sure it's False, otherwise your information can be opened and there are chances of hacking the server.
manage.py is a very crucial file where we will do some changes.
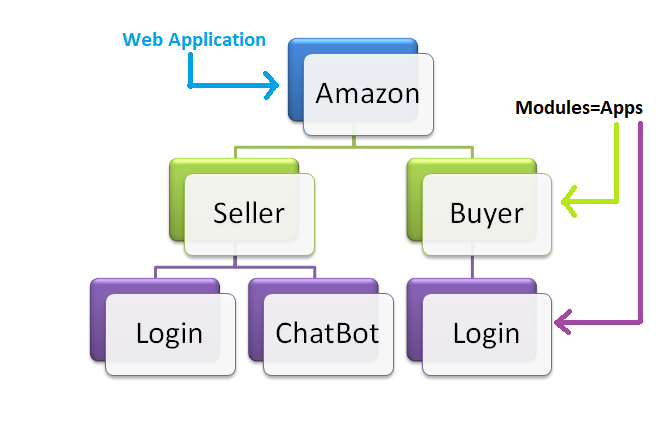
In this image, we can see that Amazon is a web application that has different modules which will make it an actual application/project. Seller and buyer are the main modules. It has another three modules Login, ChatBot, and log in. These modules are called apps in Django.
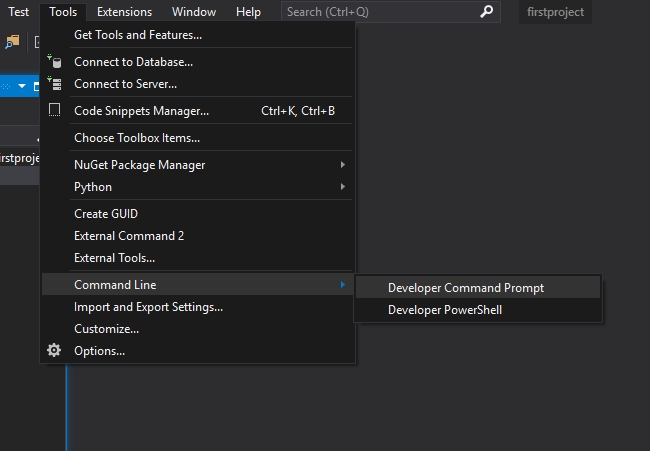
Command-Line with Visual Studio
Moving towards project coding. we will start with the terminal or Command-Line within the Visual Studio. Check the below image.
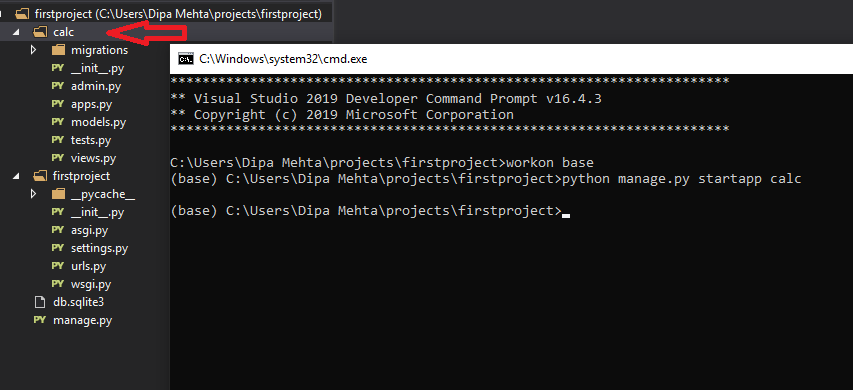
Apply the command python manage.py startapp calc. calc is the application name. Keep in mind you will get an error, the reason is we are using this with a different command line. So, that was in Windows Command Prompt and we will use here Visual Studio Command-Line. Use a command work on the base. This is our environment and now apply that command python manage.py startapp calc.
Check on the below image, and there an app/module calc is created with different files.
Django Mapping
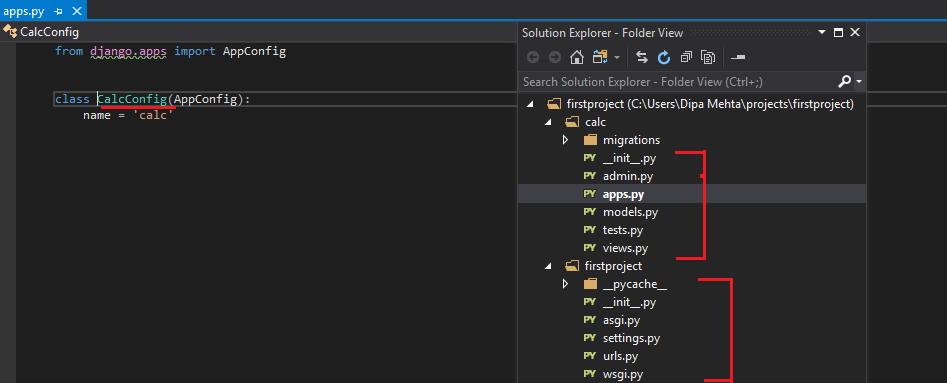
Compare all the files between the app and the parent folder. In calc, apps.py is also a very important file. We will see it soon.
In the first project folder, you will find an urls.py, this is for the entire project.
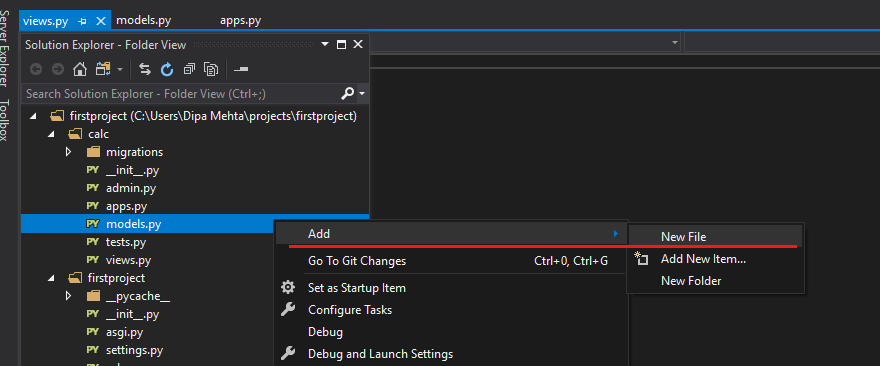
Create a new file in the calc app. Follow the below image.
Now we want to map our app with the project. We have to create a new file name as the same urls.py in the parent folder.
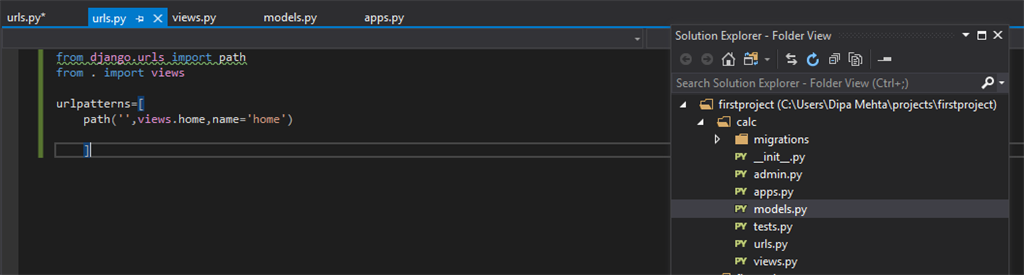
Type the below code. Import paths and views.urlpatterns are in list form, where path has the first argument as empty/home. Now we will navigate with a function home.
(After typing these codes you might get an error installing the extension, otherwise skip it. )
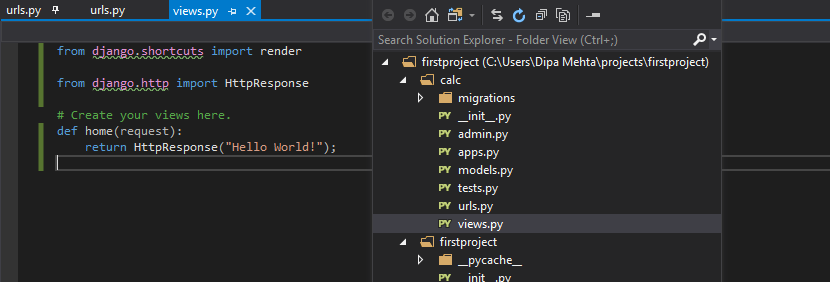
Let's move to another file to define the function home veiws.py in the app calc.
By default, render is imported on the page.
Now define the function request object. While we are using request it must be responded.
So in the return line, we will add HttpResponse and print the string "Hello World!"
We will get an error, so import the HttpResponse which belongs to the module/package named http.
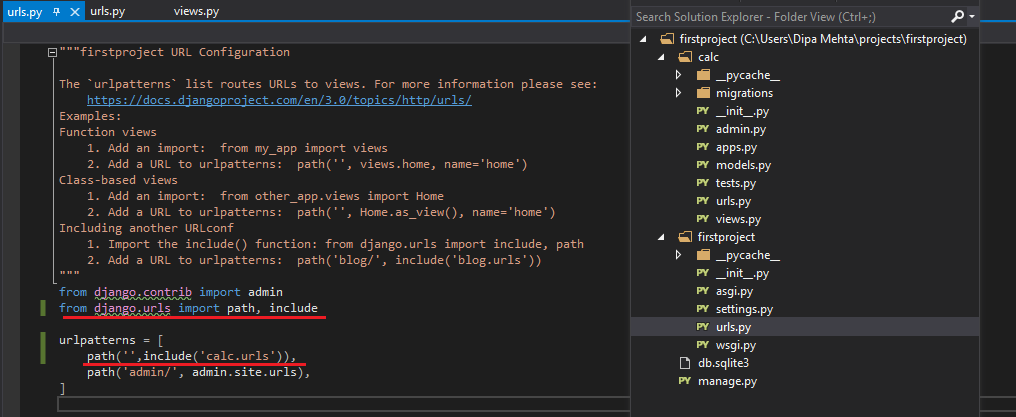
Now move to the firstproject >> urls.py
It the main url file you have to mention the mapping of the app calc.
Write in urlpatterns path(' ', include('calc.urls')),
After applying this it will throw an error, so import include with path.
Now refresh the localhost page of Django. If it will not work, then apply the command python manage.py runserver and try again.
It will be the home screen of the project.
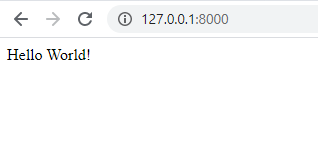
This is not very attractive or big. But at least we have created a dynamic page with content. We will work on the fully functioning app very soon.
Summary
In the next chapter, we will learn to configure Atom Editor to code and run a Django application.
Author

Dipa Mehta
139
12.6k
553.2k