Internet of Things: Setting Up Raspberry PI
Introduction
While Raspberry PI is a mini-computer, it is not supplied with a built-in OS and monitor. Thus it is essential to set the system , i.e. install the OS, connect the display device.
Building an SSH client is important because Raspberry Pi is an IoT device, to facilitate the exchange of information between the Raspberry Pi and the peripheral devices.
Getting Raspberry Pi Ready
- Raspberry Pi device
- Laptop
- Router
- LAN Cable or USB WiFi connector.
- 5 V power supply
- SD card (mini. 8 GB)
The following is a selection of applications that you need during the configuration process, there are a number of alternatives available, you can find them across the internet.
For starting Raspberry Pi with laptop screen follow the below steps:
- Firstly, we have to install the Operating System for the Raspberry Pi, so download the OS from the given link.There are a lot of OS alternatives like Rasbian, Noobs, etc. You can even install Windows 10 on it. Since installing Windows 10 is out of the scope of this chapter, you can find the steps online].Here, I used RASPBIAN JESSIE OS. After download completed we have to install it on the SD card. Before installing OS we format the SD card with SD formatter, so start the “SD formatter” software as in the following:
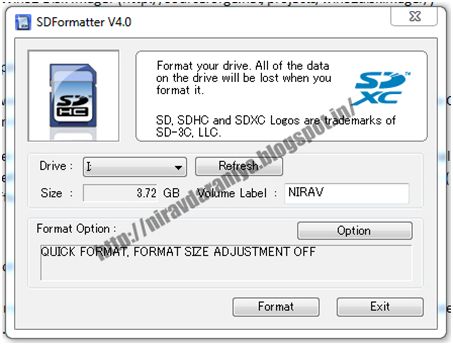 Figure 2: SD formatter
 - Select your SD card and click on the “Format” button.
After a successful format, now we have to install the operating system on the SD card.
- Start the “Win32 Disk Imager” software. Now browse the operating system image file which you downloaded and select the SD card in a given dropdown list and click on the “Write” button.
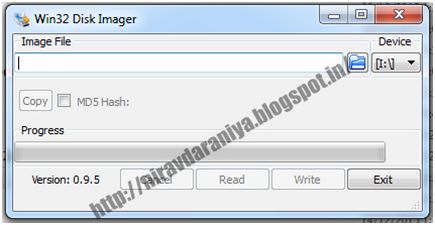 Figure 3: Win32 Disk ImagerThis will start writing the image file to the SD card. This will take a couple of minutes so please wait for some time. After successful SD card writes, attach your SD card to the Raspberry PI and follow the below steps.
 - Connect the LAN cable one end to the router and other ends to the raspberry Pi device also connect the laptop to the same router as in the following figure:
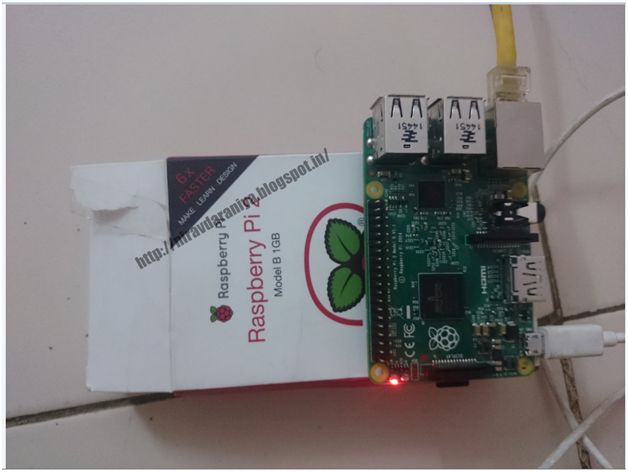 Figure 4: Raspberry Pi device
 - Now give power supply to Raspberry Pi as in the following figure:
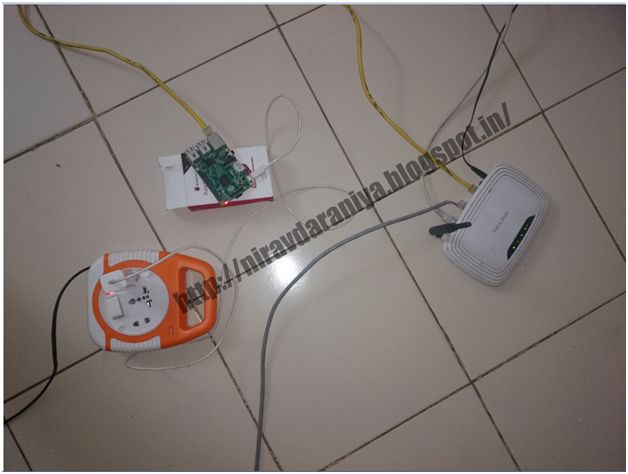 Figure 5: Power supply to raspberry pi
 - Now start Advanced IP scanner and start the scan with your IP address series.
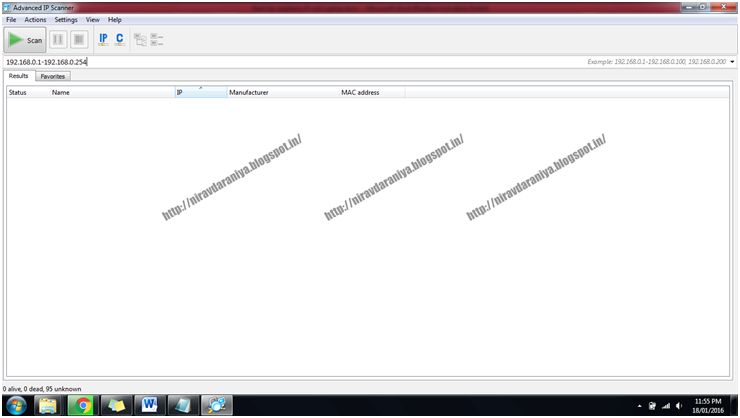 Figure 6: Start Advanced IP scanner
 - Here we connect the Raspberry Pi to the router because the router will assign an automatic IP address to all the connected devices. So we get the IP address of the Raspberry Pi from the router. Here I have an IP address (192.168.0.113).
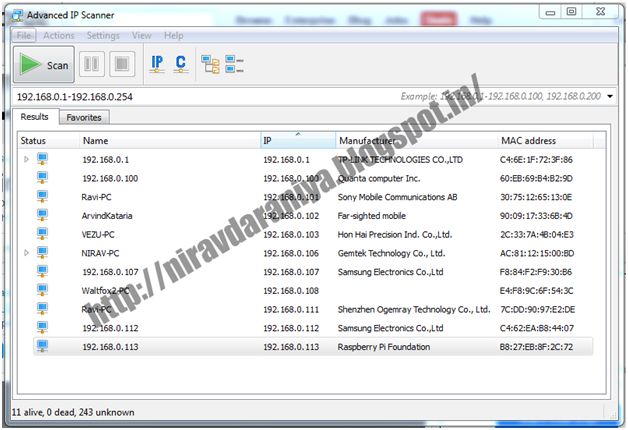 Figure 7: IP address of the raspberry pi
 - Now start the PuTTy software and enter the Host Name (IP address) as in the following image:
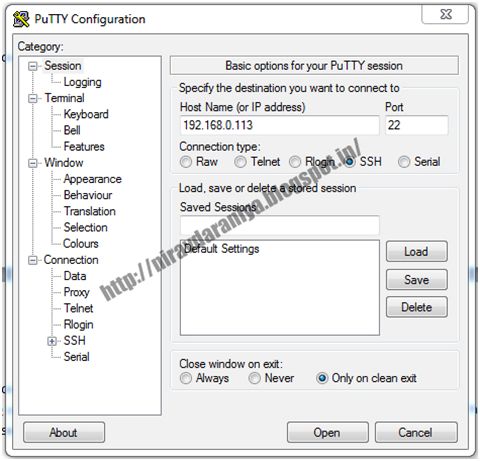 Figure 8: Enter the Host Name
 - Now go to the following location and mark them:
a. Connection >> SH >> X11.Make a mark to “Enable X11 forwarding” as per the following image:
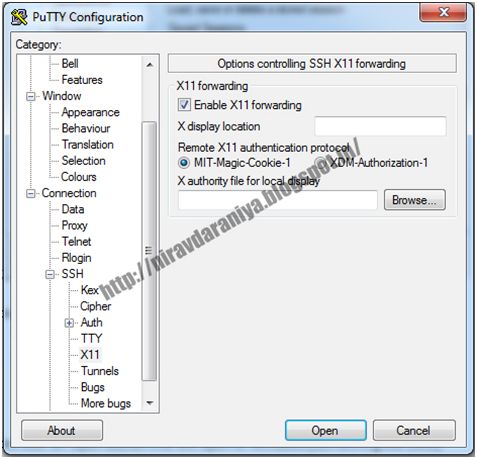 Figure 9: Enable X11 forwarding
 - Now click on the “Open” button this will open a window (something like CMD).
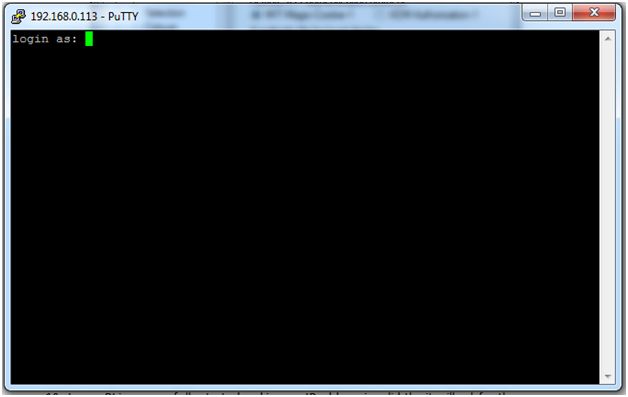 Figure 10: Login
 - If your PI is successfully started and if your IP address is valid then it will ask for the Username and password as in the following image:
User Name: piPassword: raspberry
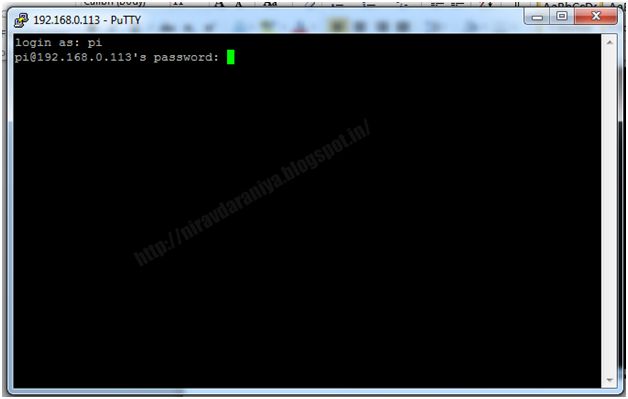 Figure 11: User Name and Password
 - If you enter valid username and password then it will show the following:
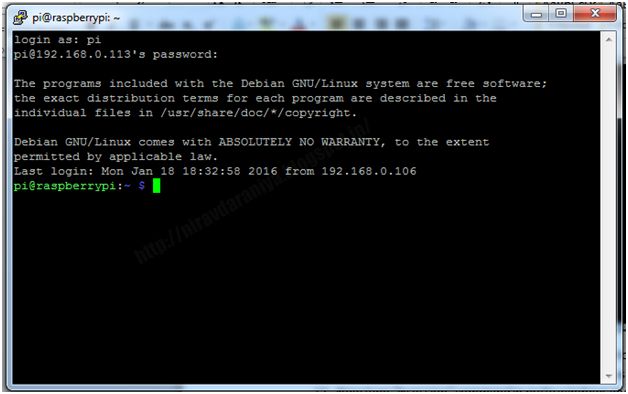 Figure 12: Enter username and password
 - Now start the “Xming” software, it shows in taskbar as in the following image:
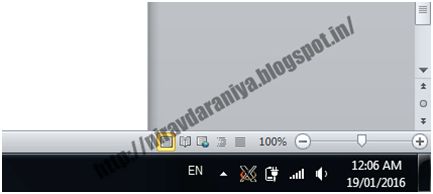 Figure 13: Starts the “Xming” software
 - Now type “lxsession” command in putty windows and hit enter. Now wait for few seconds and it will open raspberry pi windows on your desktops.
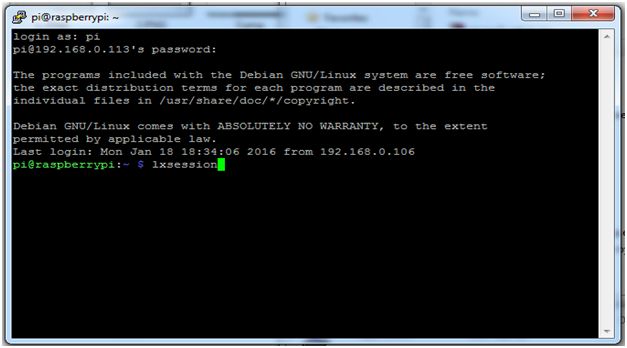 Figure 14: Type “lxsession” command
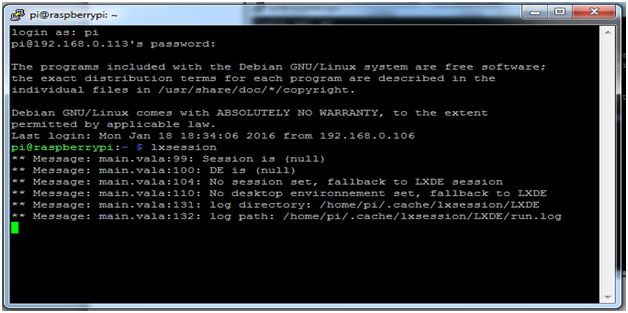 Figure 15: Raspberry pi windows
 - Now you can start work with Raspberry Pi as in the following image:
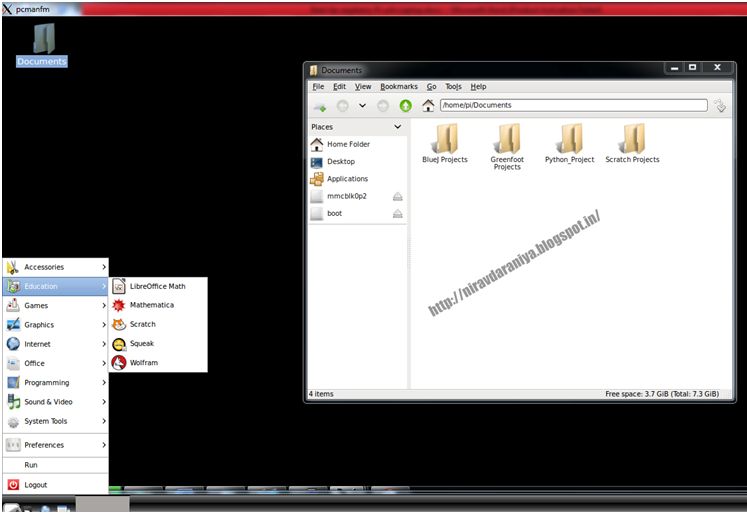 Figure 16: Work with Raspberry Pi
Now you enjoy your Raspberry Pi.
Author

Nirav Daraniya
0
4.7k
3.3m